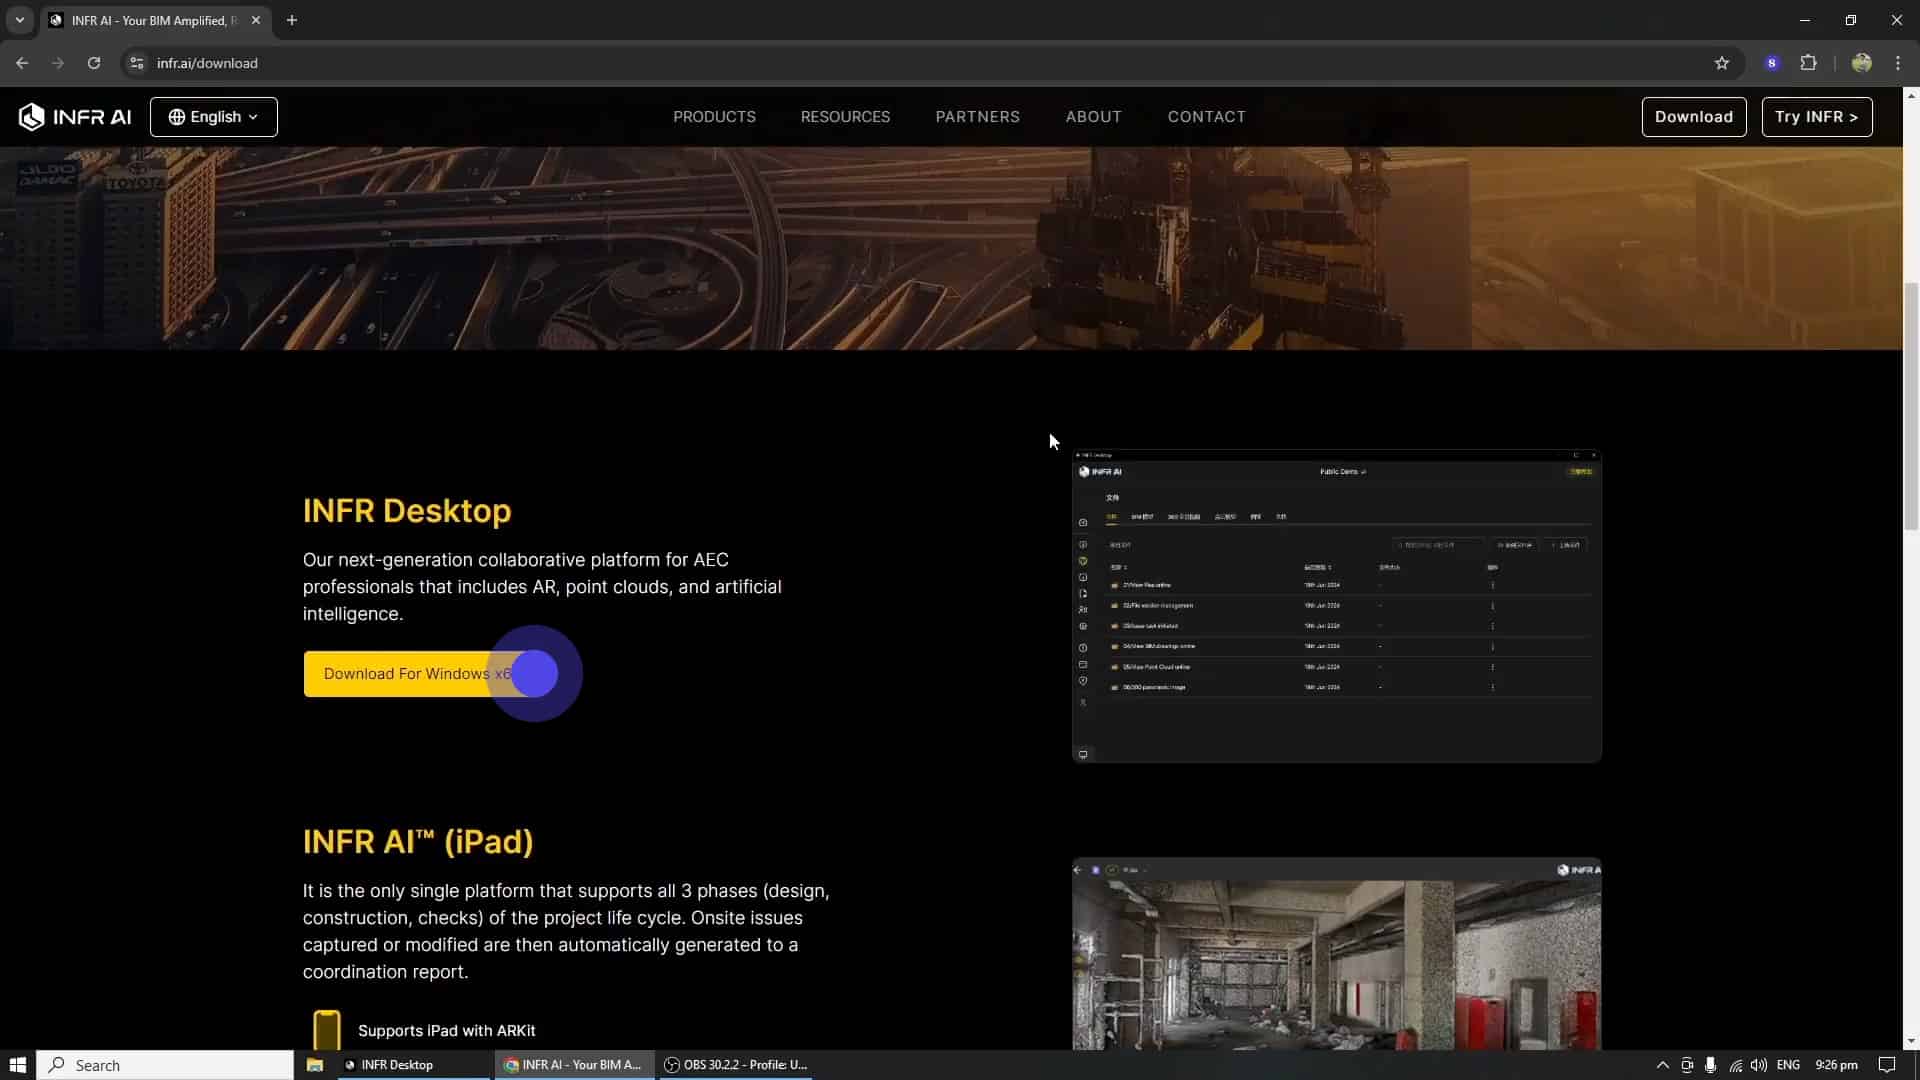
In order to install INFR Desktop on your Windows Computer, go to infr.ai/download, scroll down and click on "Download for Windows x64".
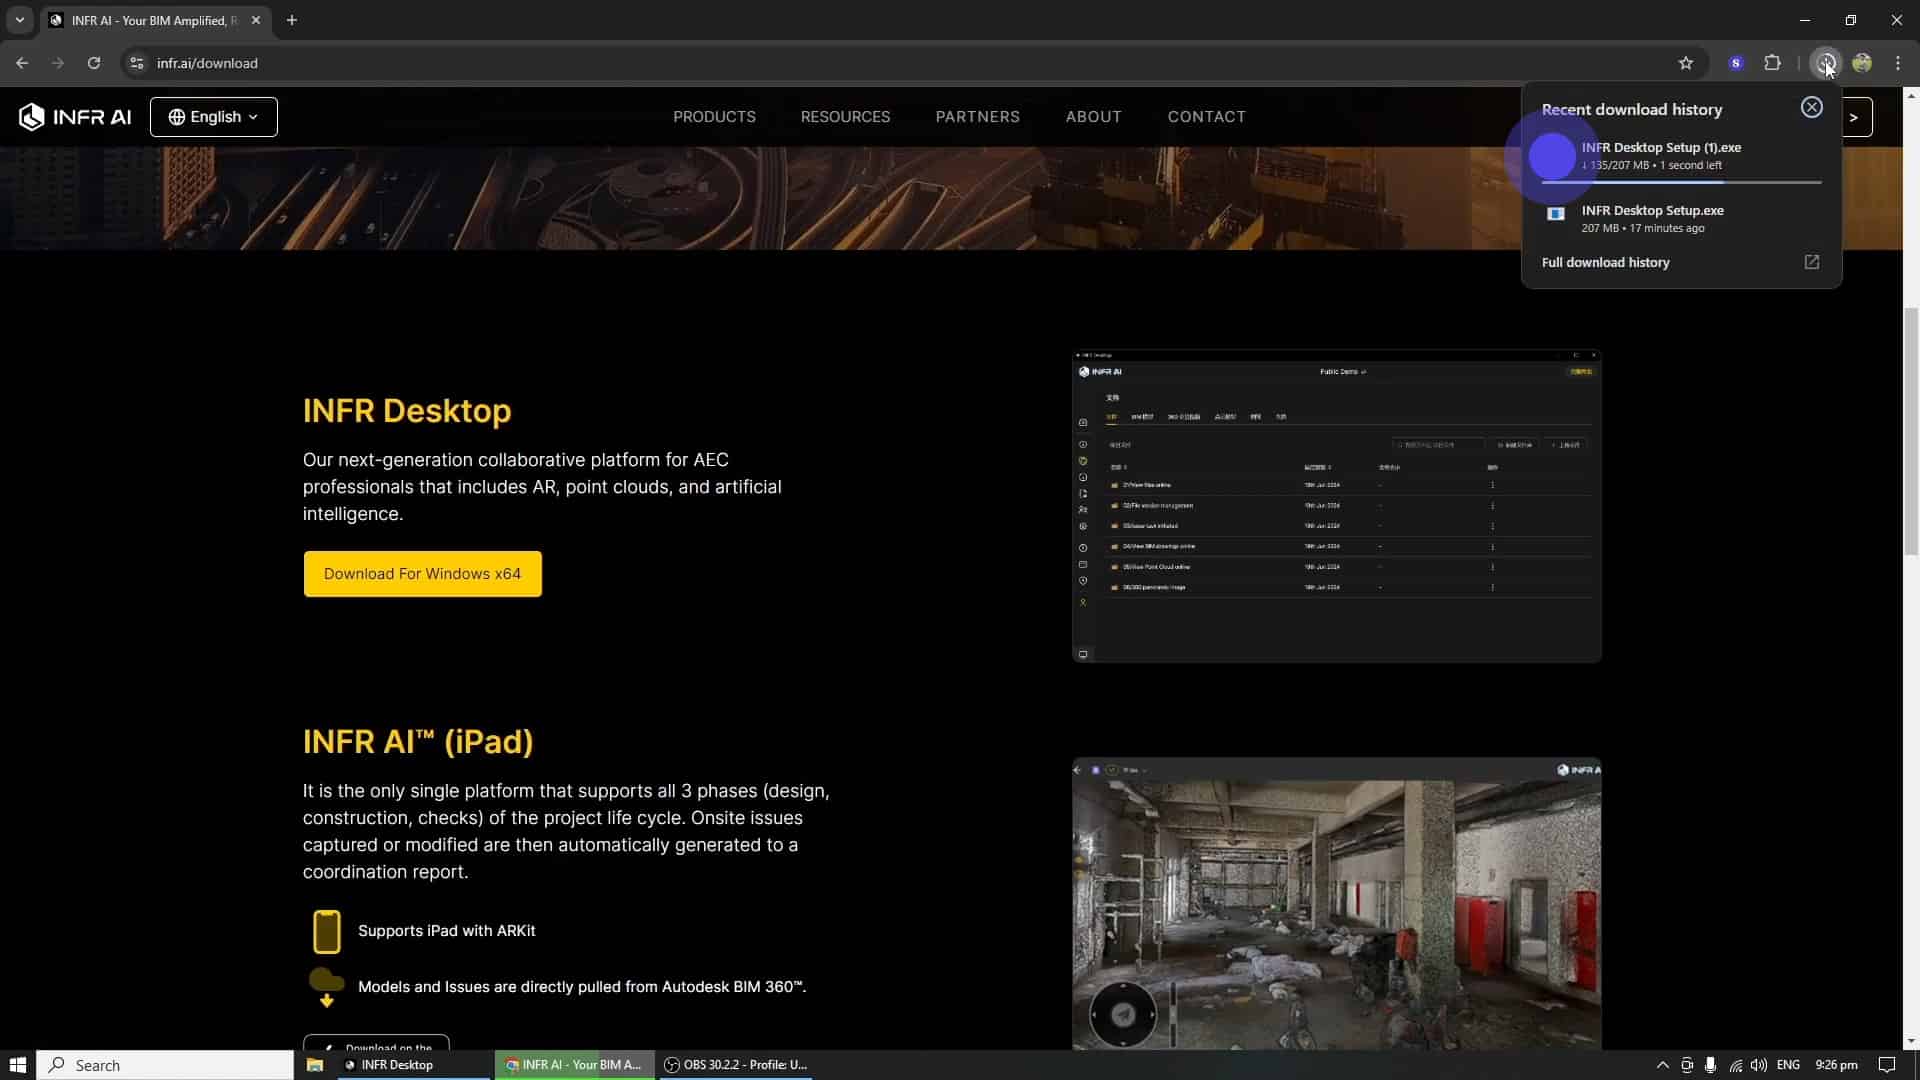
This will download the installer onto your PC. Double click on the installer and ensure all permissions are allowed for INFR Desktop to work properly, this includes any antivirus or firewalls.
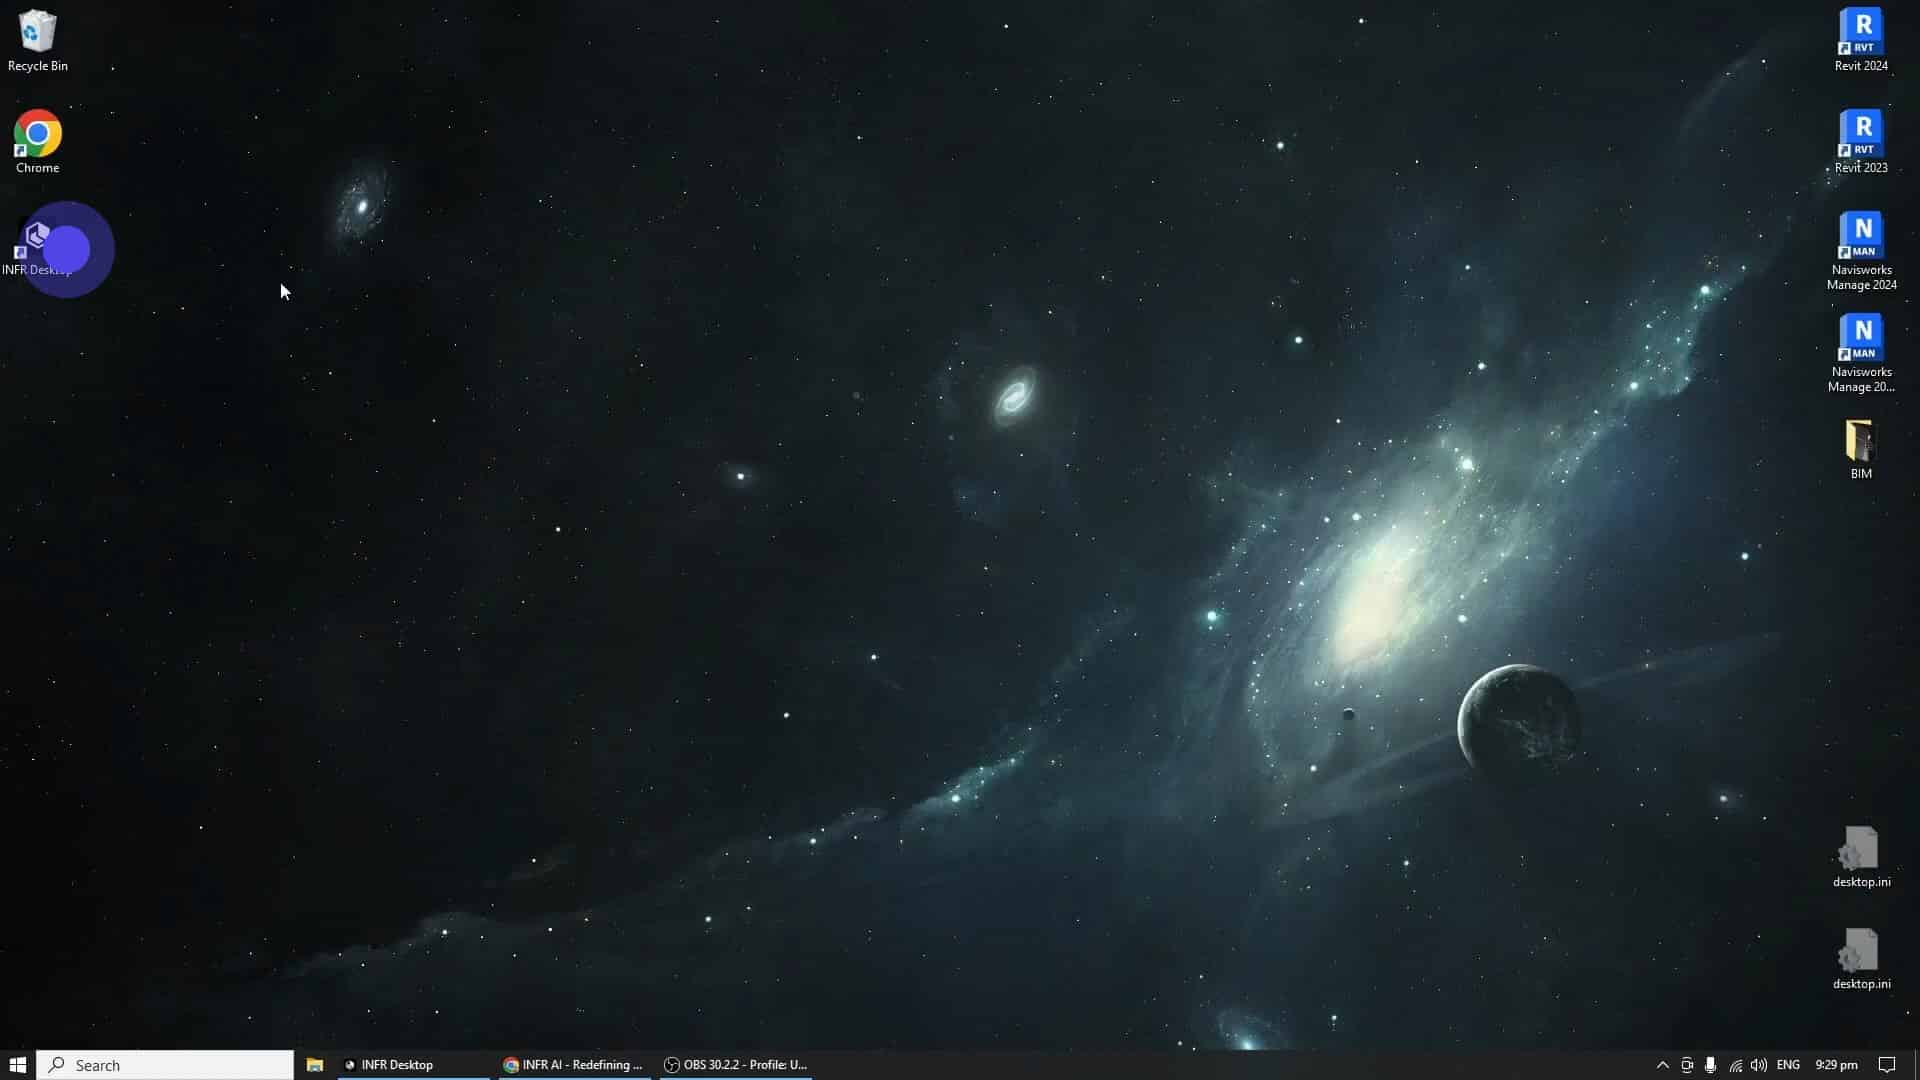
Once installation is completed, the INFR Desktop App should appear on your desktop, double click on it to begin!
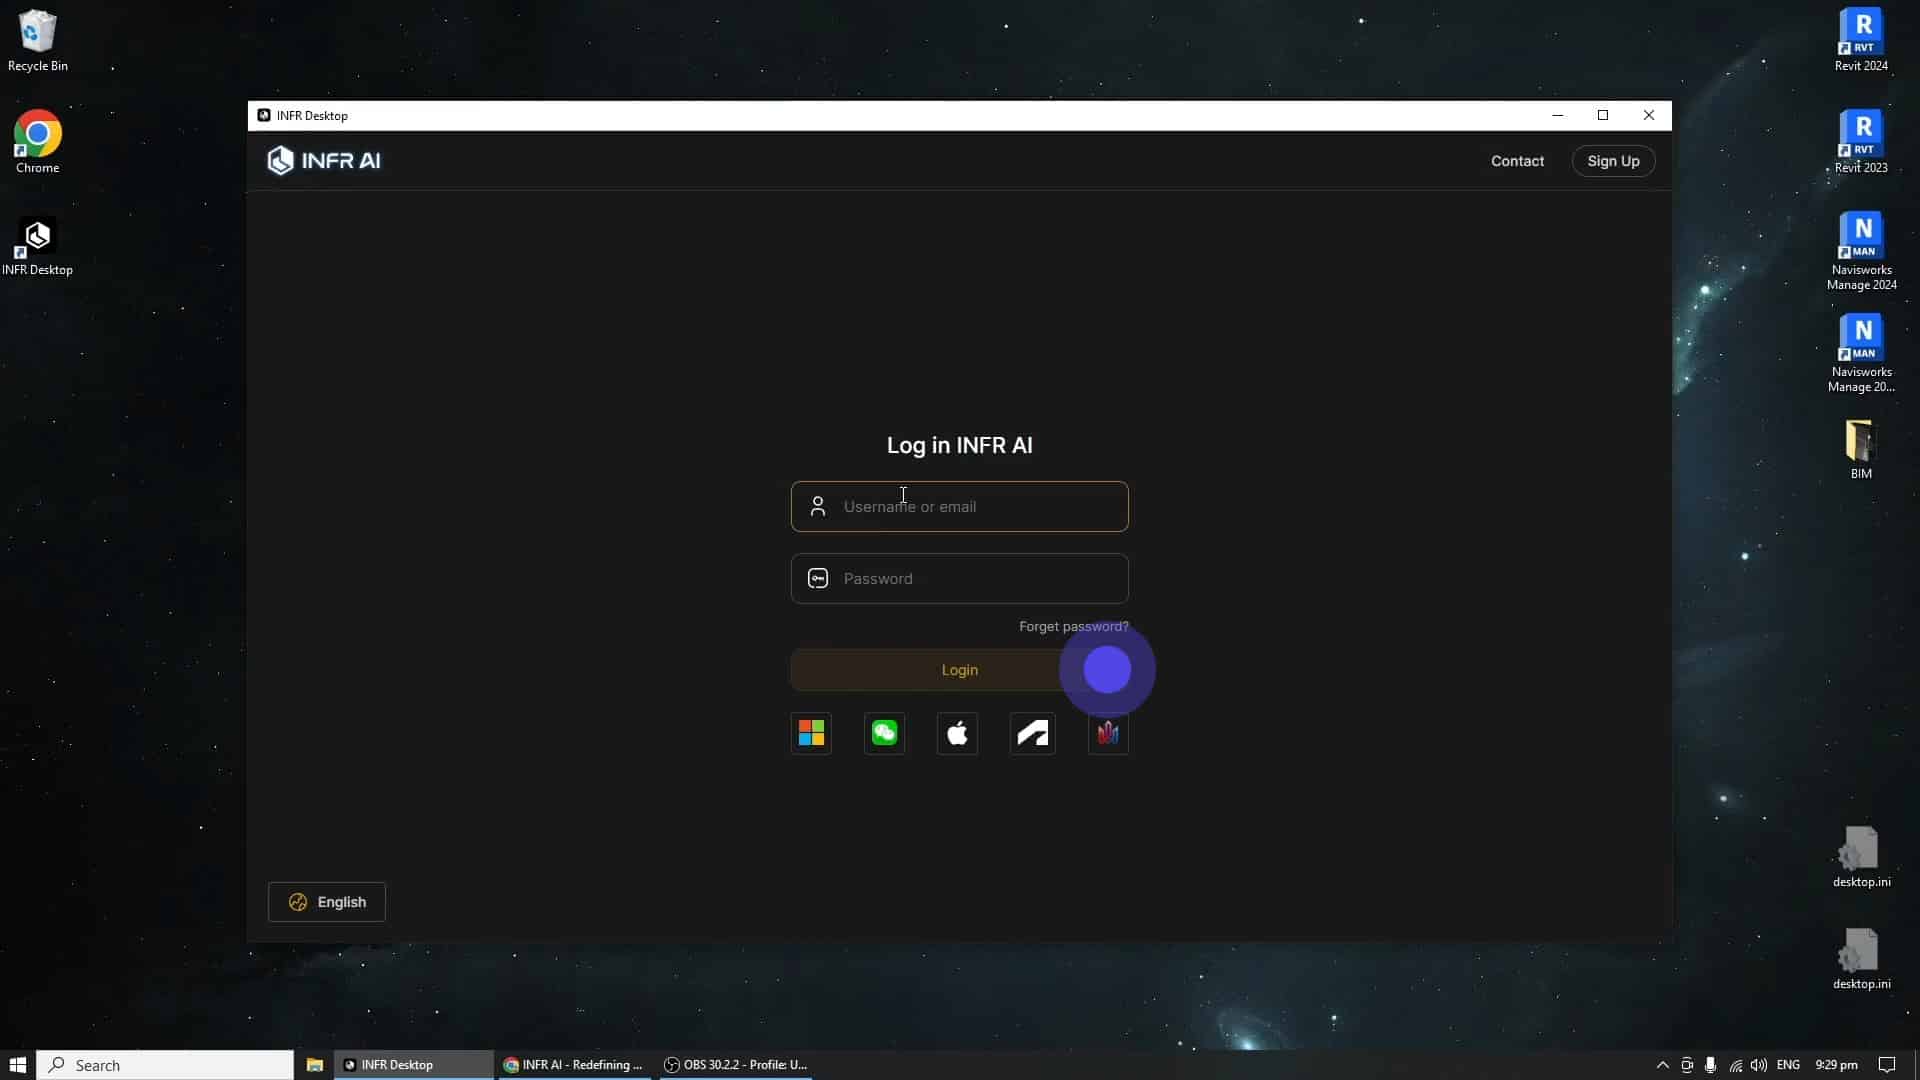
Type in your registered credentials and click on "Login"
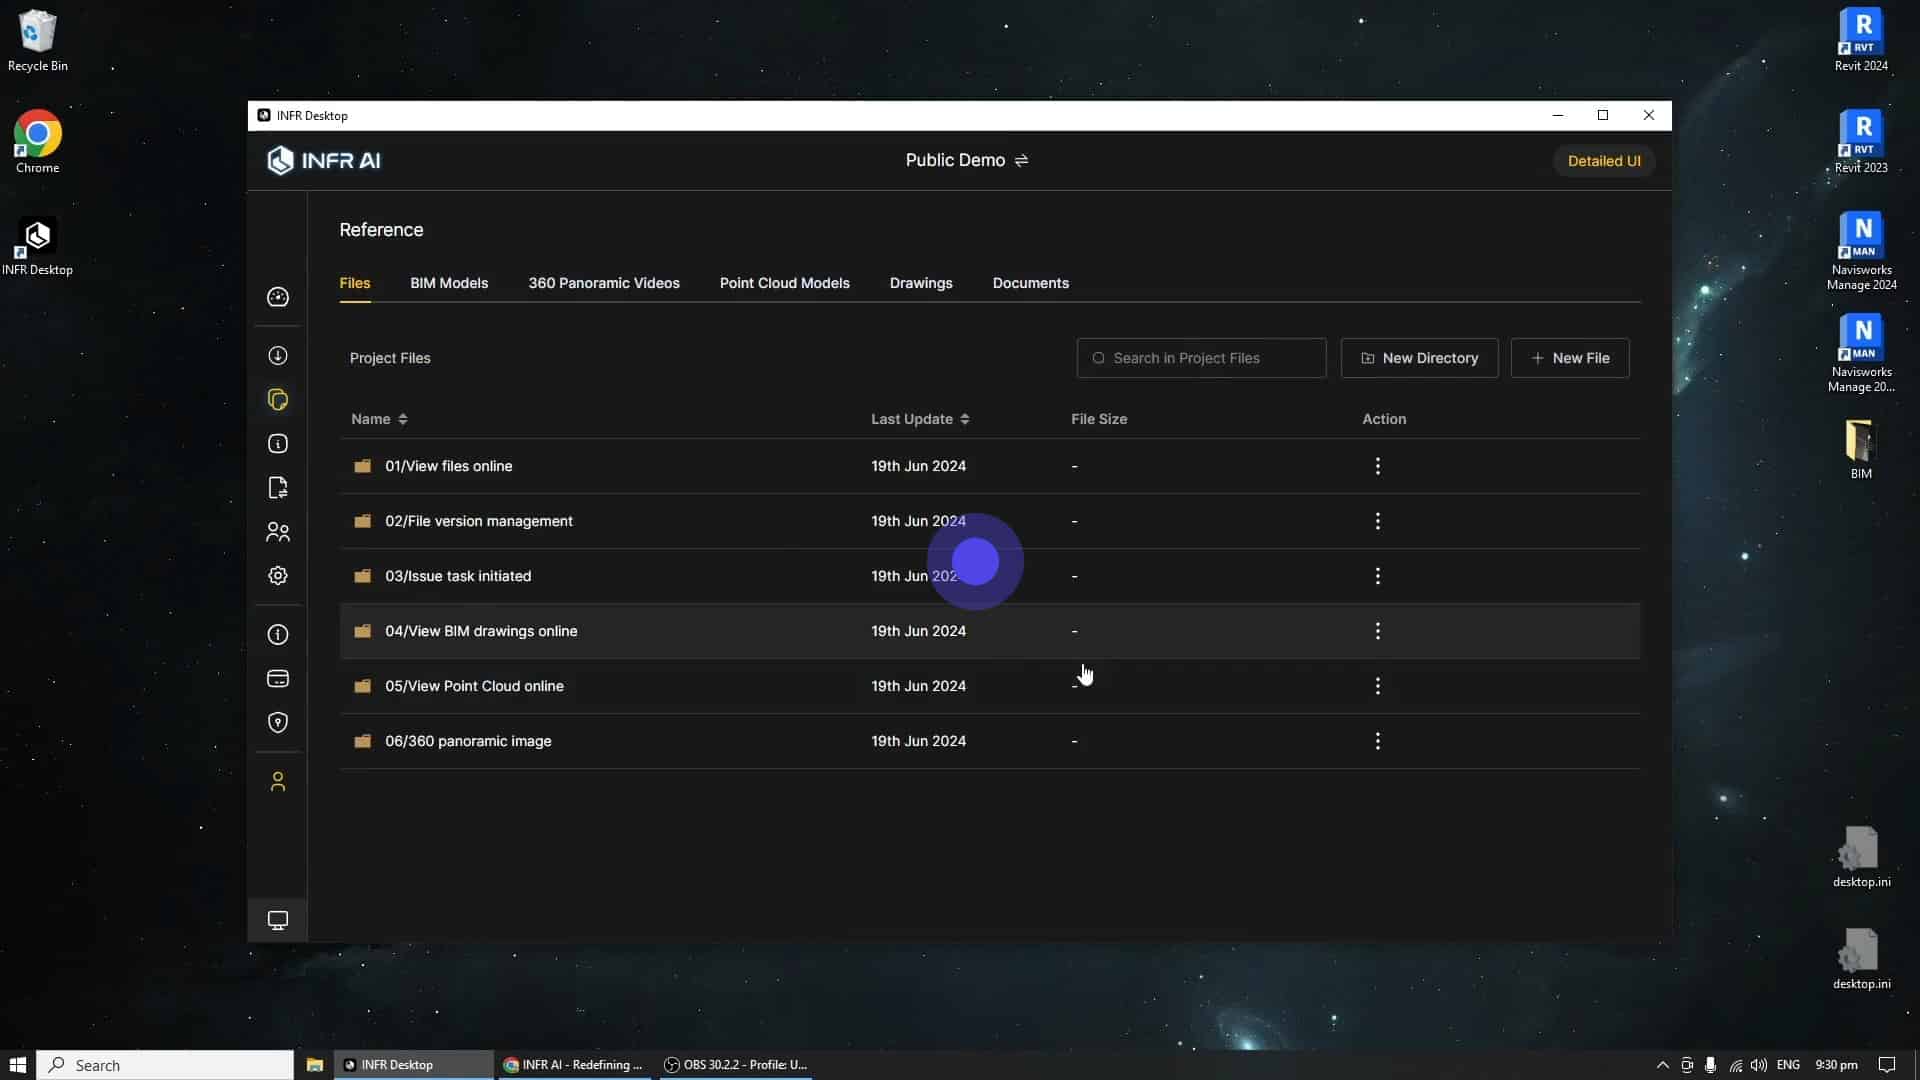
This will bring you into a similar interface as INFR Web. Do note that INFR Desktop has a few additional functionalities which we will cover in a bit.
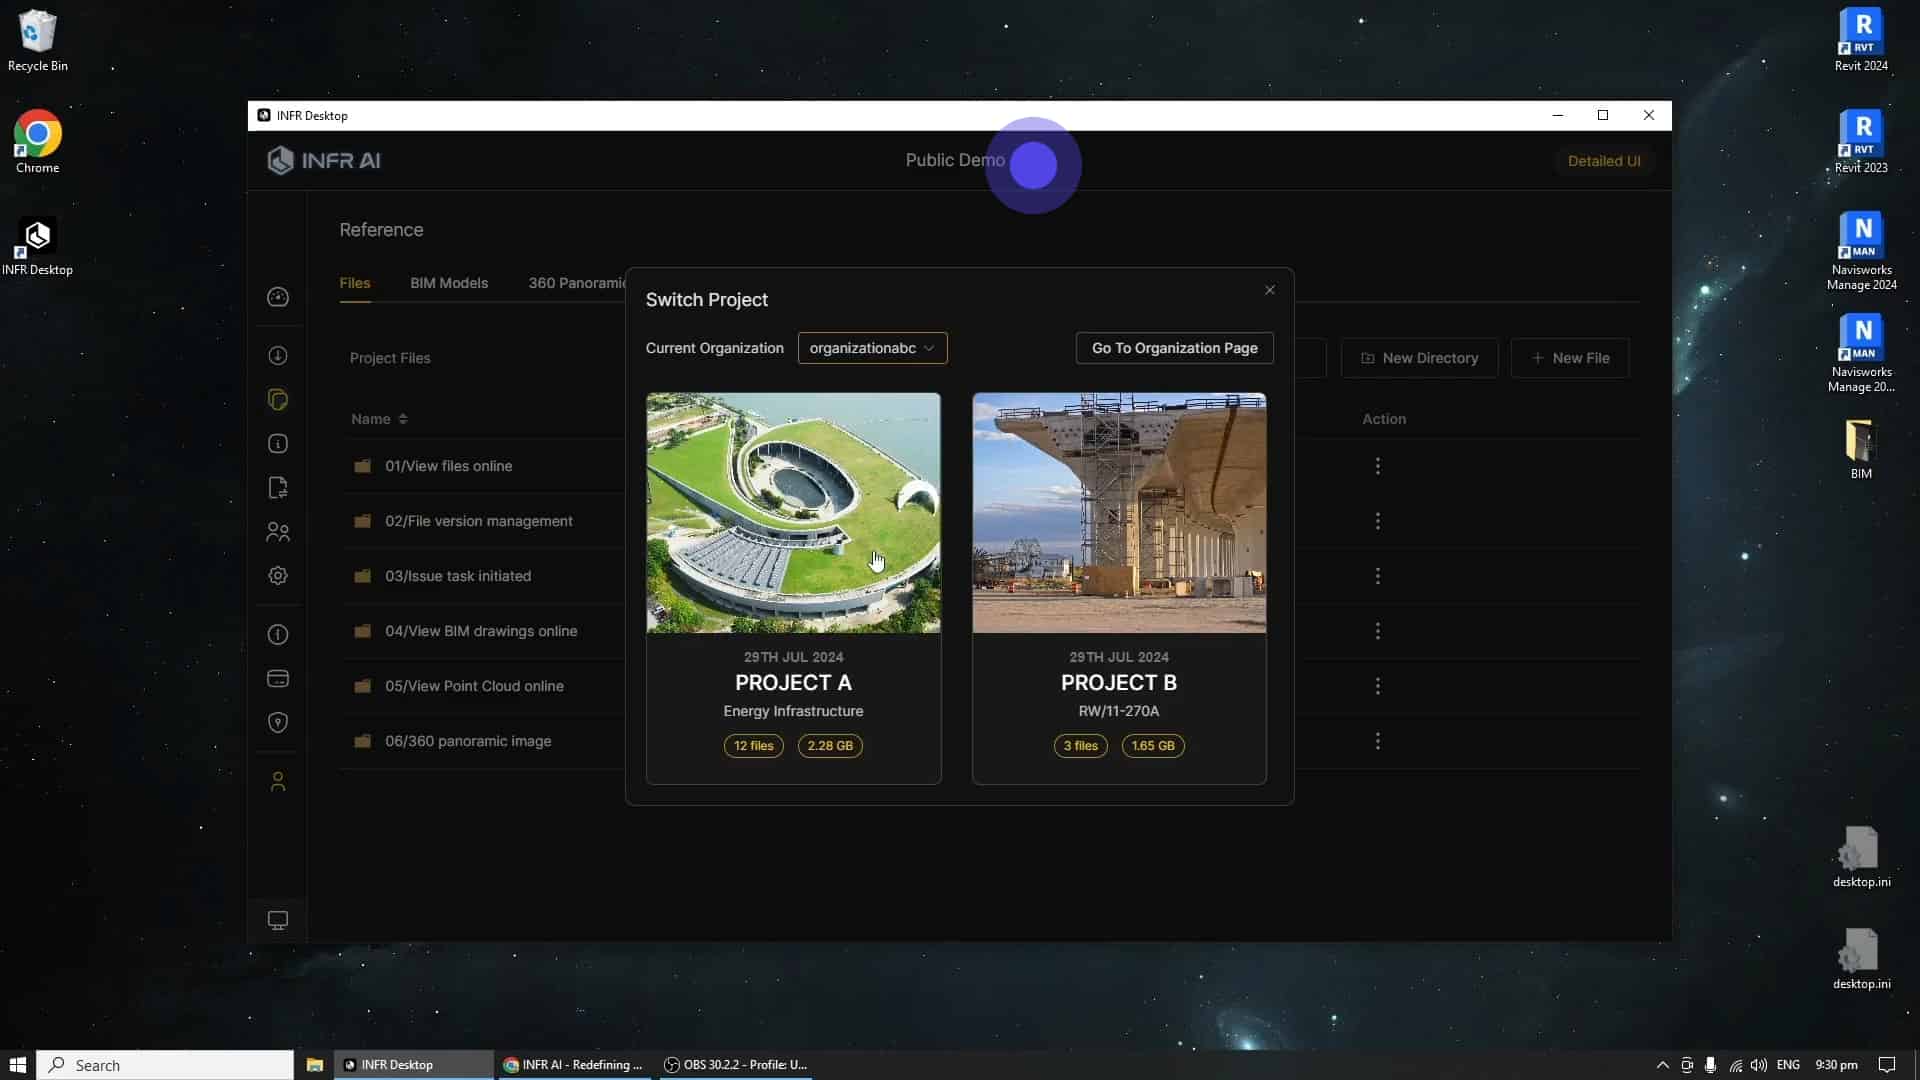
Similar to the web platform, ensure that you have selected the correct project from the top icon.
Before you launch your model, ensure that the Desktop Viewer is toggled on.
Do this by clicking on the bottom left icon, this should bring up a window where you will be able to toggle the viewer on or off, and check on the installed version of the application.
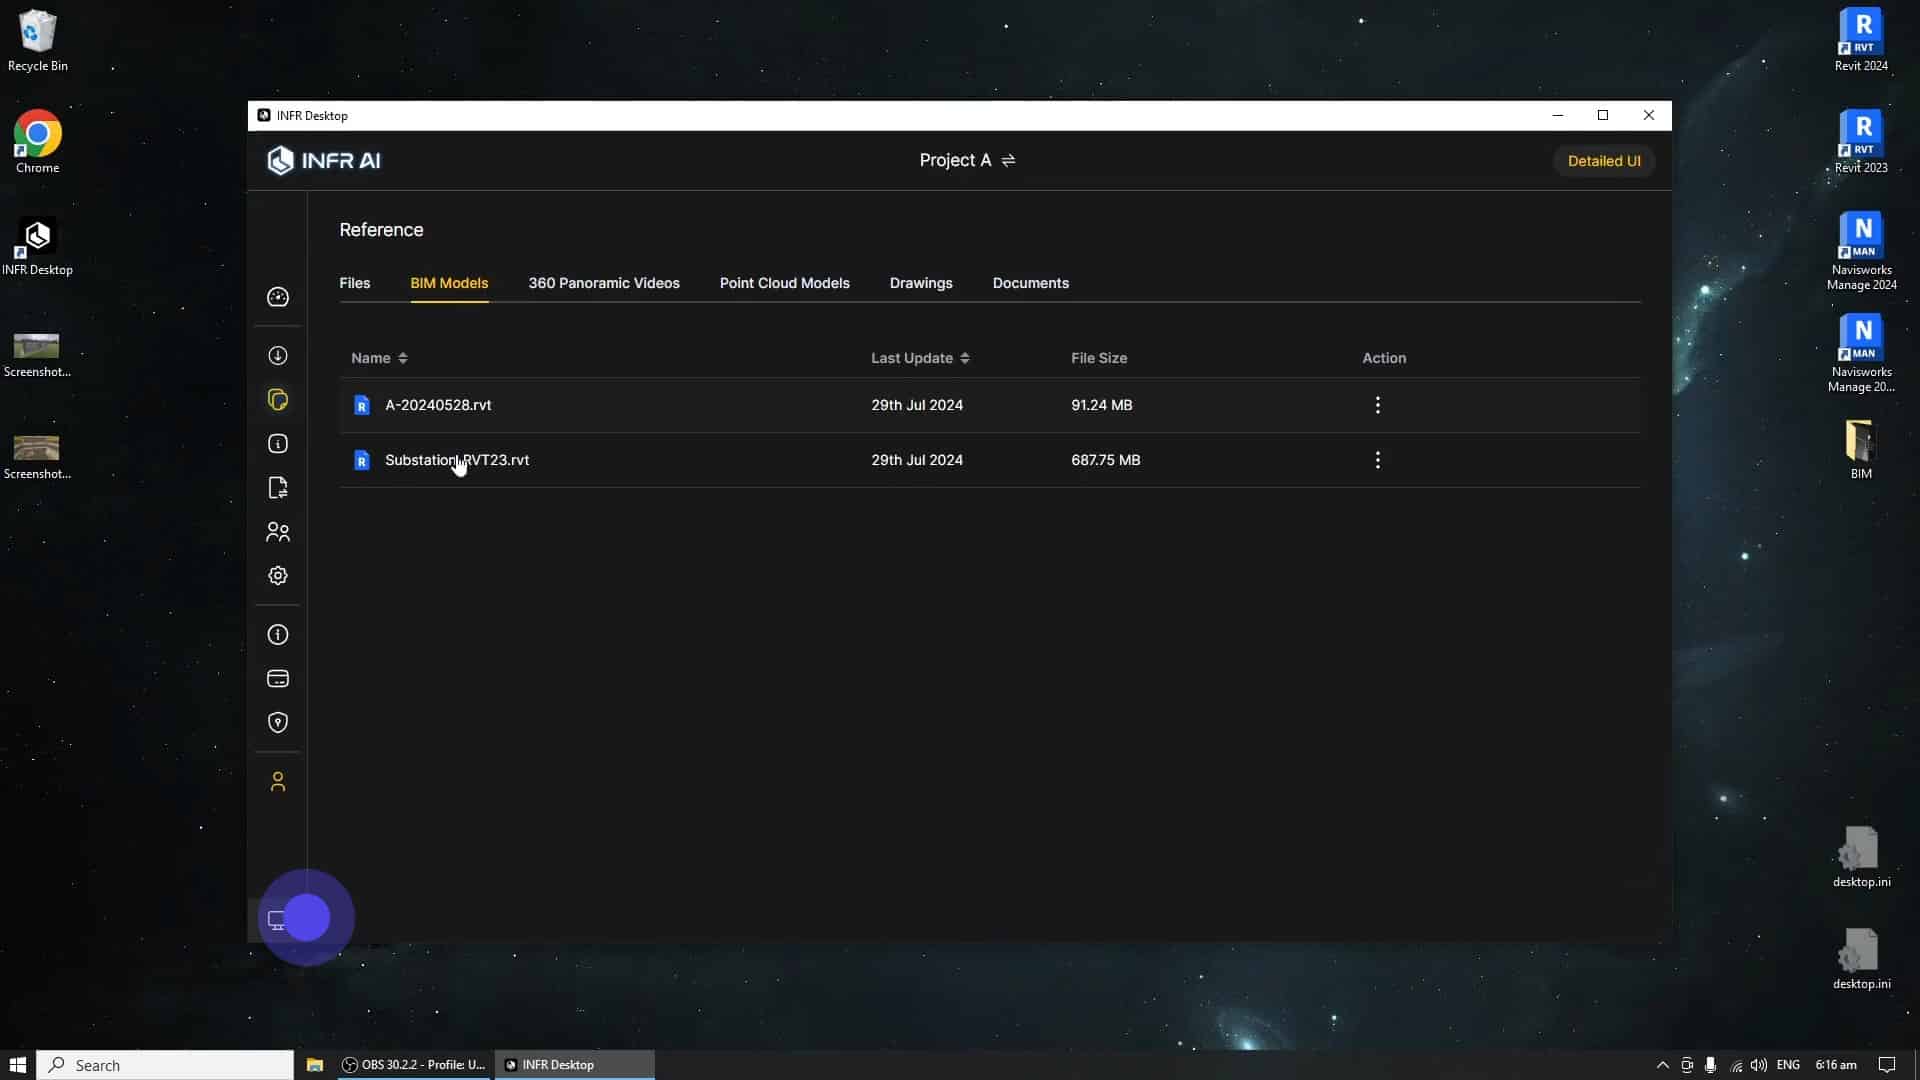
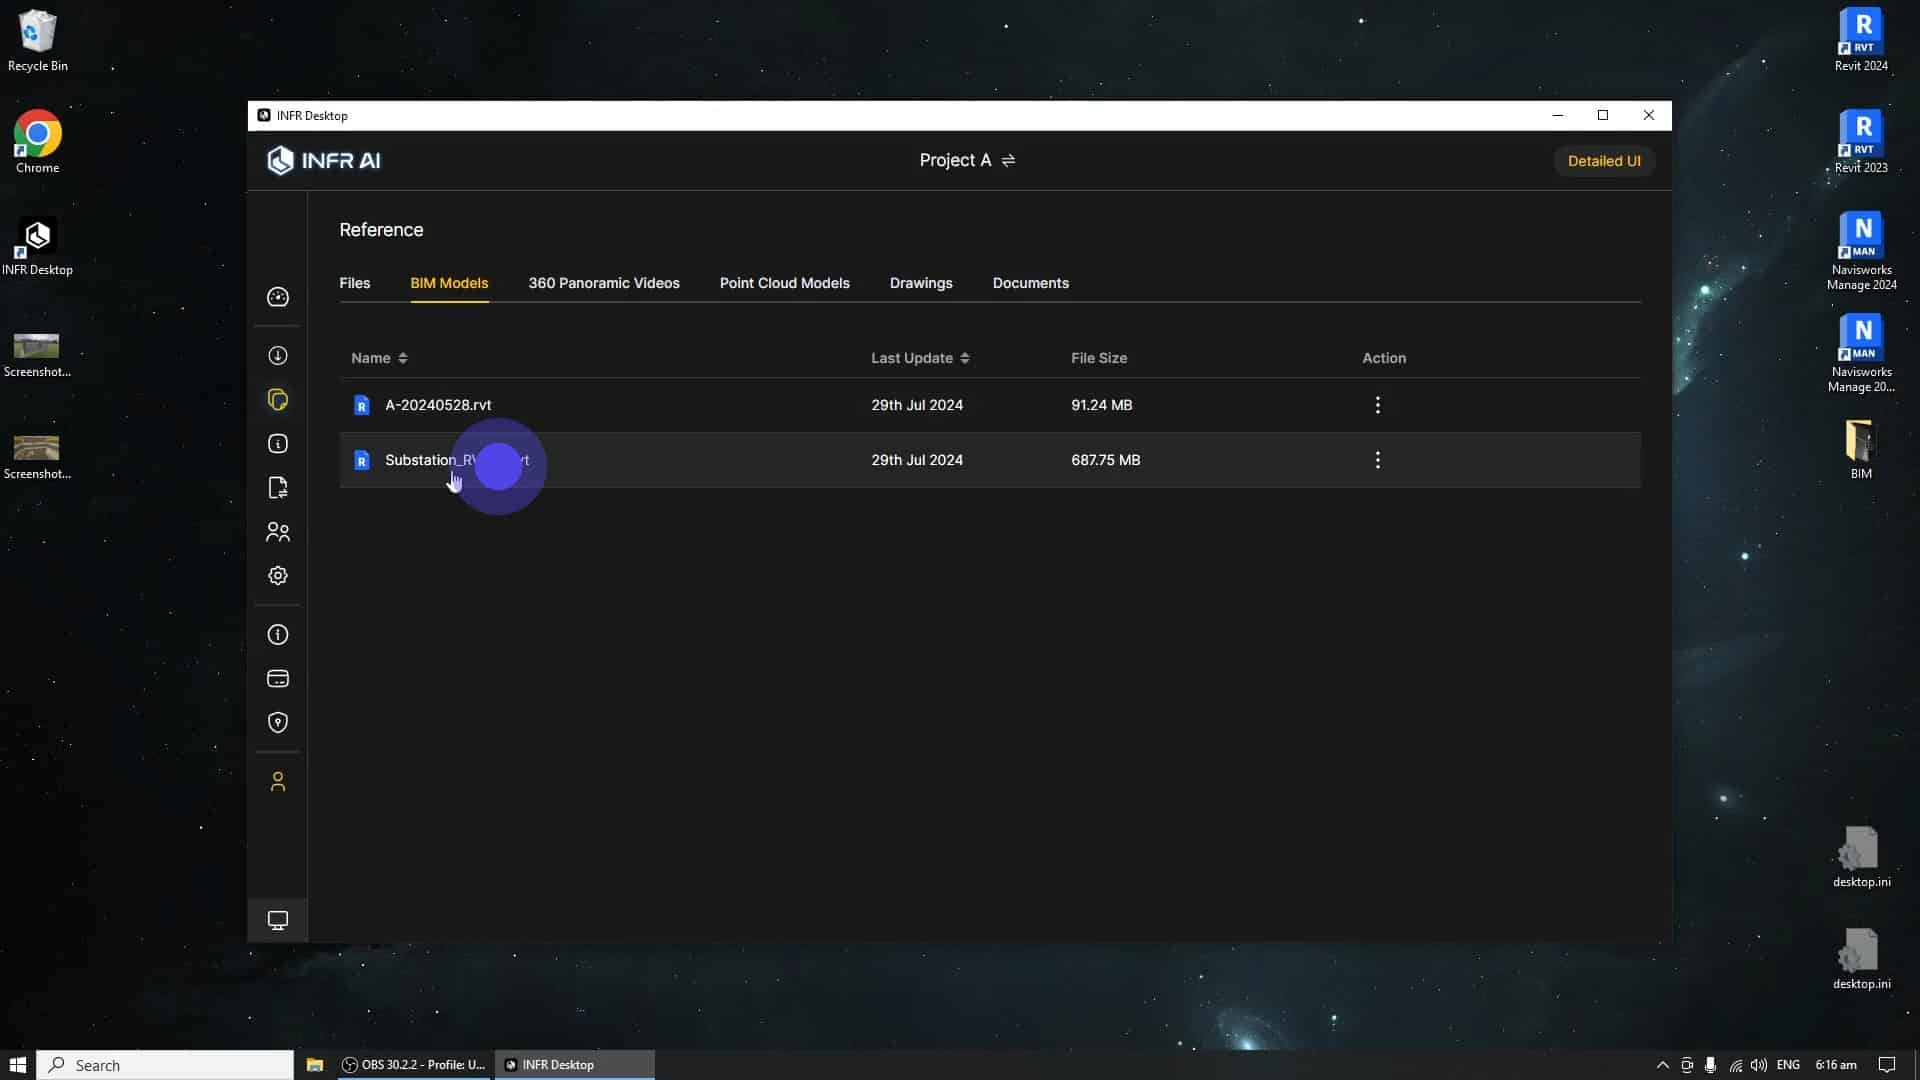
Now you are ready to launch your model in the high fidelity viewer. Double click on the desired model to do this.
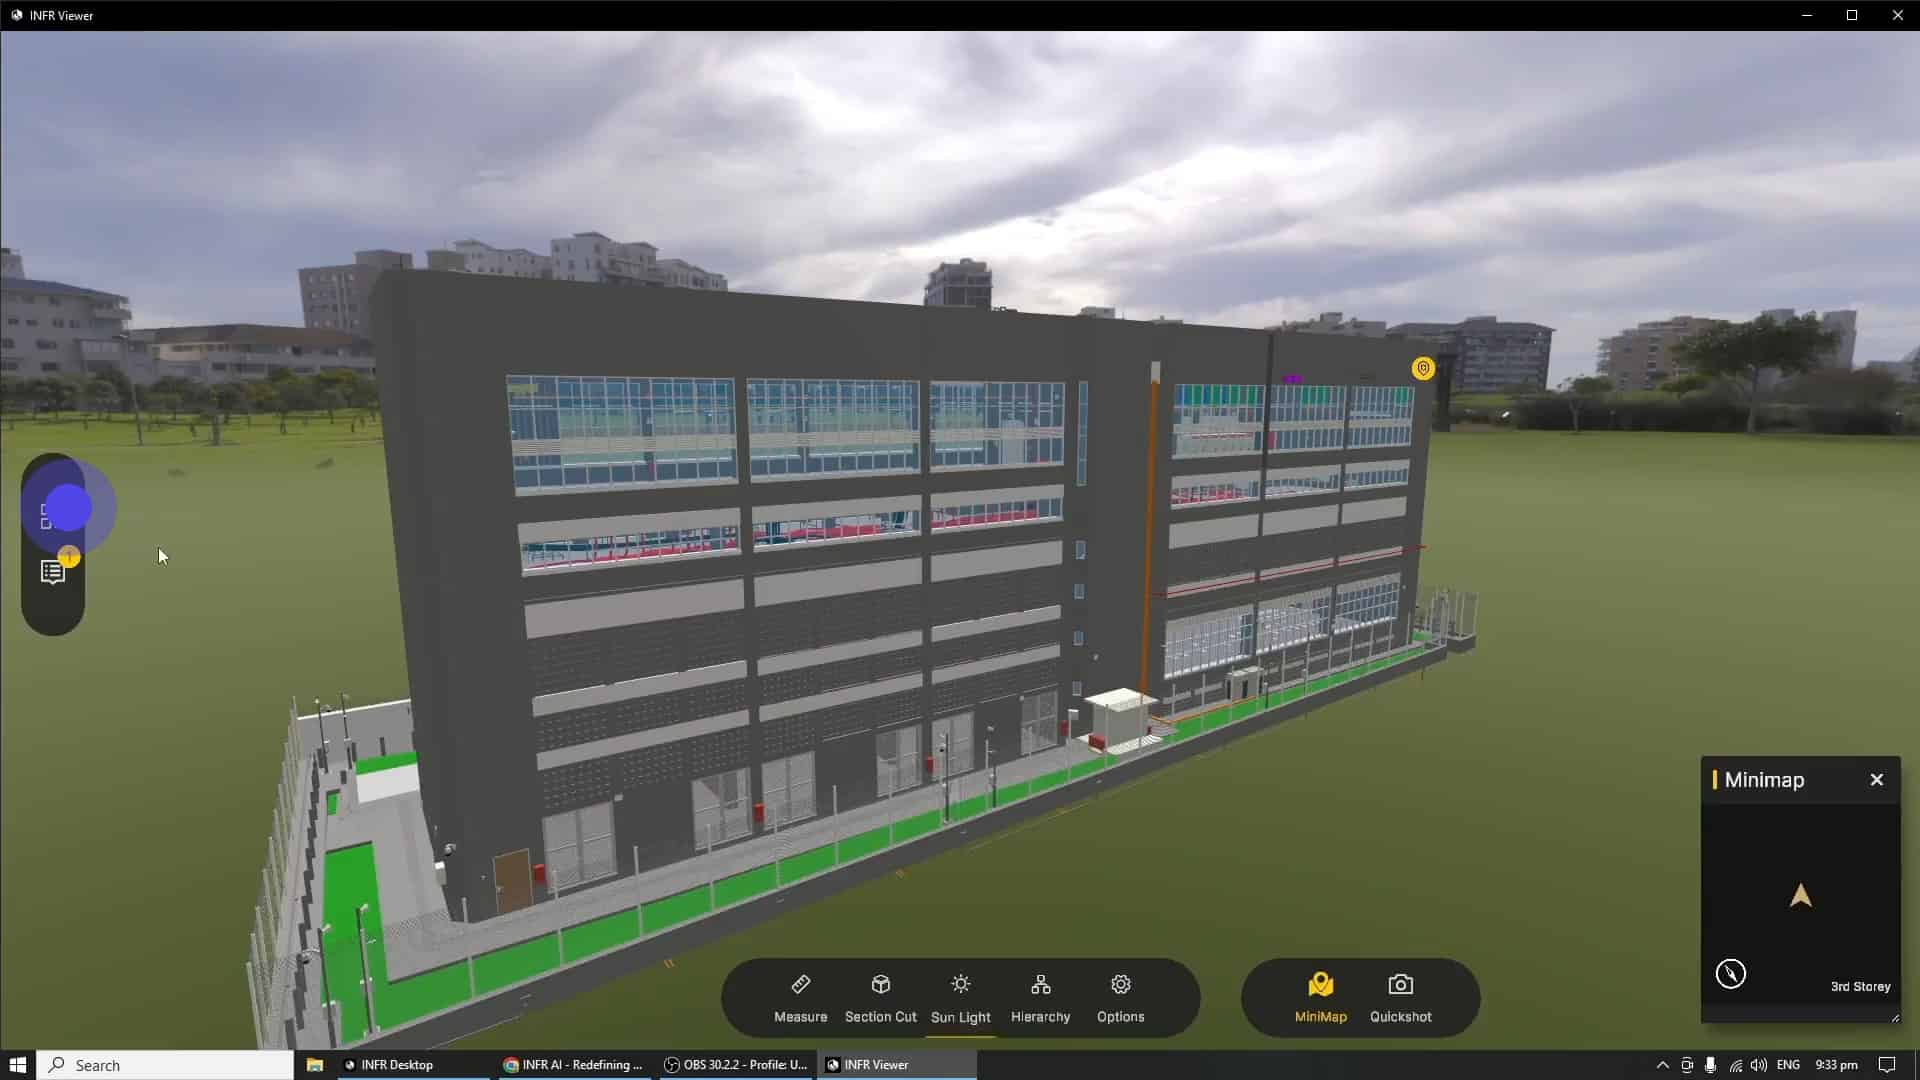
You are now inside the INFR Desktop viewer, this is a high fidelity viewer that is heavily dependent on your computer's CPU, GPU and RAM. Note that larger and more complex BIM models require better computer specifications.
Now, let us quickly go through the user interface of the desktop viewer, On the left we have the View selection and Issues icon.
This allows you to select both published 3D and 2D views of your BIM model.
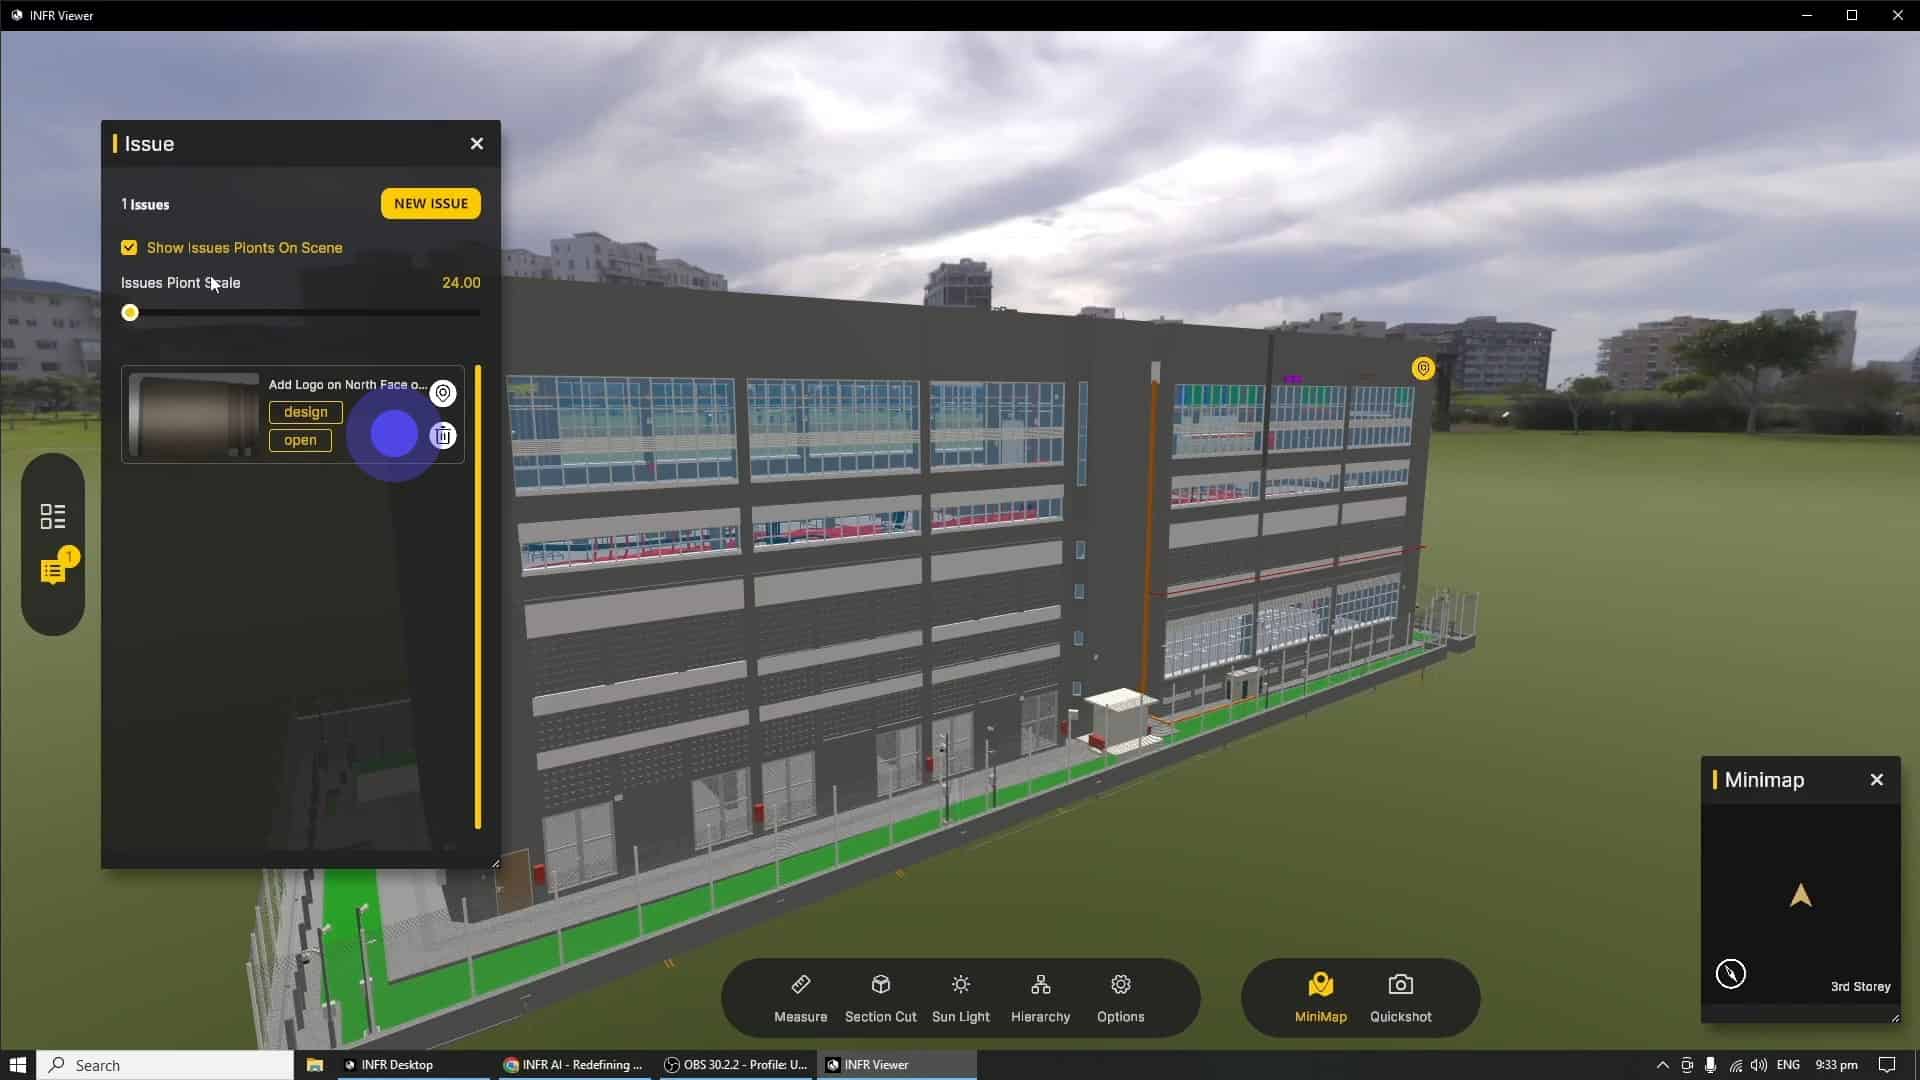
Next is the Issue list, where you will be able to create new issues, view existing issues, and update issues. With a few added quality of life features, try it out!
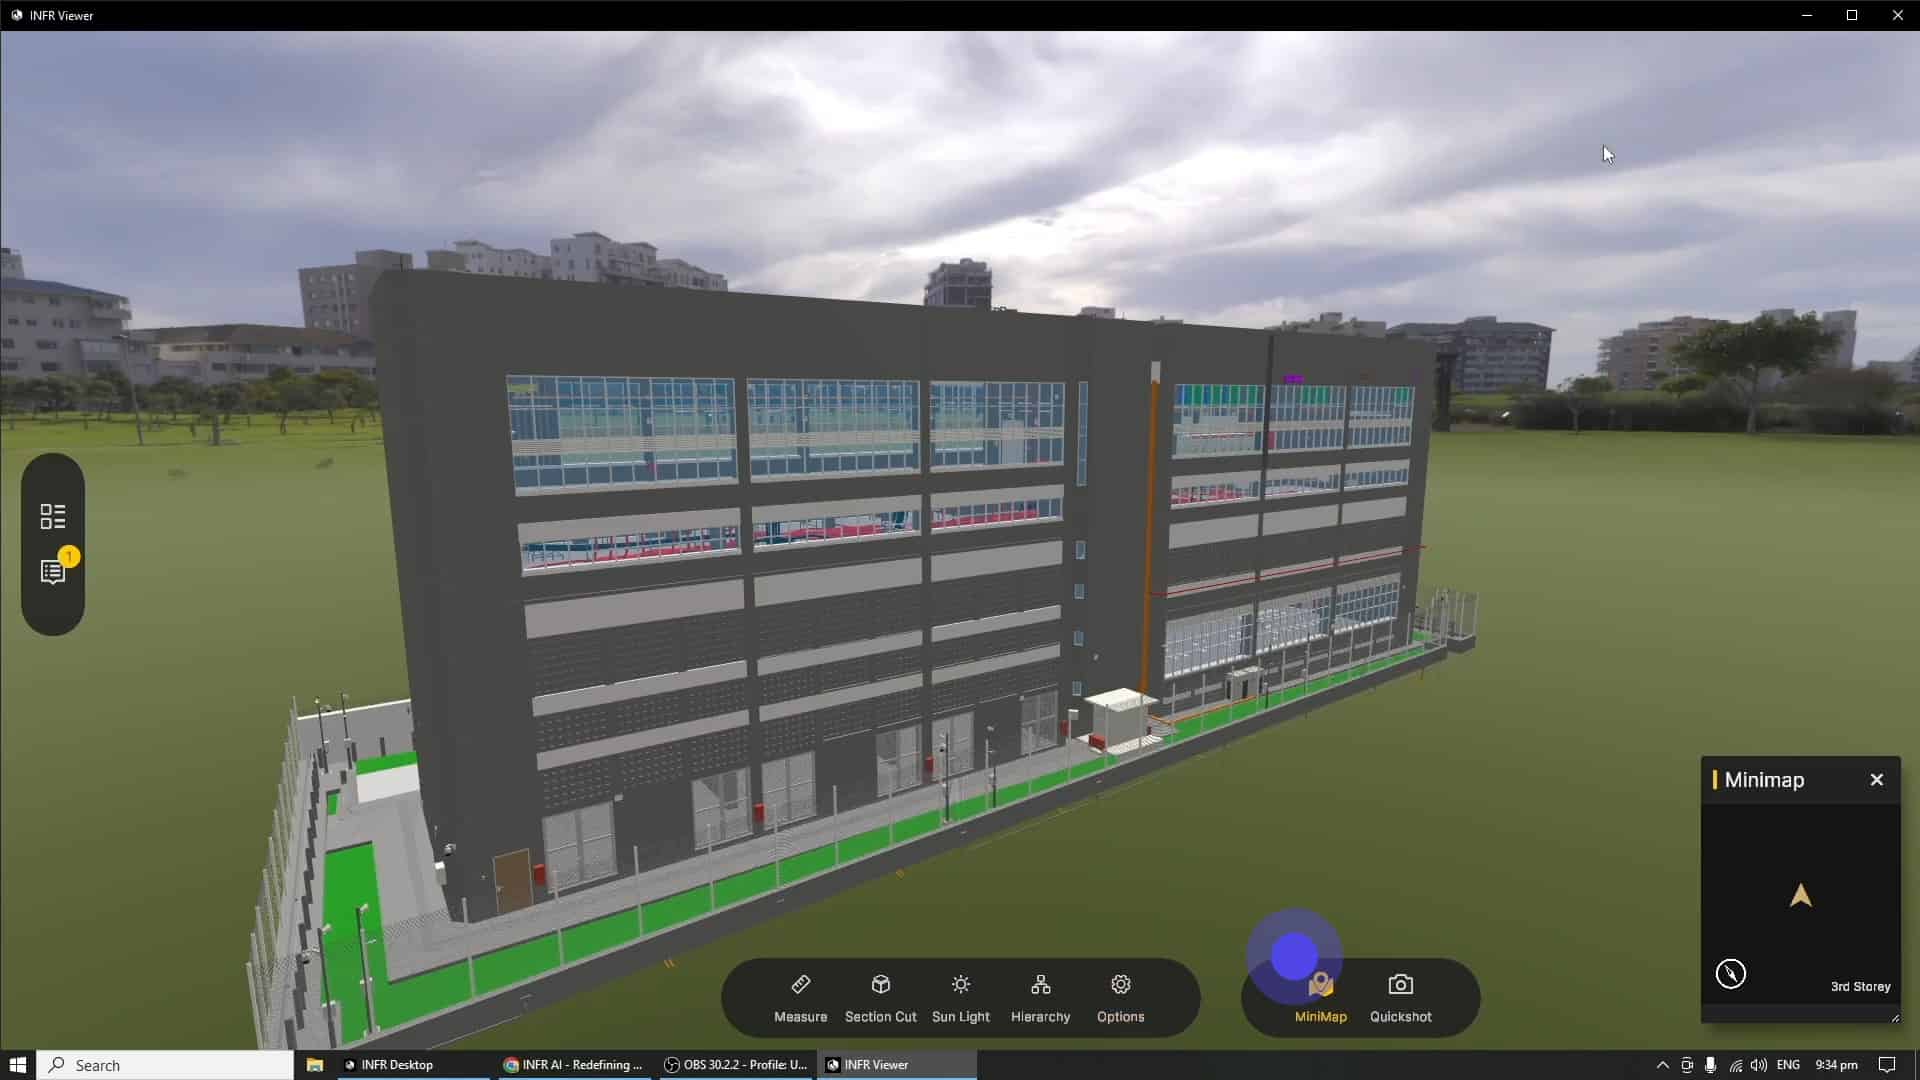
At the bottom, we have the main user interface, where you will be able to access tools such as measurement, section cuts, render settings like X-Ray mode and the Model Hierarchy to aid in the coordination of your design.
Note that similar to most tools, once the tool is activated, it will appear in orange on the bottom toolbar, and this will turn your left mouse click into that specific tool. If no tool is activated, your left mouse click defaults to the BIM Metadata Inspection Tool.
Lastly, we will go through some additional tools that will help in your review sessions such as the mini-map and screenshot tool.
Do note that a majority of pop-up windows within the viewer are movable and scalable in size, much like any programs on your computer.
That is the end of the Installation and User Interface quick start guide for INFR Desktop. Next we will move on to Model Navigation.