The INFR Desktop viewer was created to allow for intuitive one click tools to be used in real time; during design reviews and stakeholder engagement. Let's learn more about them!
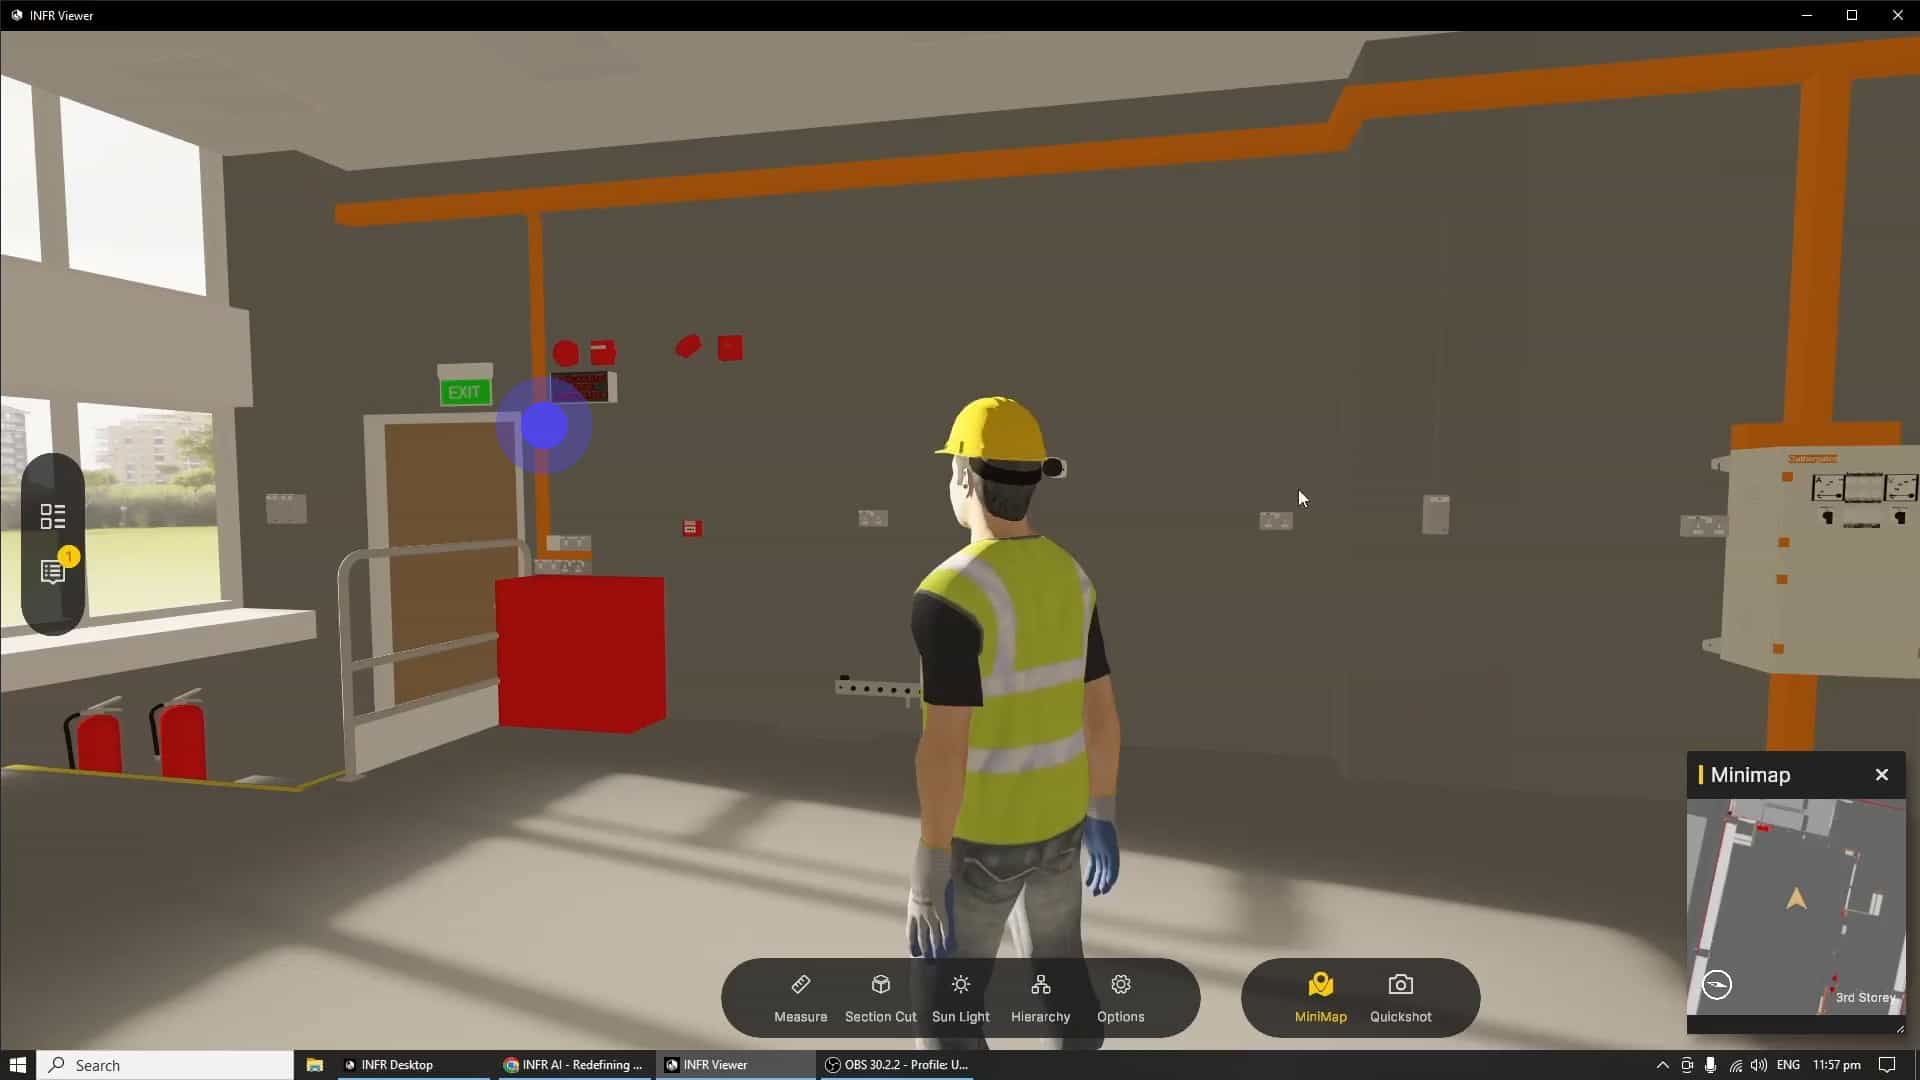
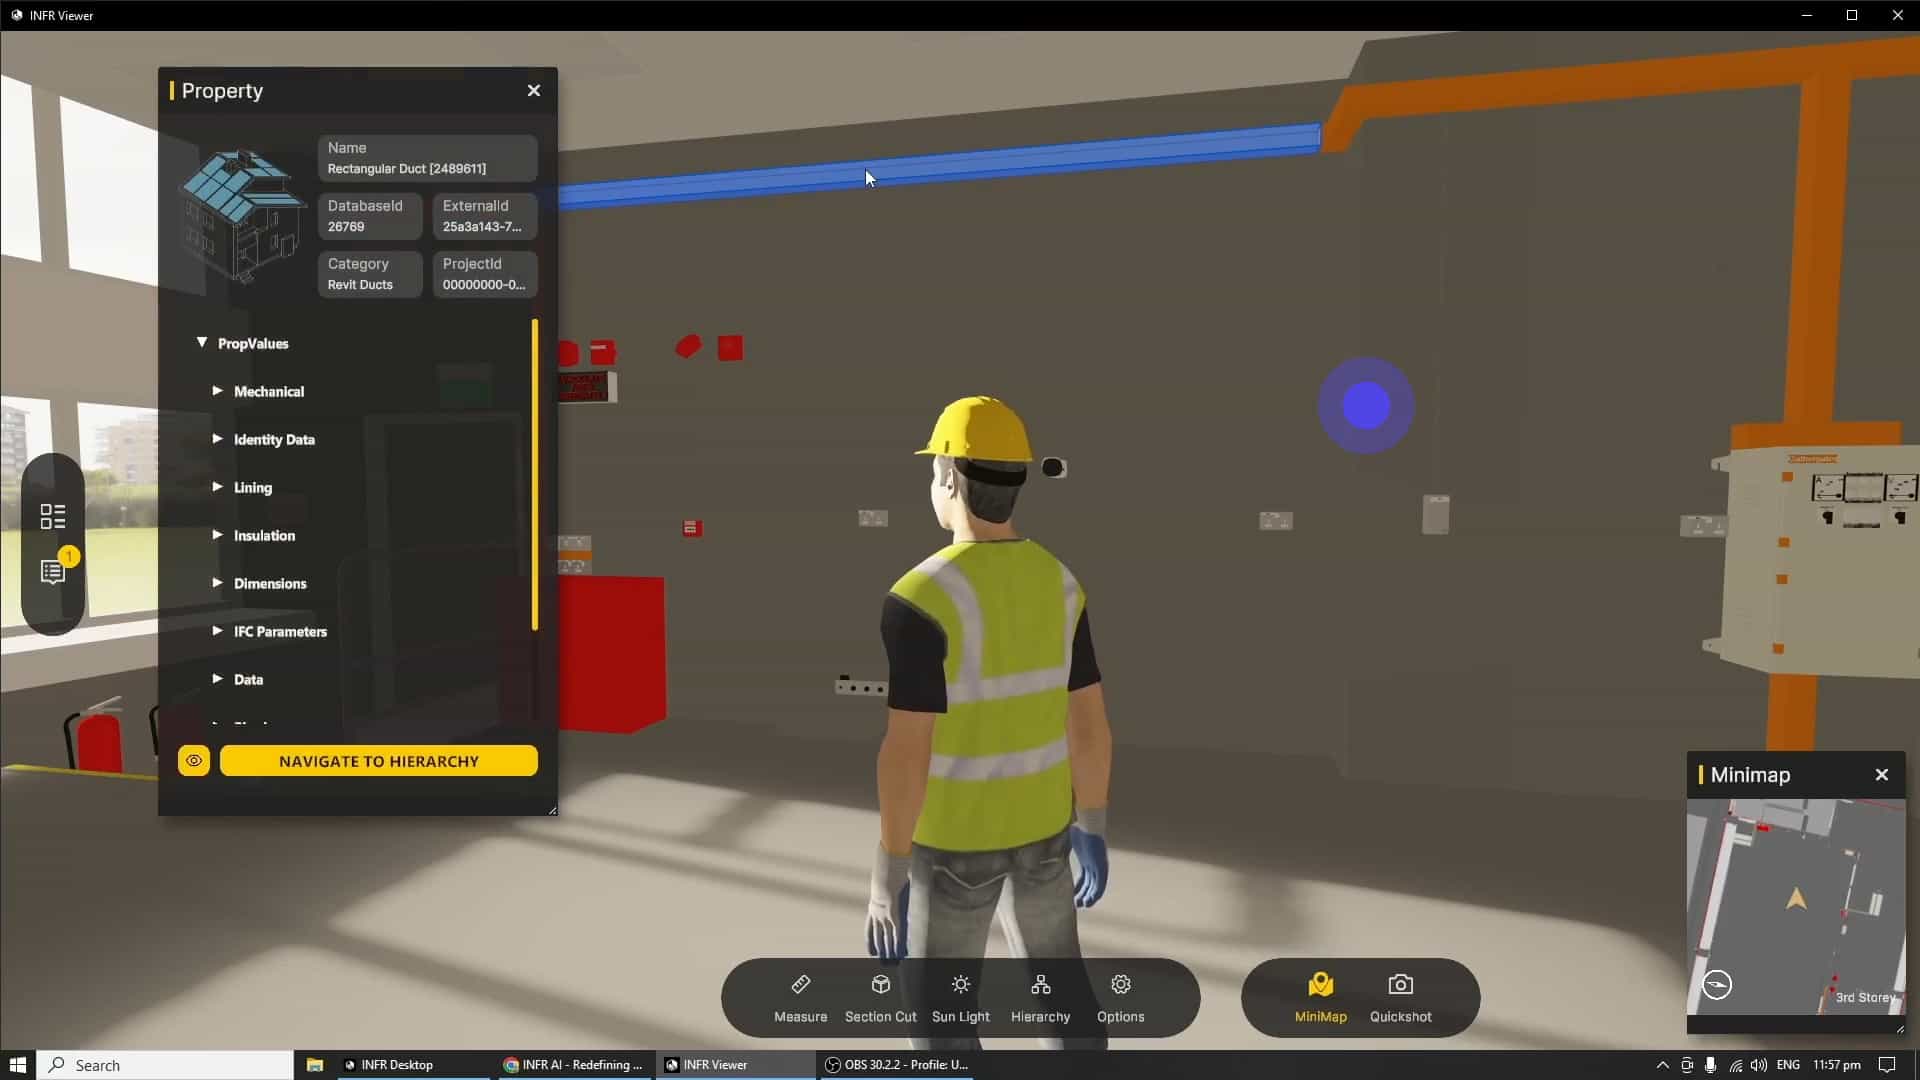
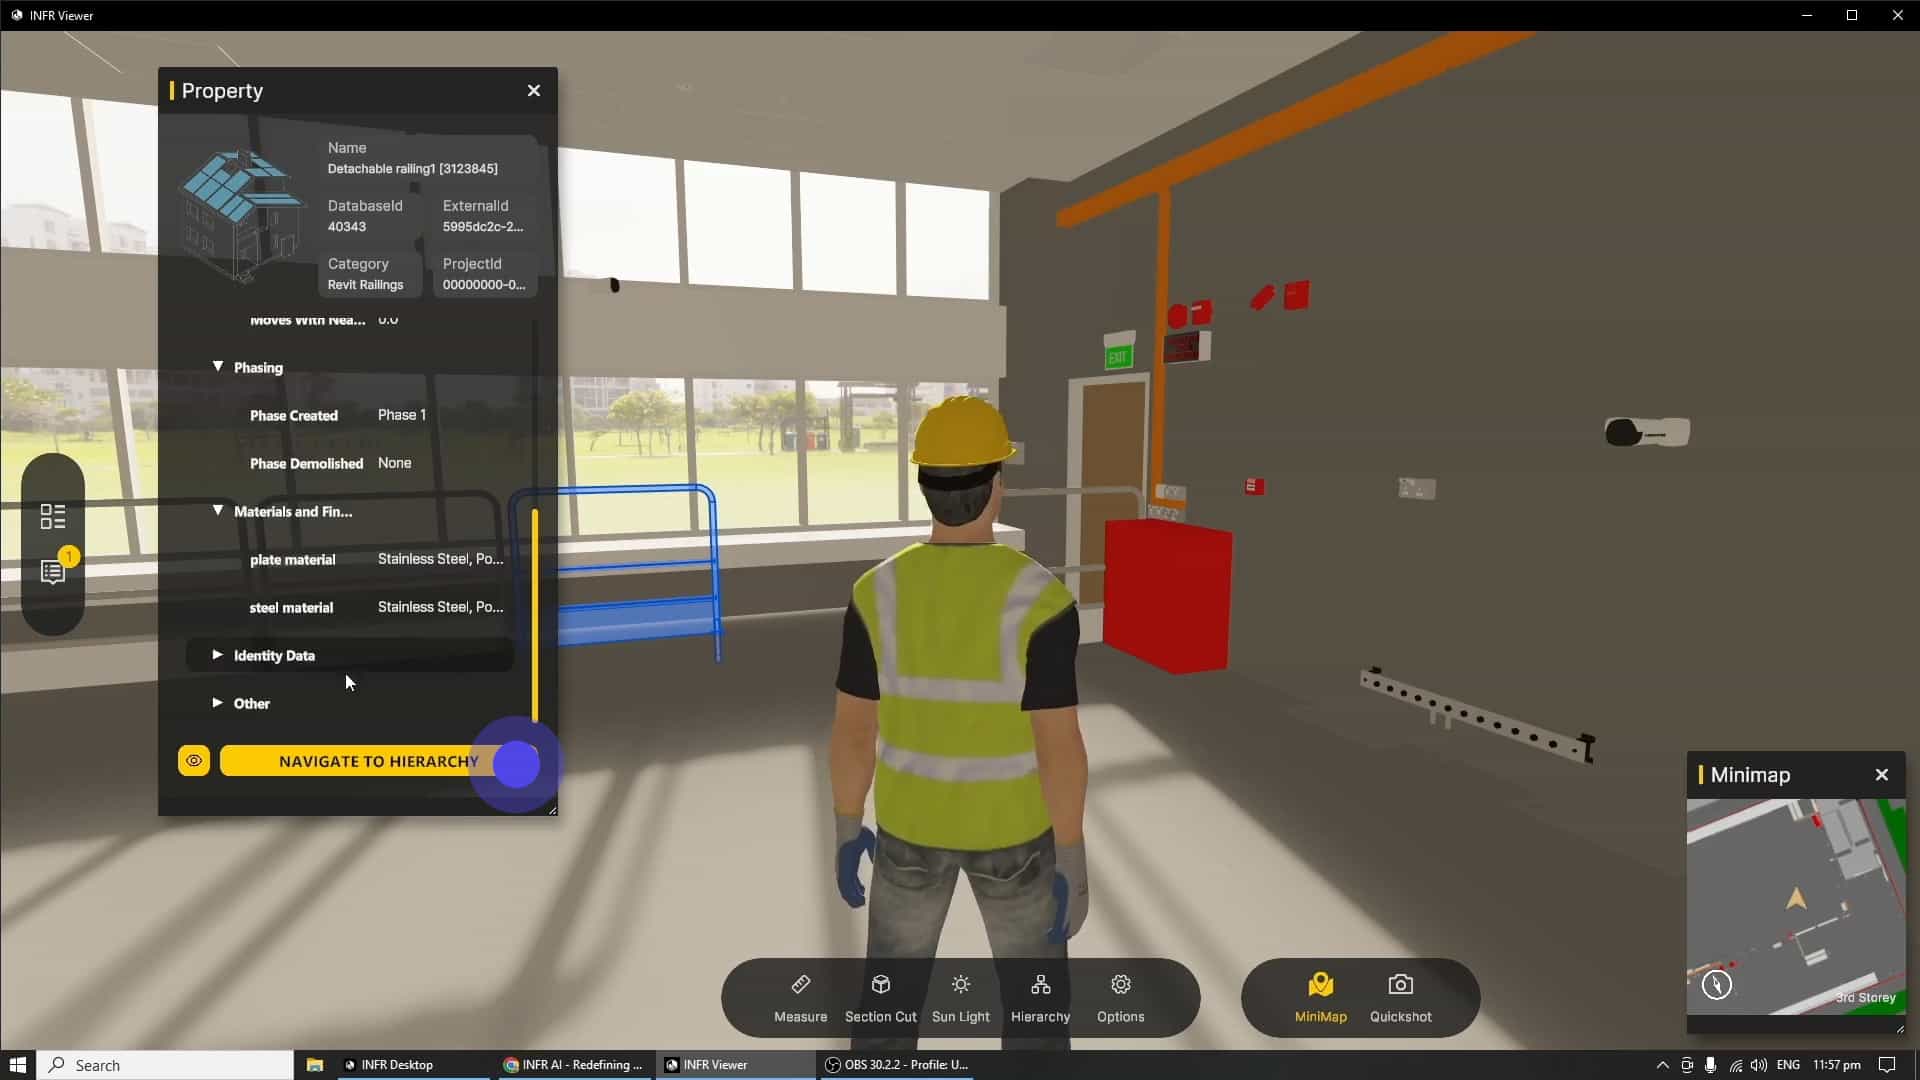
When no tools are activated on the bottom tool bar, the left mouse click defaults to the BIM Metadata Inspection Tool. Clicking on any BIM object will bring up the "Property" window, which will show the metadata of the highlighted object.
The "Property" window also enables the user to hide a single object or go to the selected object's location in the model hierarchy.
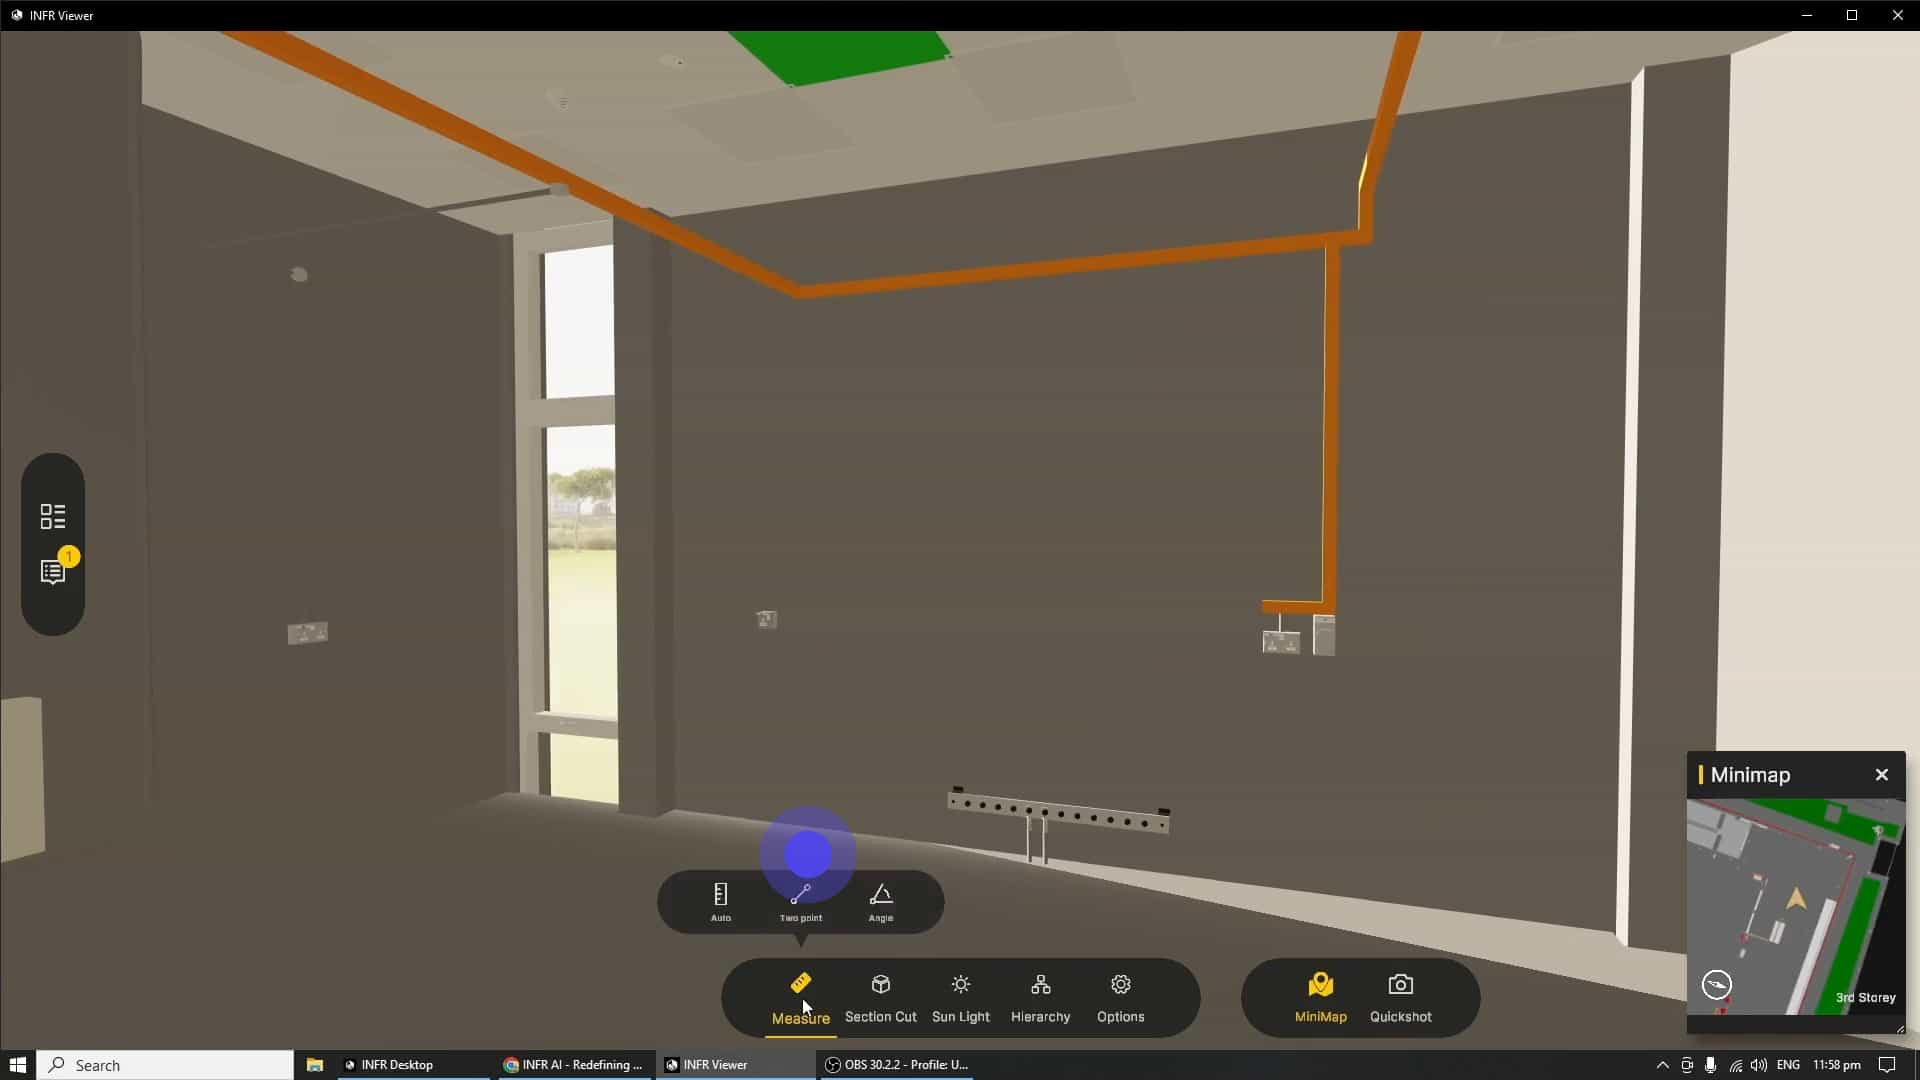
Moving on to Measurements, measurements can be activated by selecting "Measure" on the interface at the bottom of the screen.
After framing the area that you would like to measure in your view, select one of 3 modes of measurement.
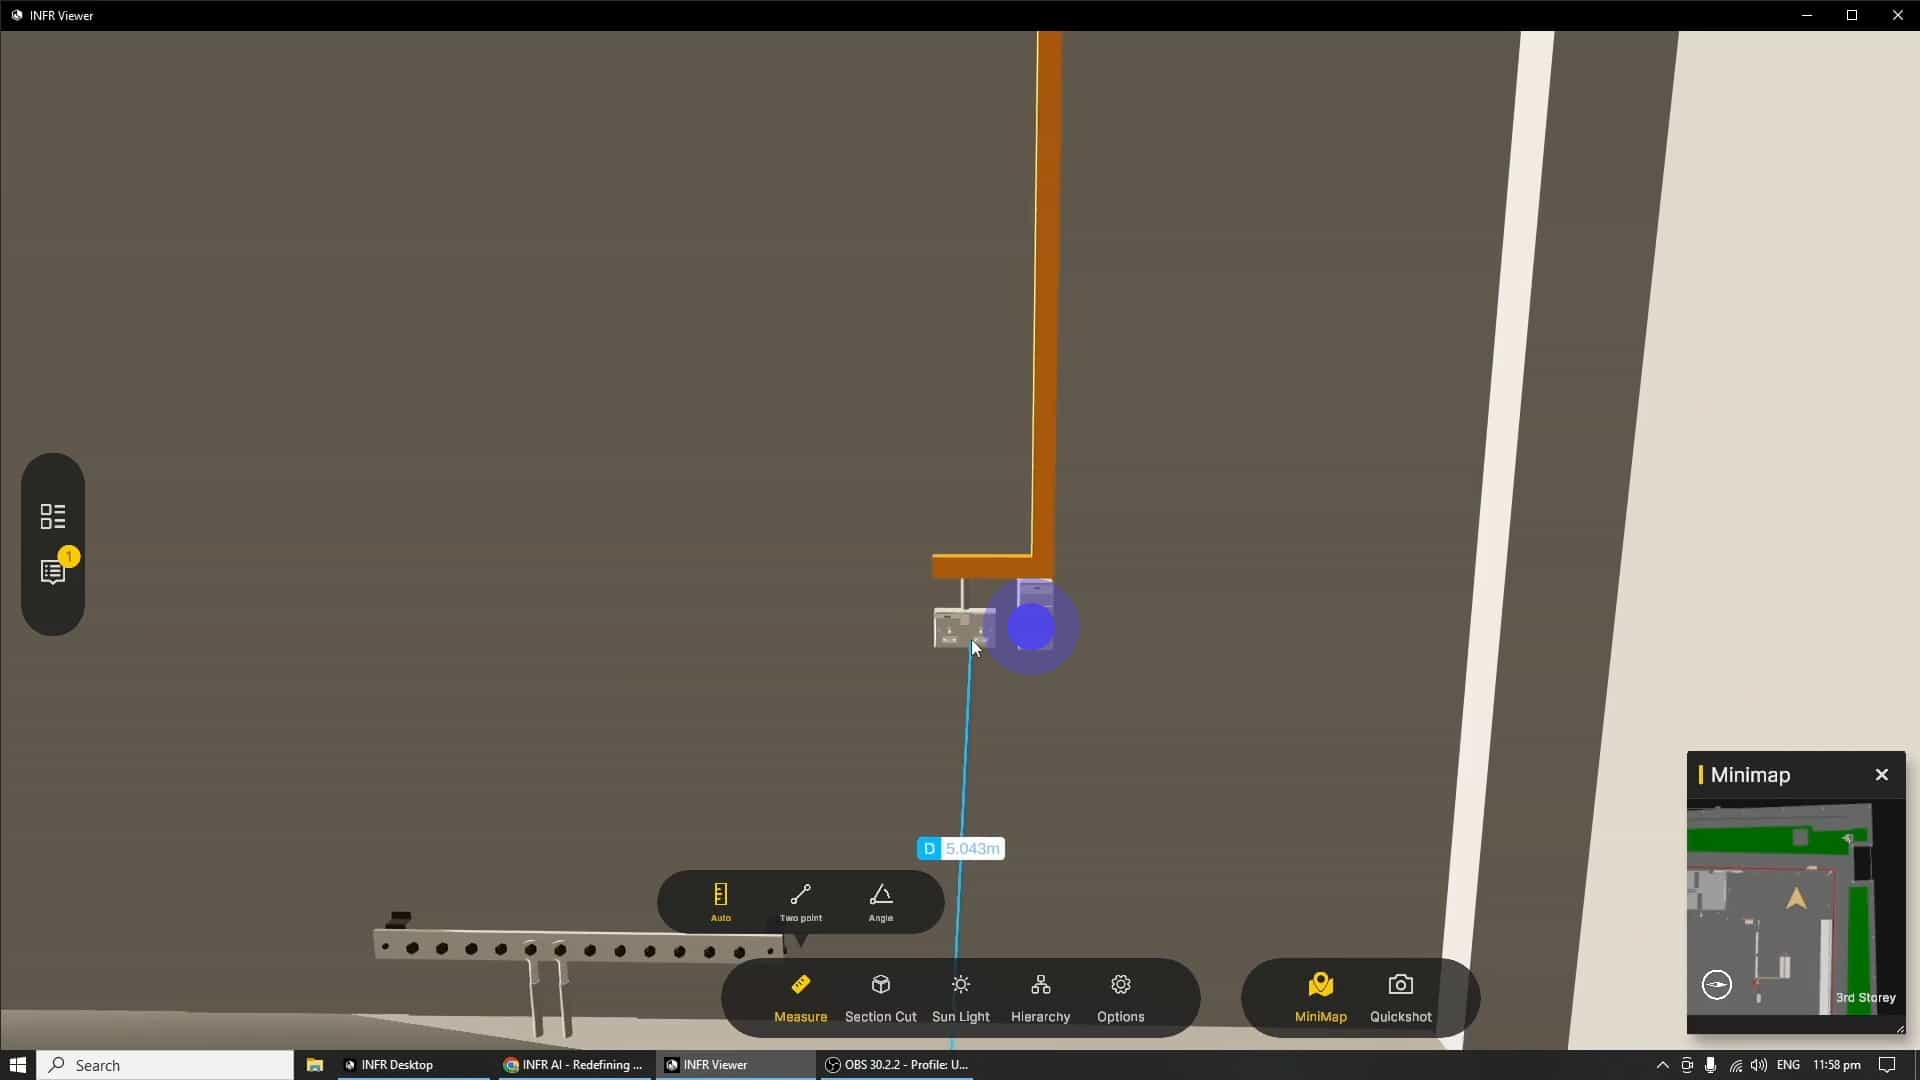
The "Auto" measure mode calculates the shortest distance between two planes, this is great for measuring headroom quickly.
However, the "Auto" Measure is not great at measuring from edges or planes that are not perpendicular to each other, for this we will use the "Two-Point" Measure.
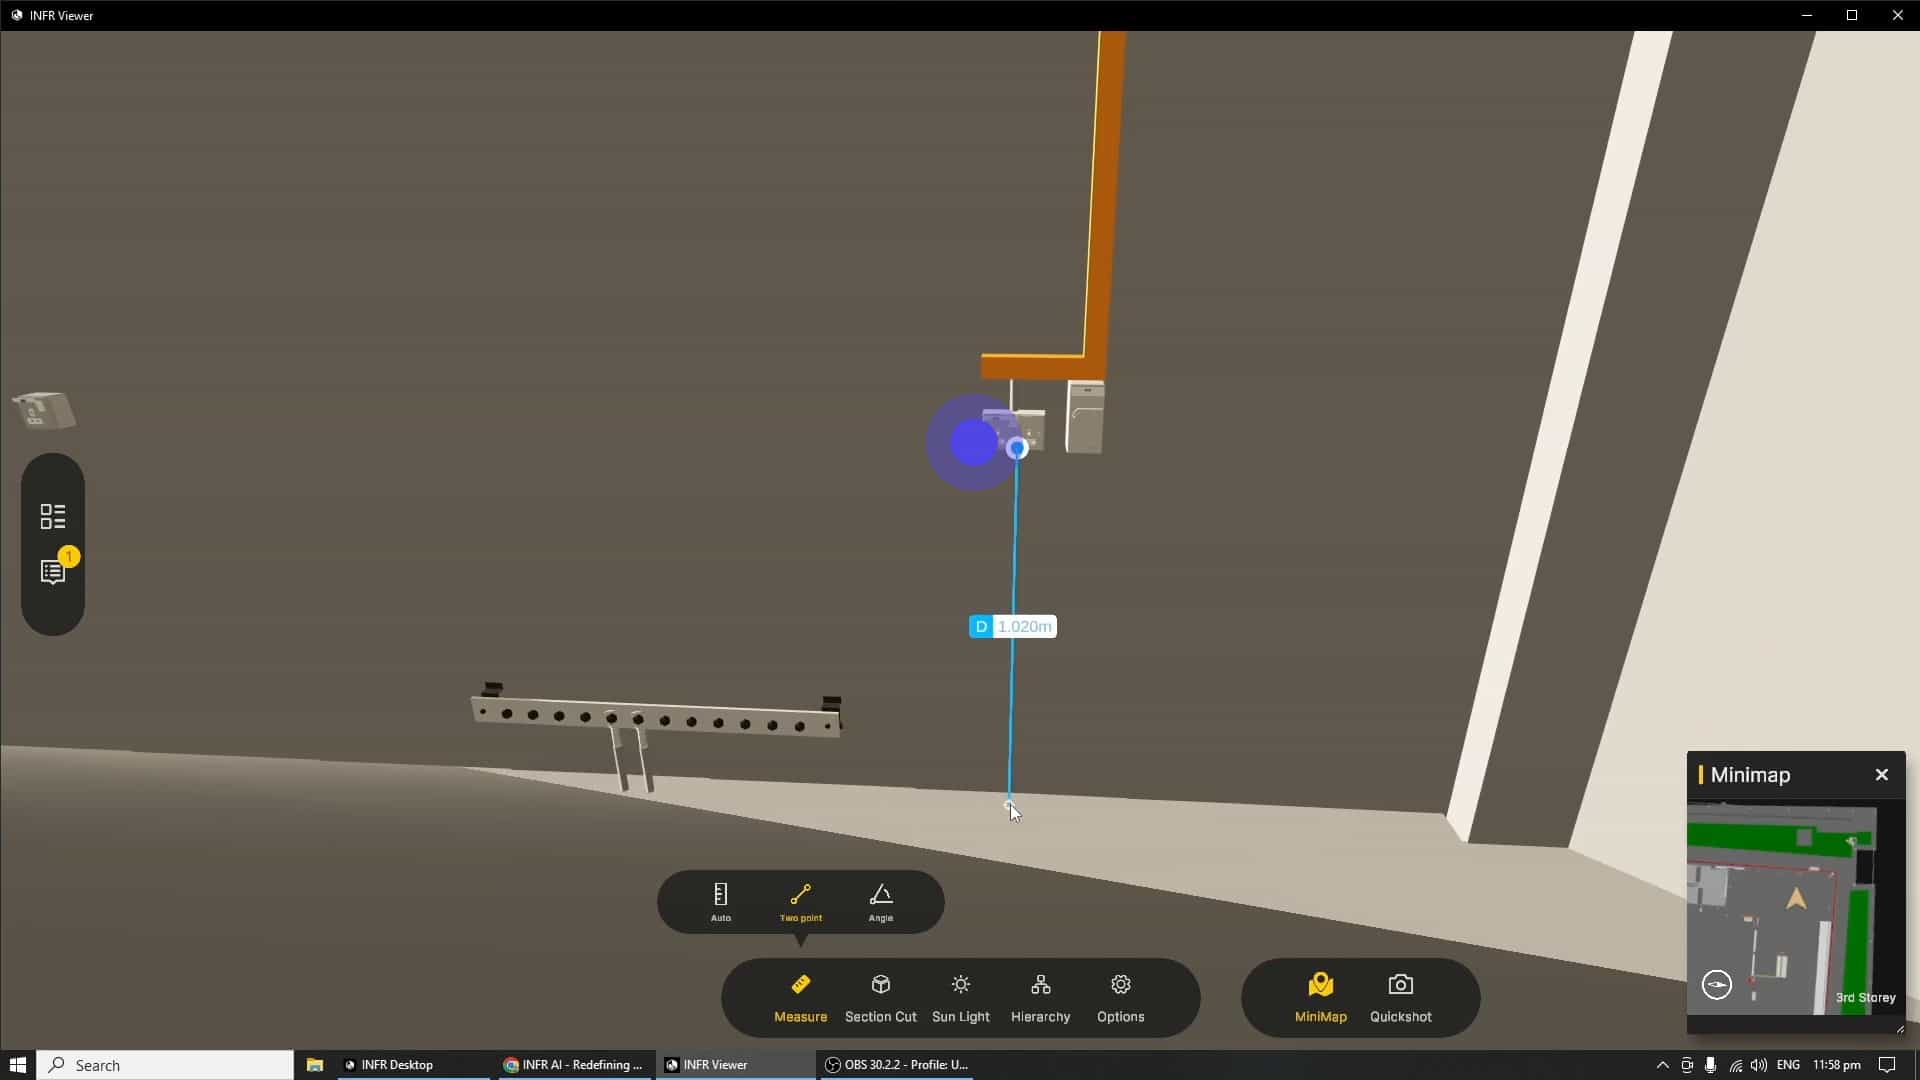
The "2 Point" Measure allows for smart edge detection and axis snapping, in this example one could easily measure the base of an object to the finished floor level.
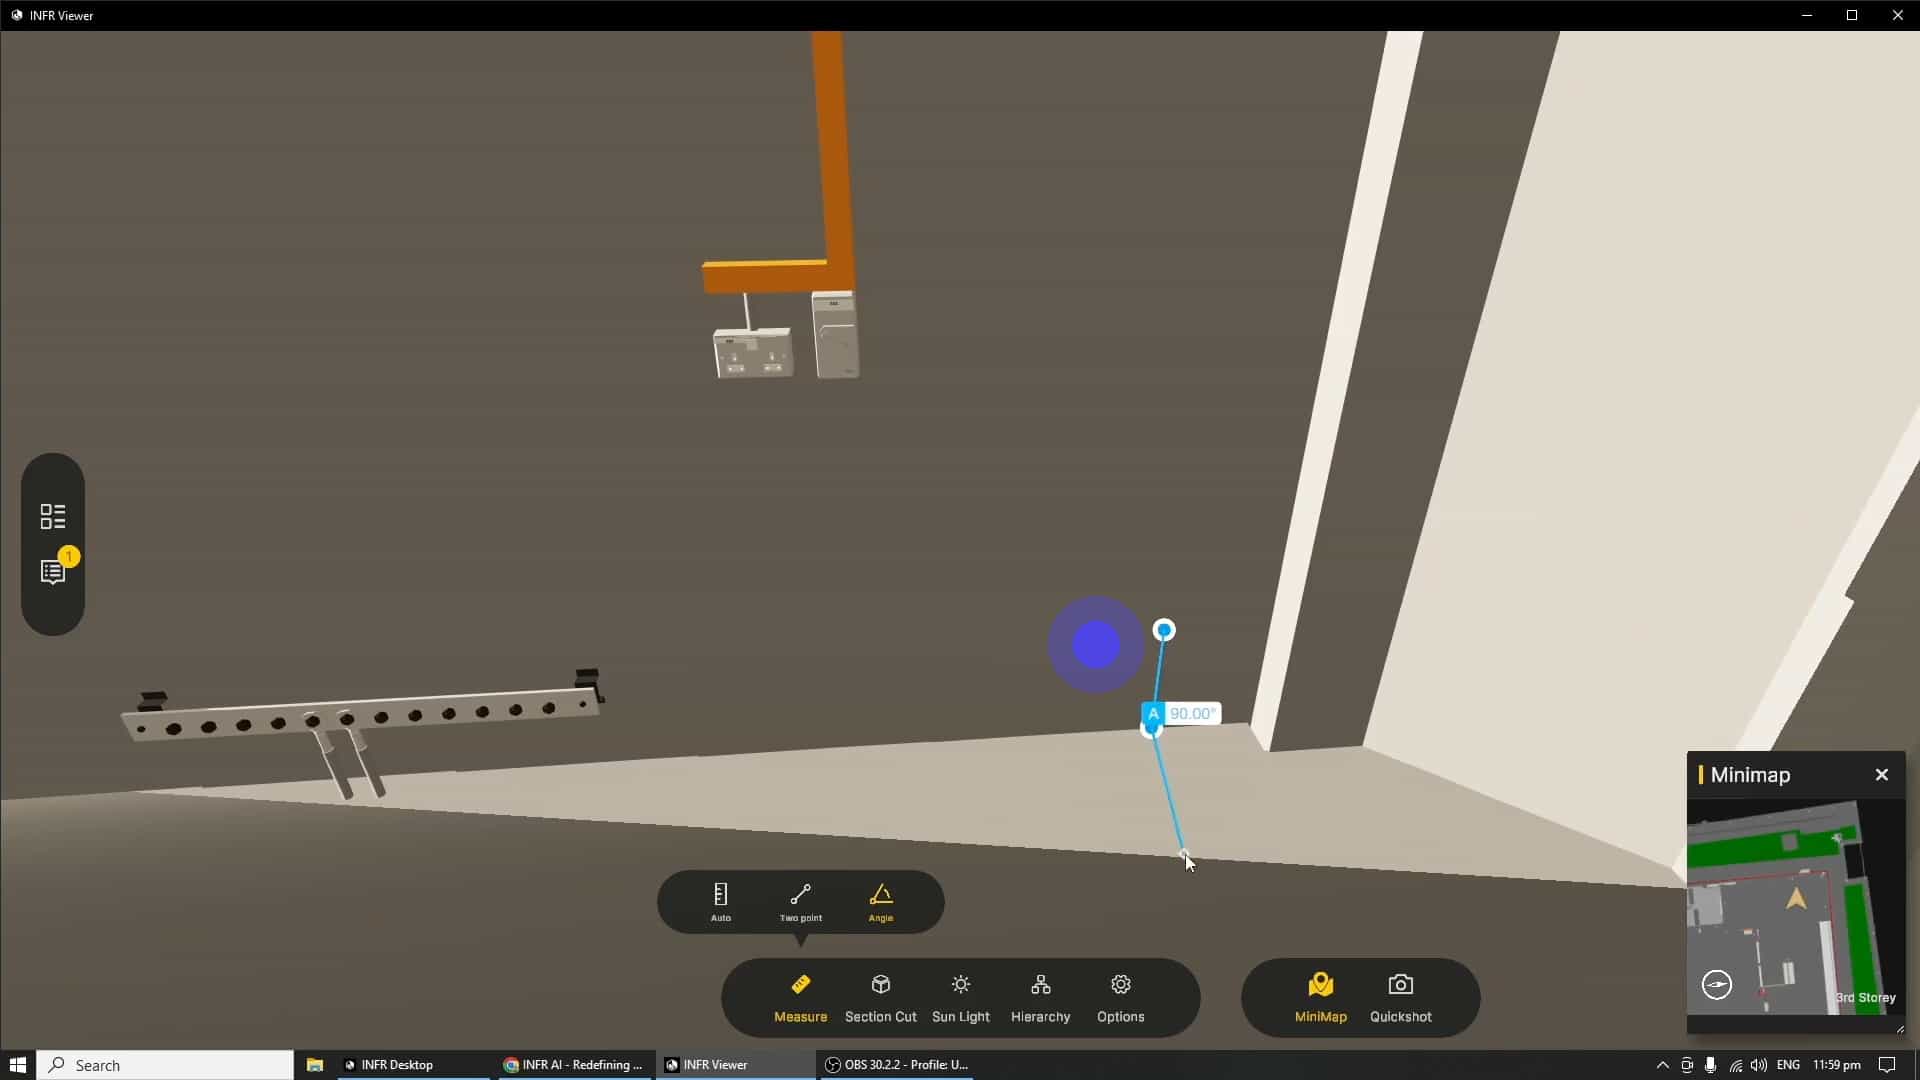
The "Angle" Measure allows for the placement of 3 points, and will calculate the angle that is made by the two connecting lines, this measure also has edge snapping.
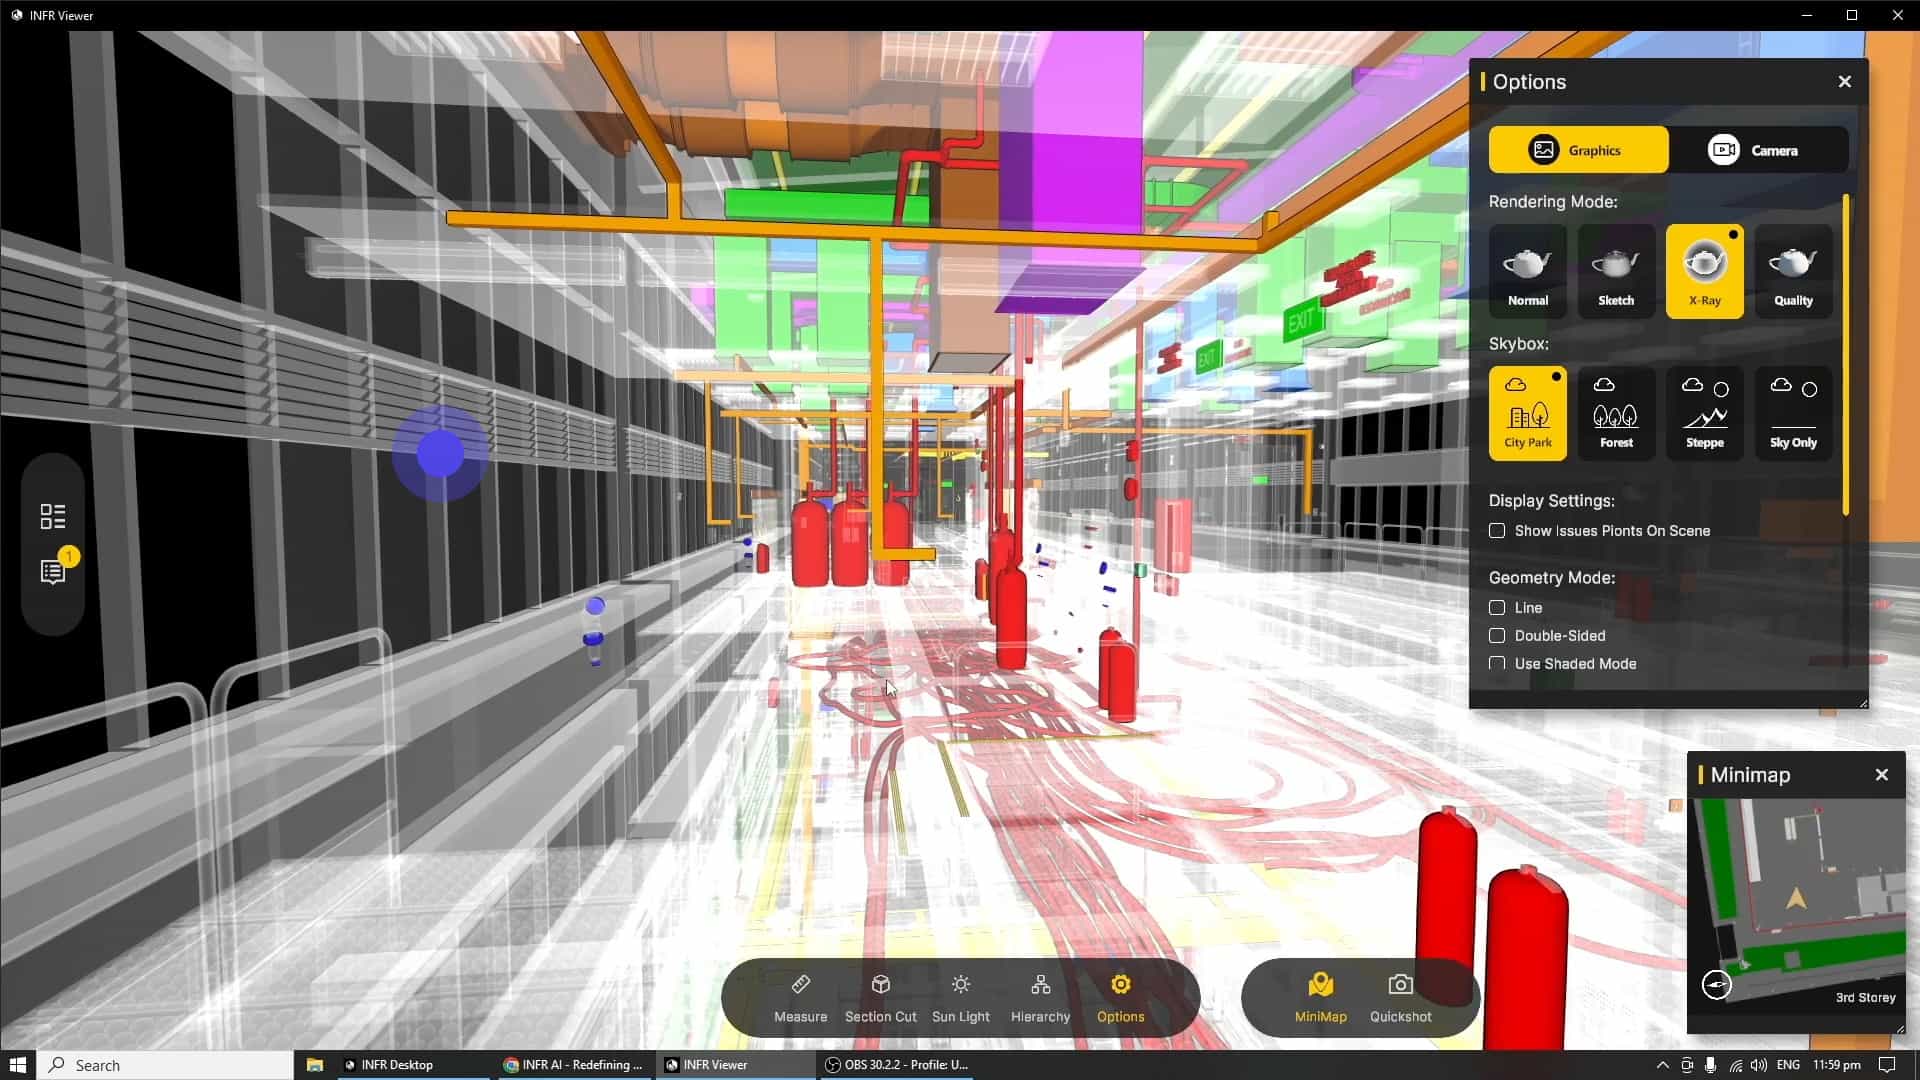
Although the X-Ray Render Mode may be helpful in better understanding or communicating the interdisciplinary nature of the design, sometimes a good old section cut may be needed.
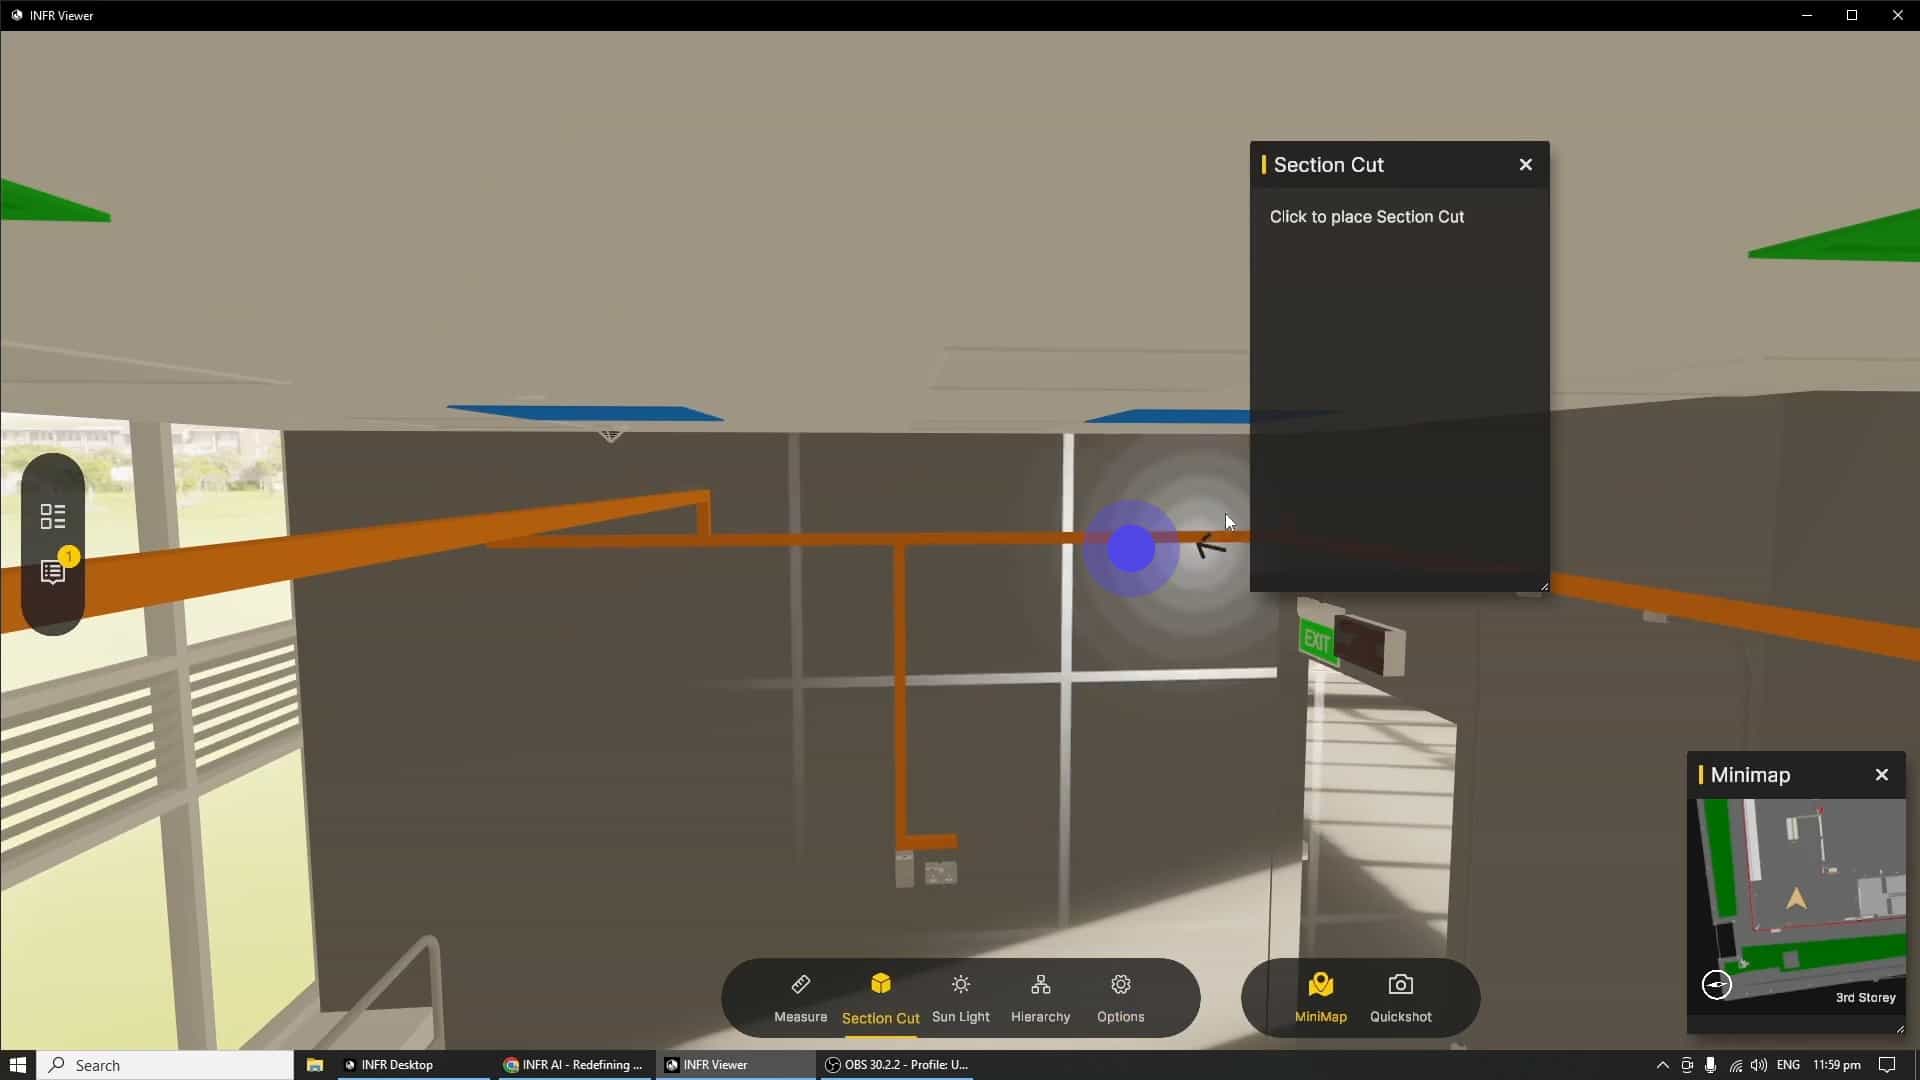
Activate the "Section Cut" tool and apply it to the model with the left mouse button hold.
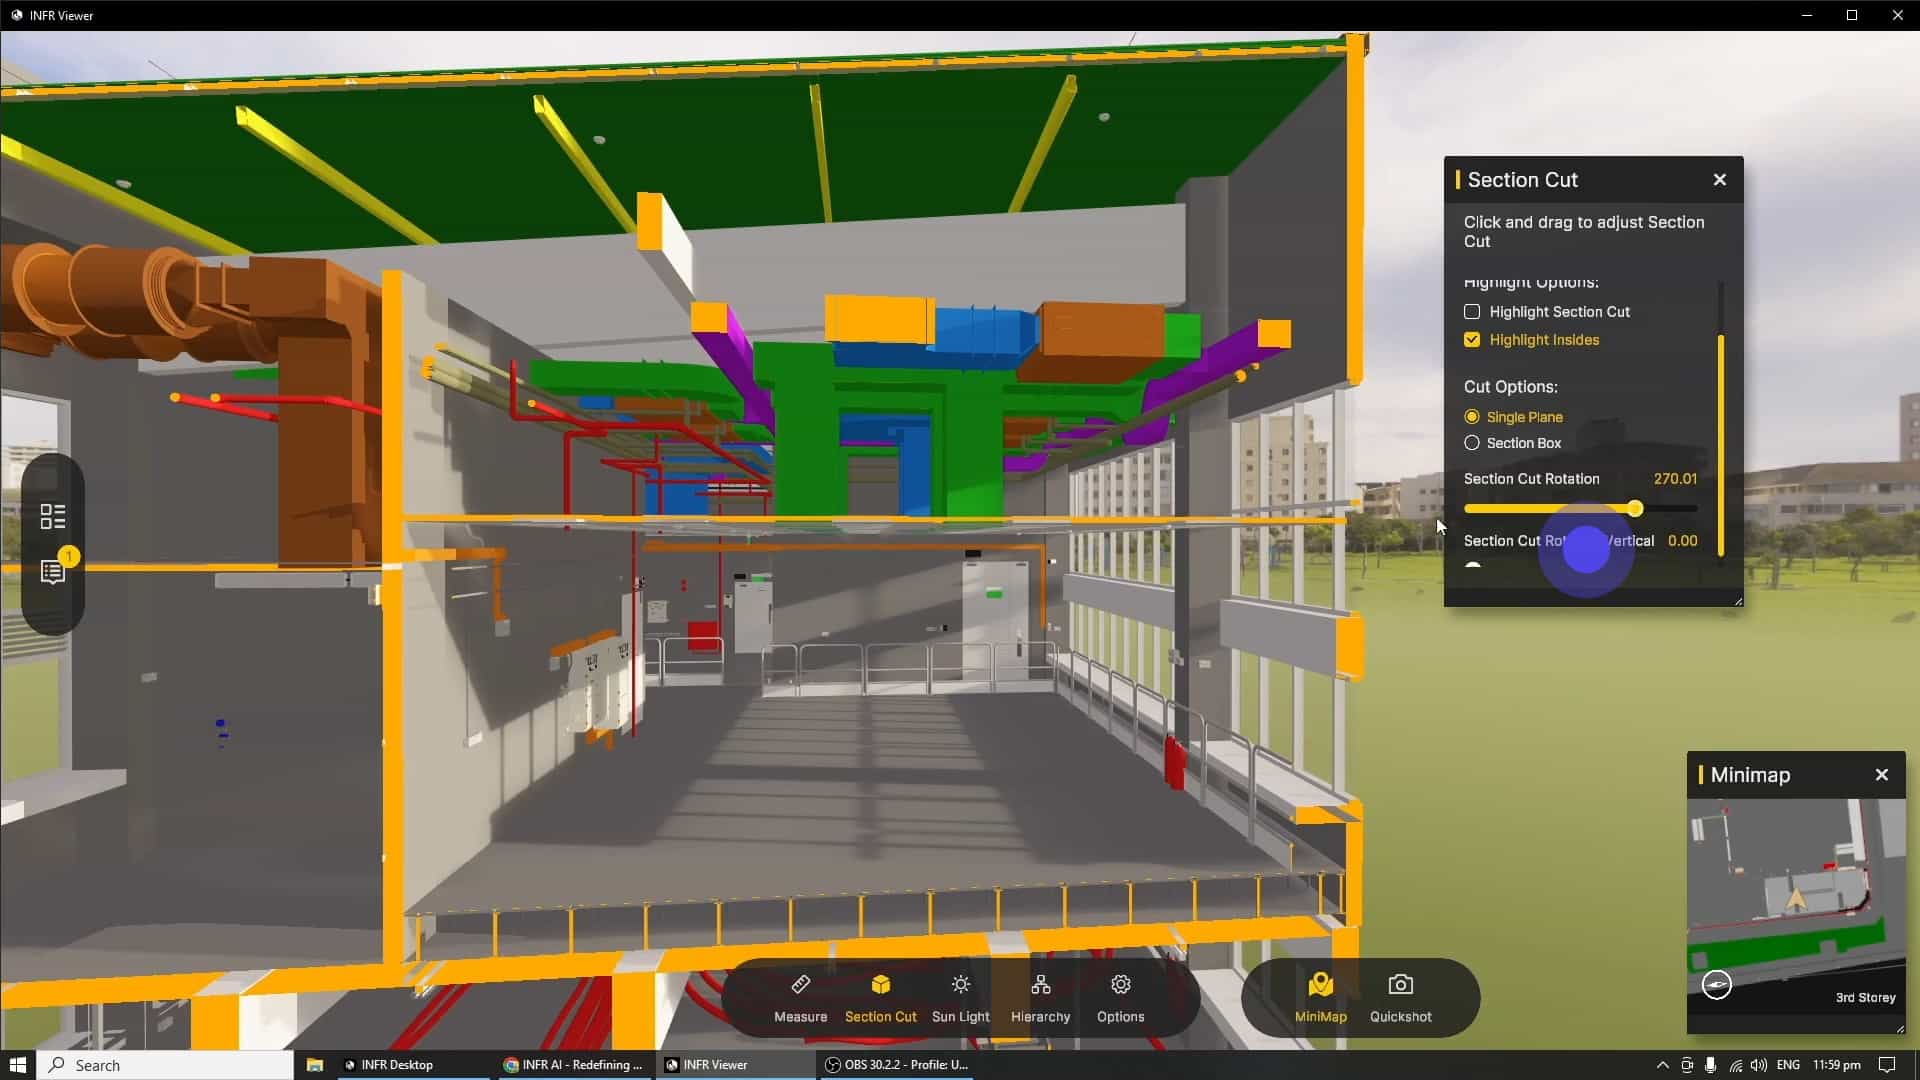
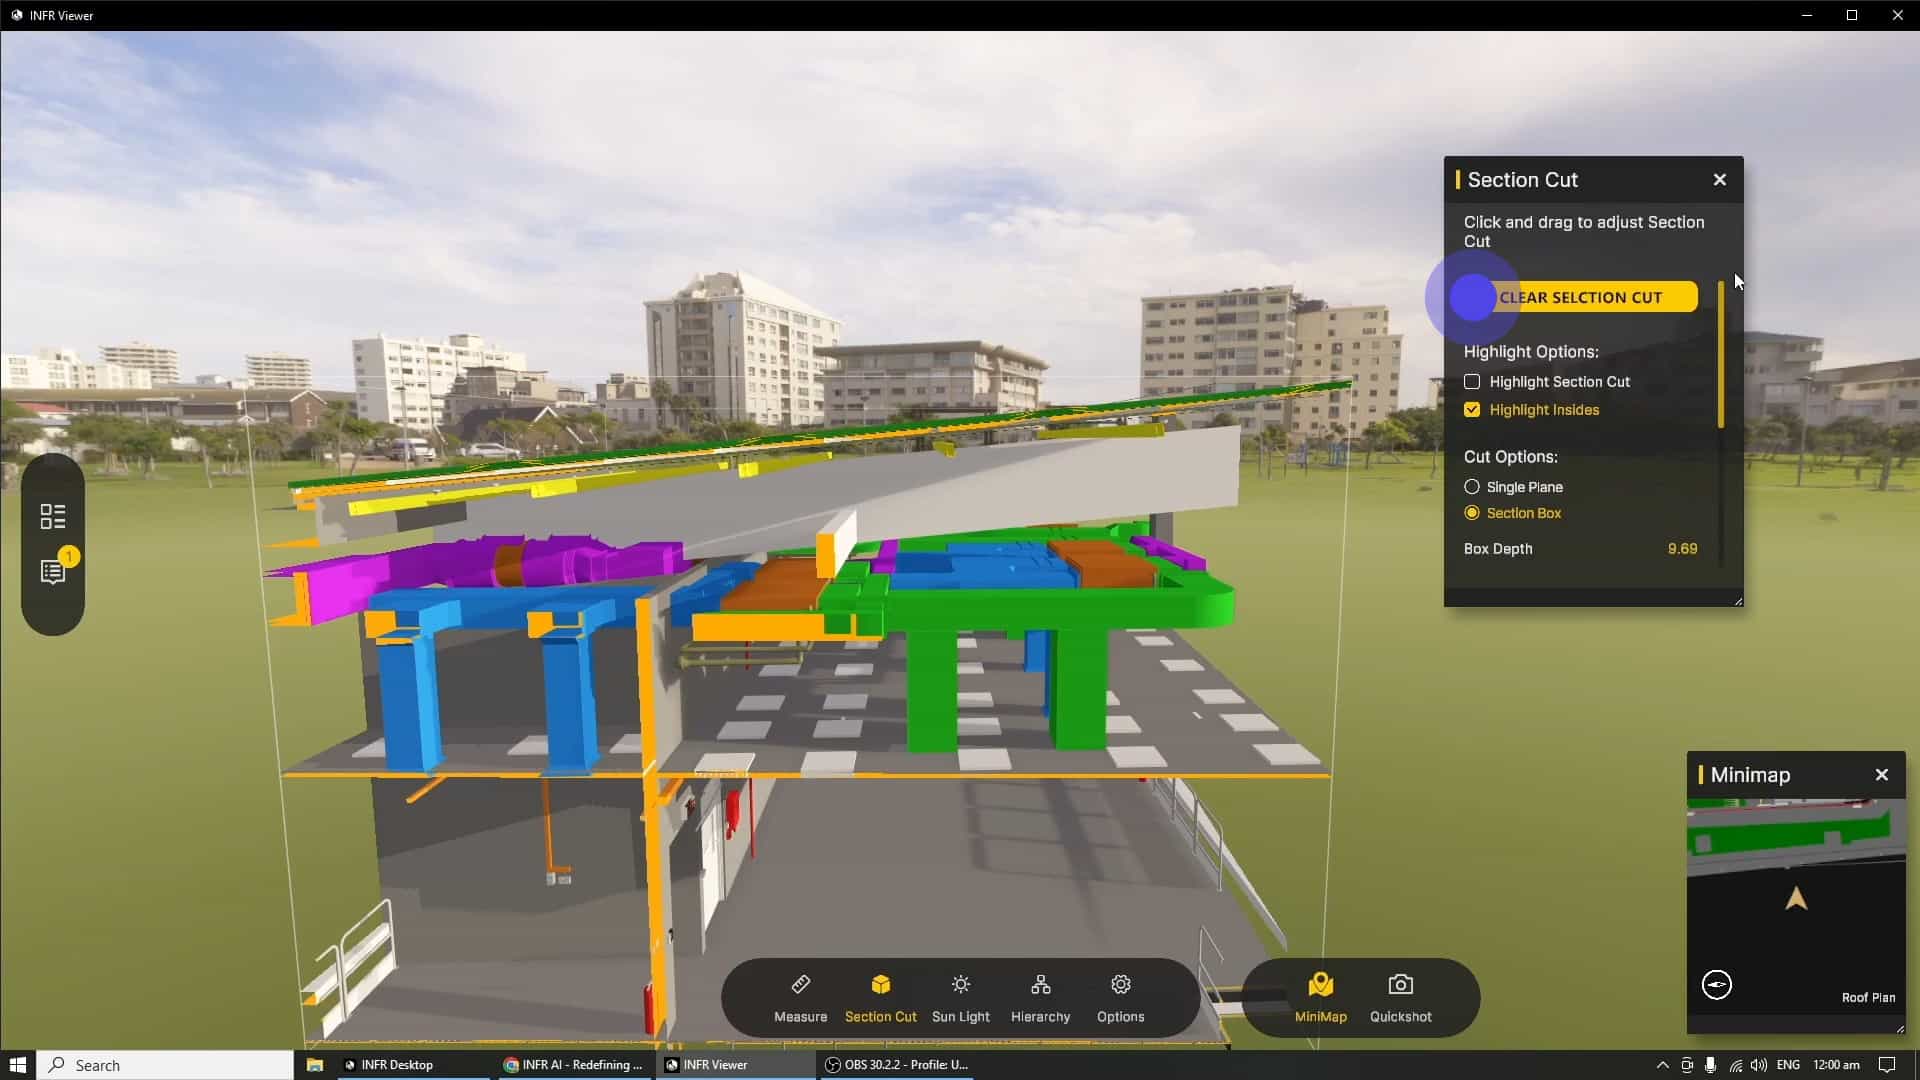
The Section Cut window has many more parameters for fine tuning. Navigation in the 3D space is essential for utilising the section cut smoothly.
Once you are done, in order to turn off cuts made, scroll to the top of the tool window and click on the "Clear Section Cut" Button.
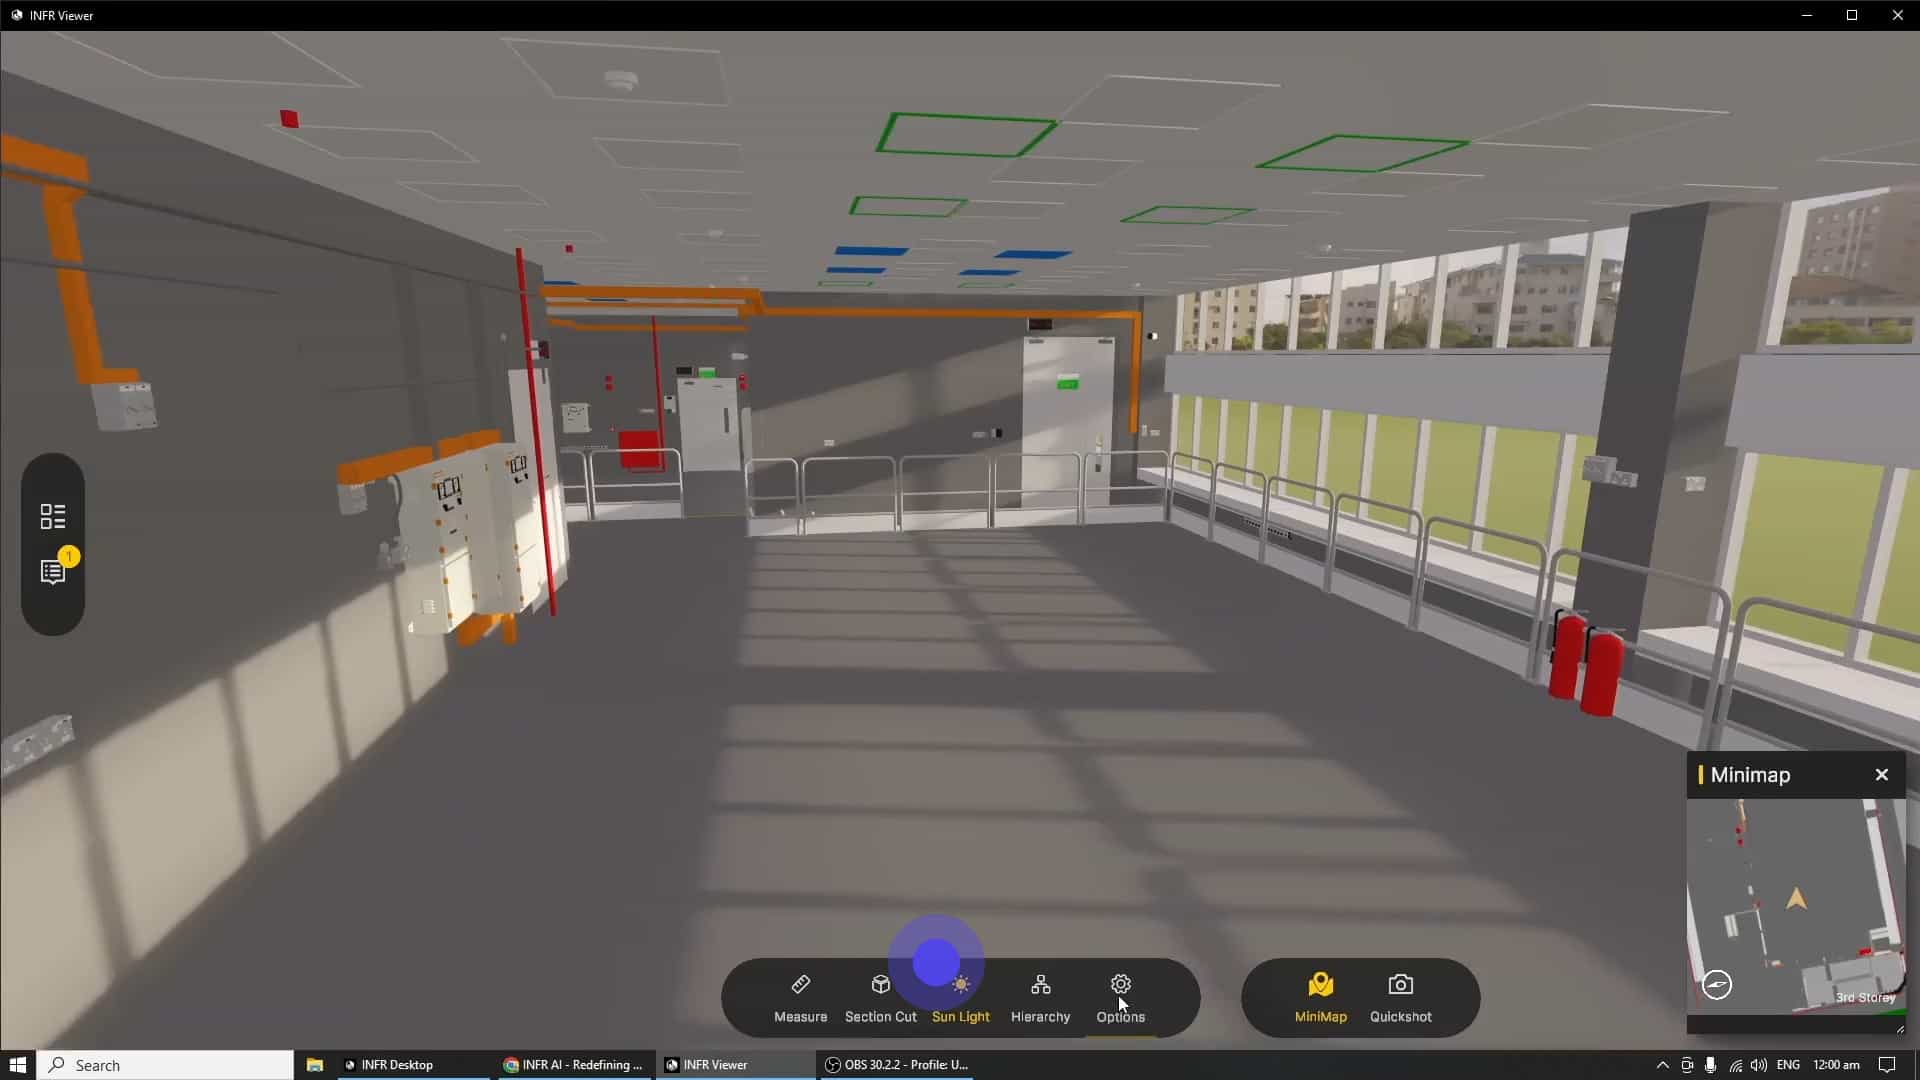
The "Sunlight" tool as previously mentioned in the Graphics tutorial, allows the user to adjust the direction of sunlight.
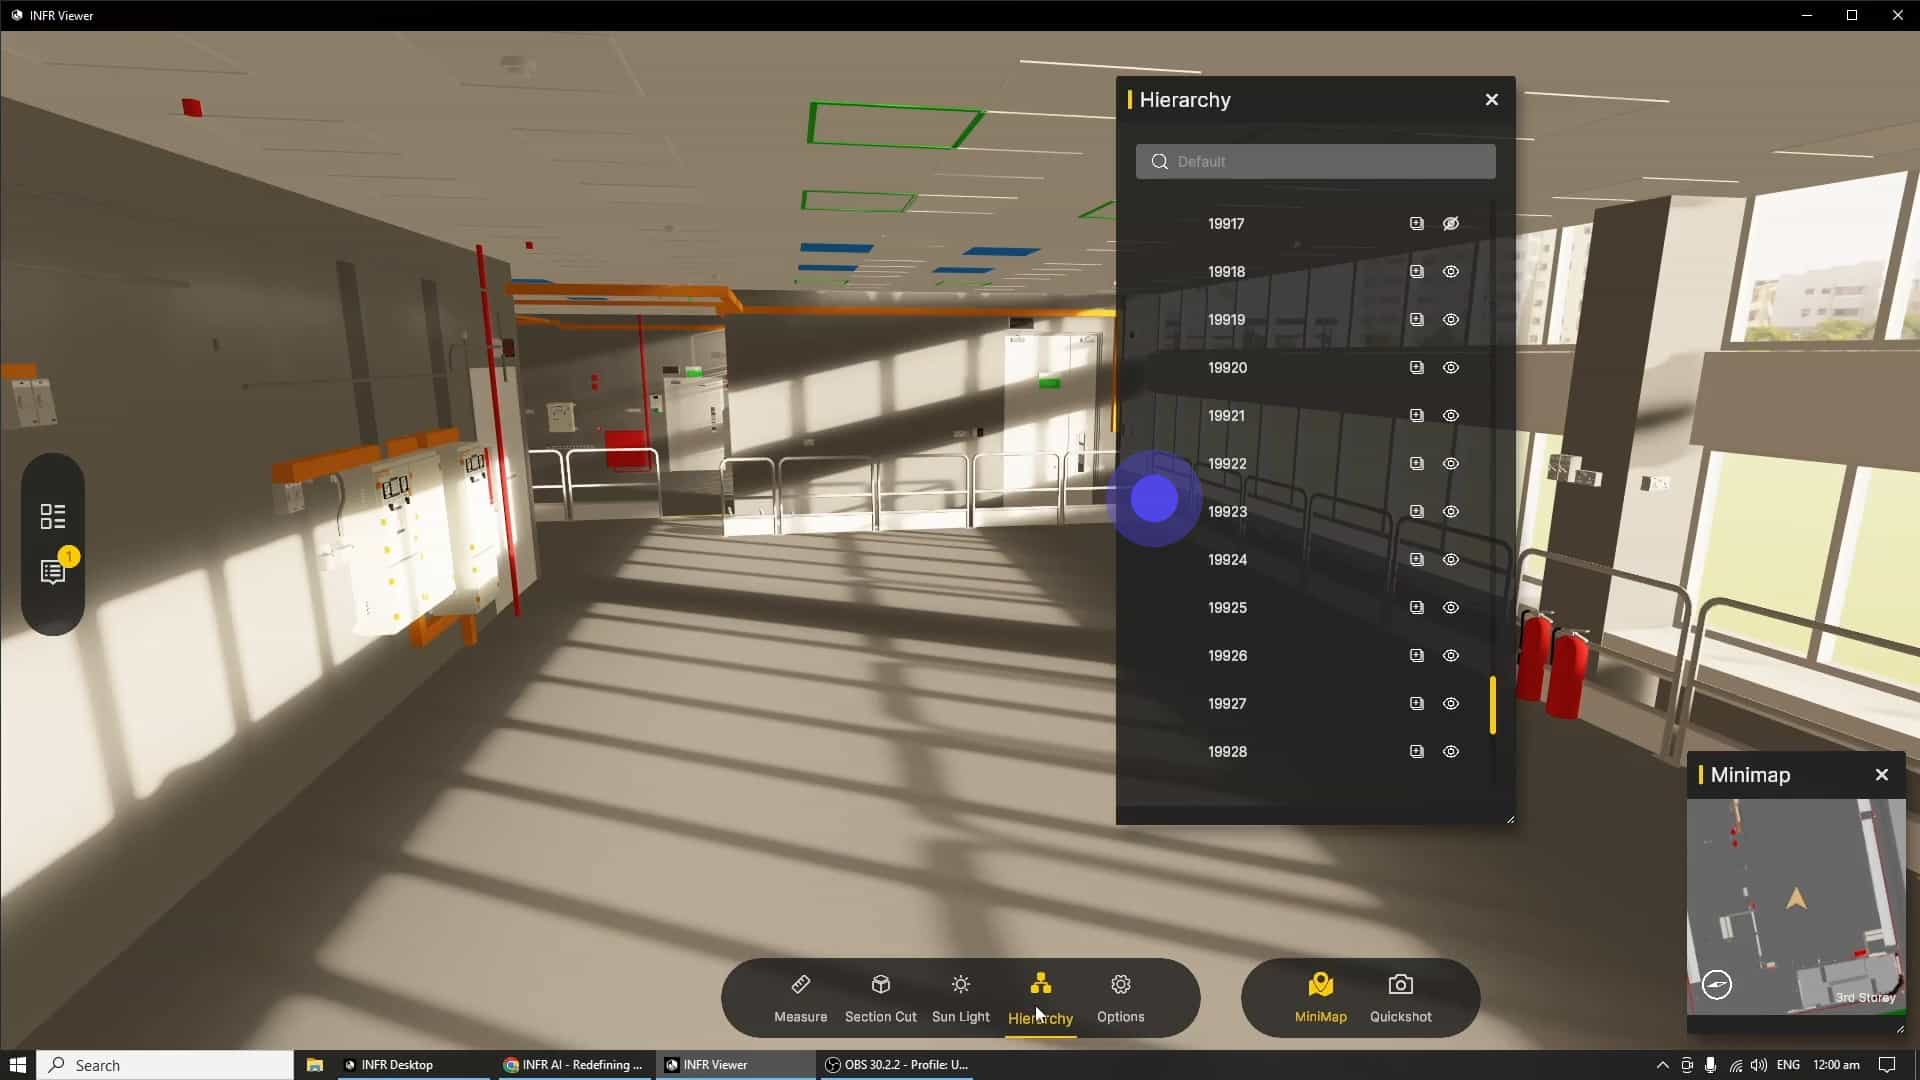
The "Hierarchy" window allows users to inspect individual Layers or Families in the Model, it also allows for hiding of either single objects or entire families of objects.
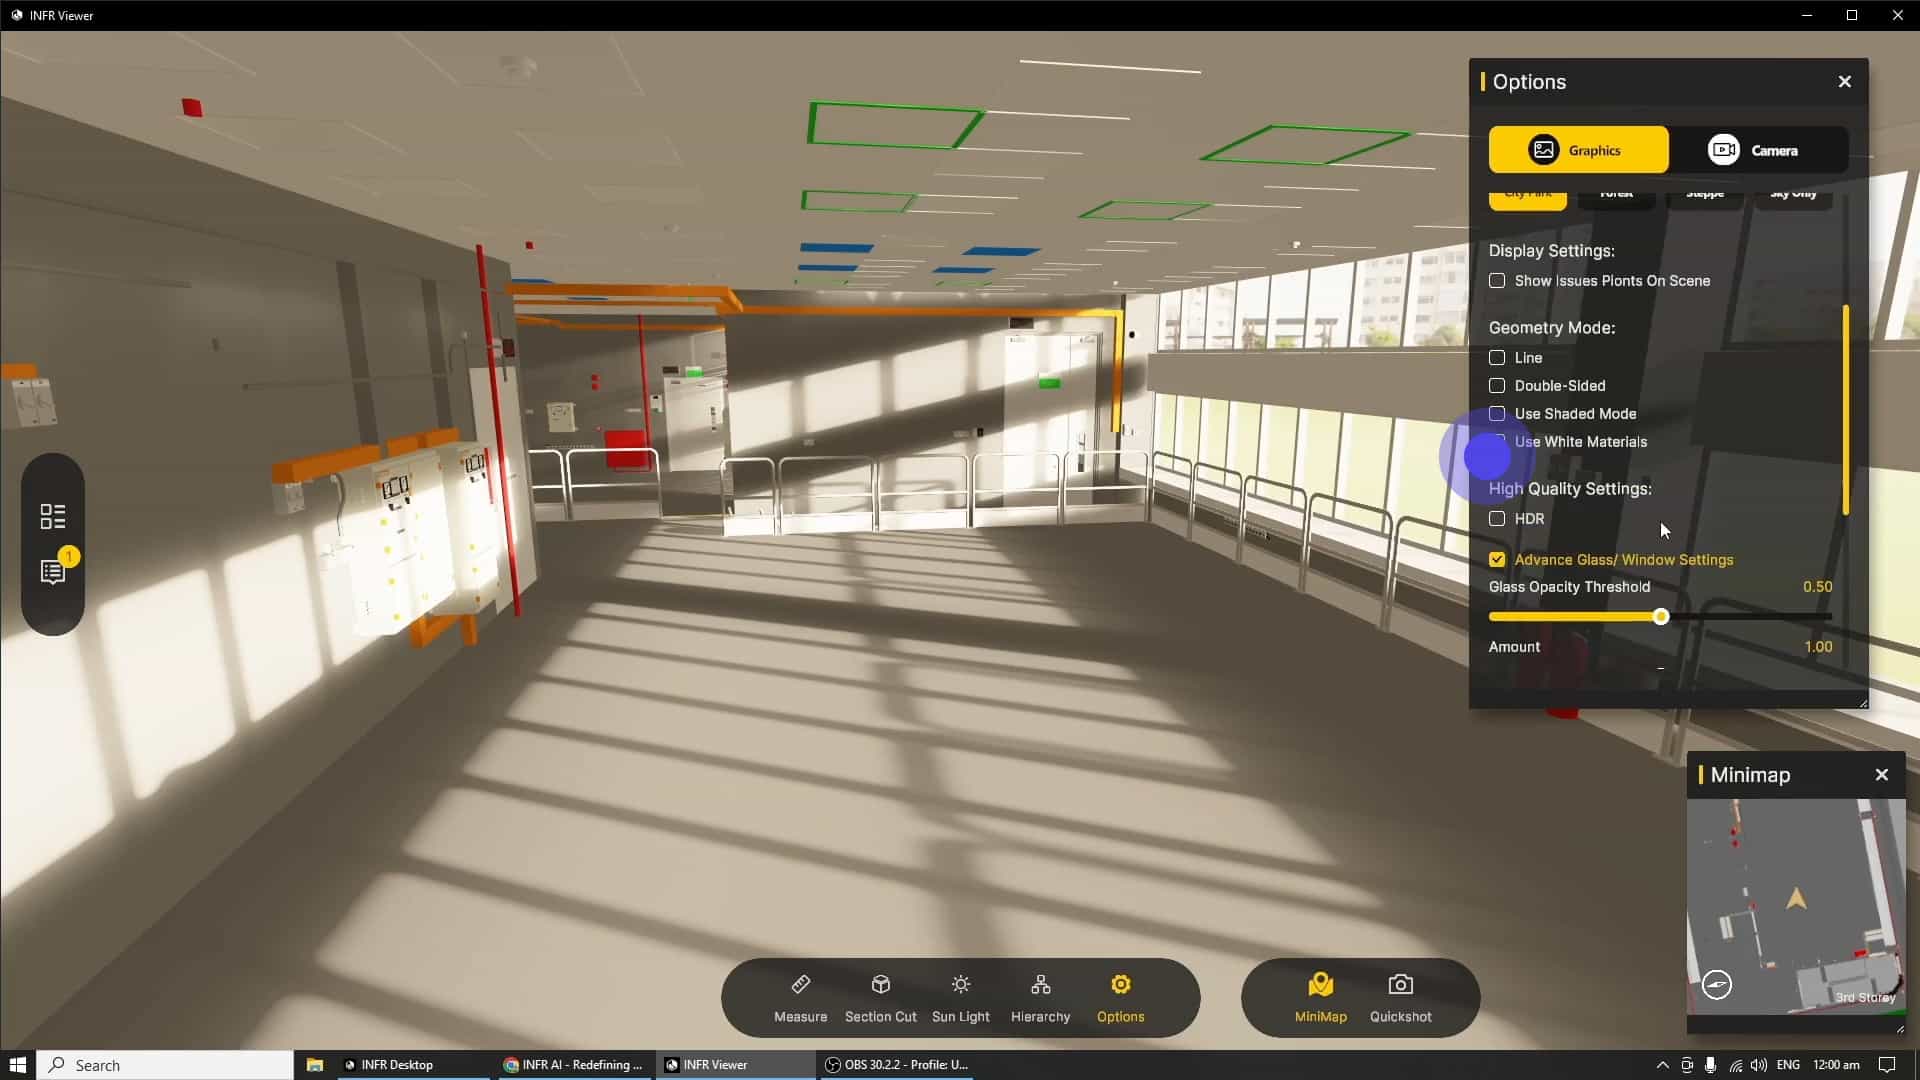
For a more in depth guide about the "Options" window, refer to the Graphics Tutorial.
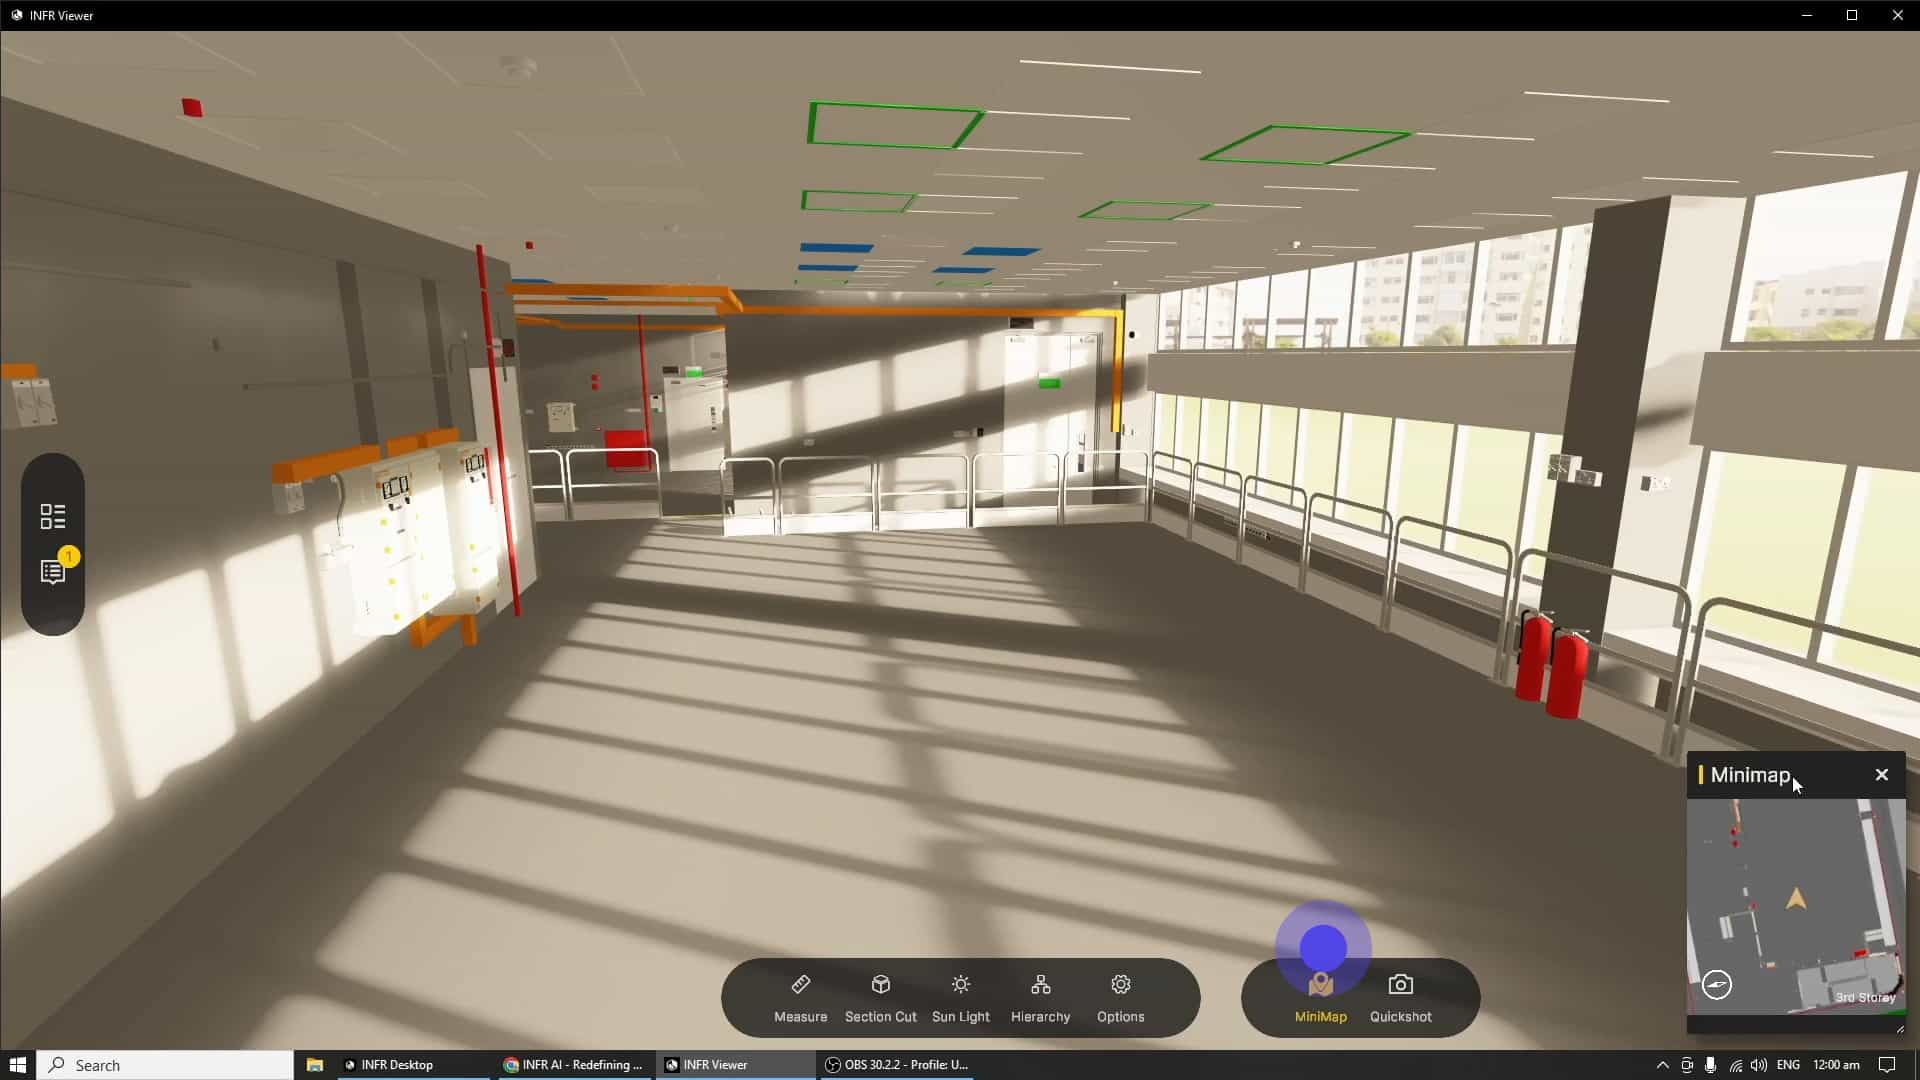
For the Minimap, you are able to toggle it on or off, while also positioning or scaling it as you like.
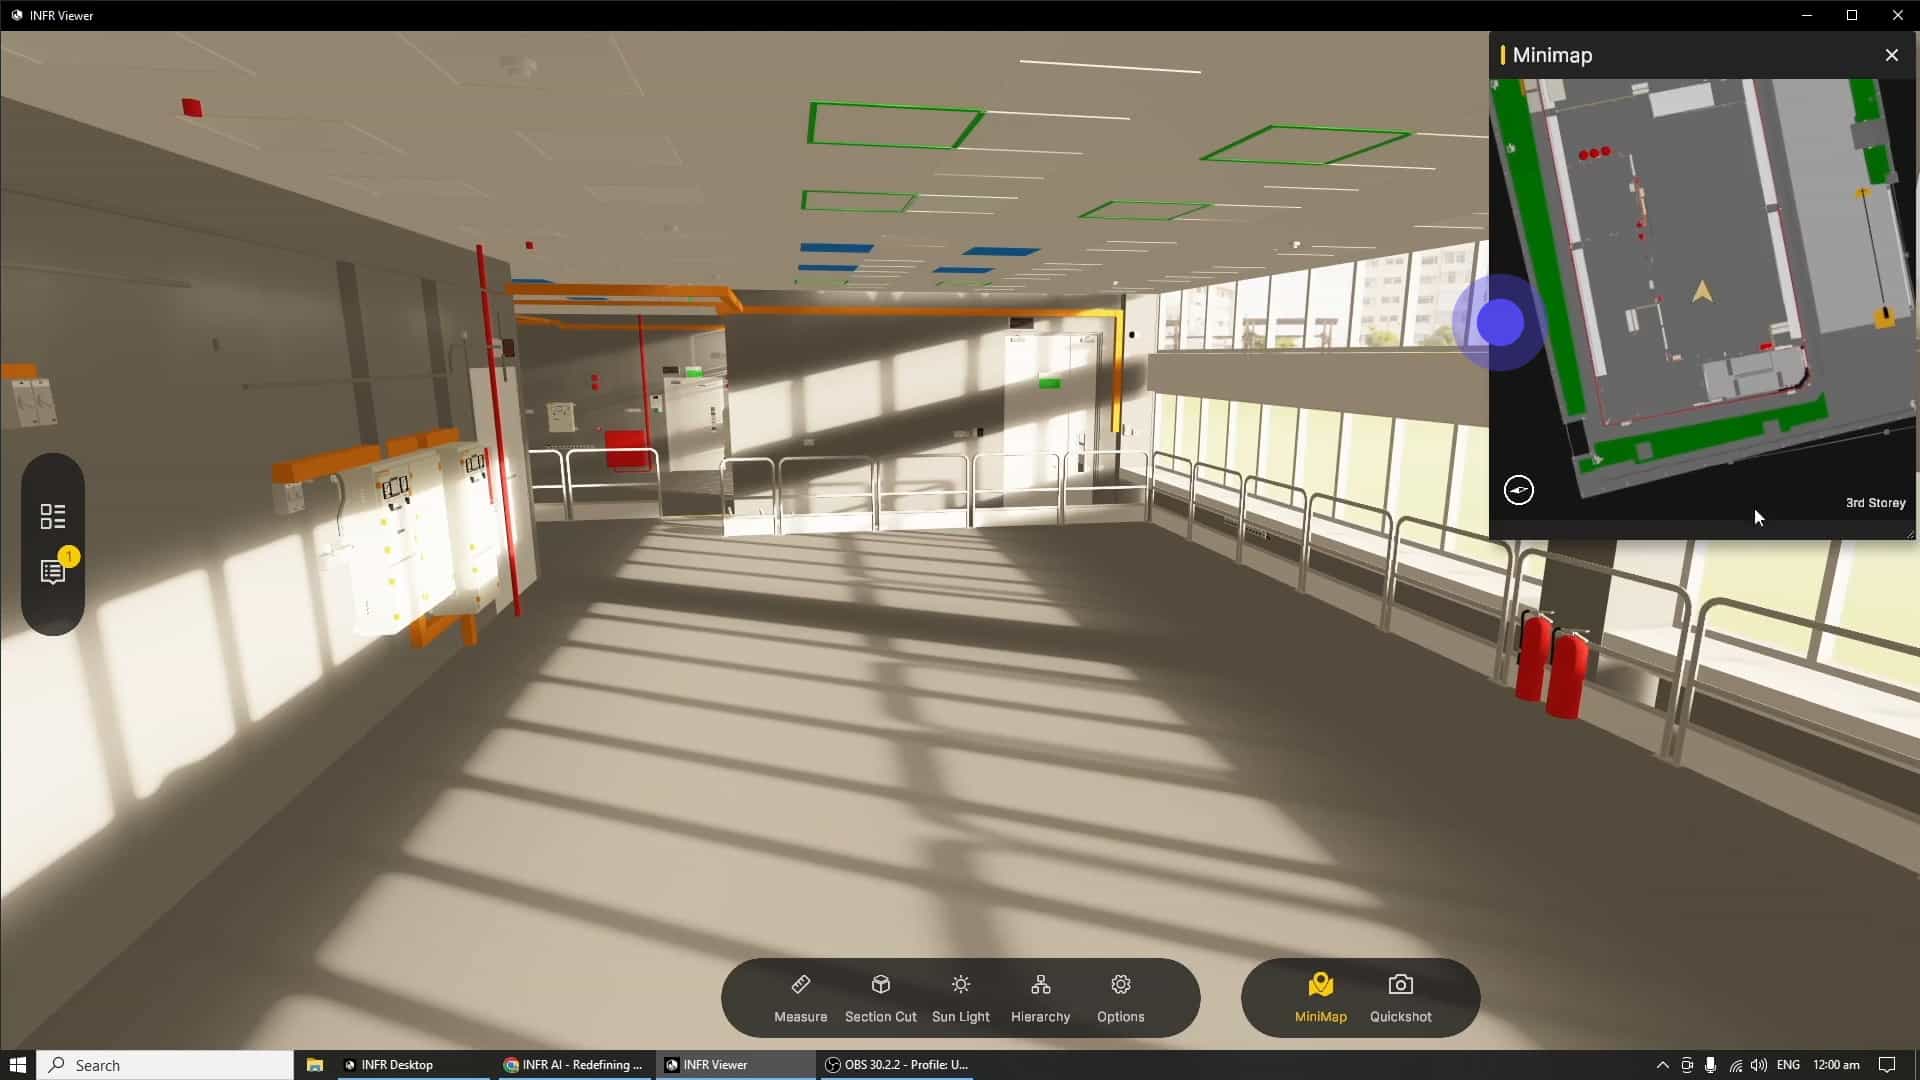
Clicking the left mouse button on the Minimap also instantly teleports you to the location, note that the Minimap displays a rendered view of the current elevation you are at in the 3D Space.
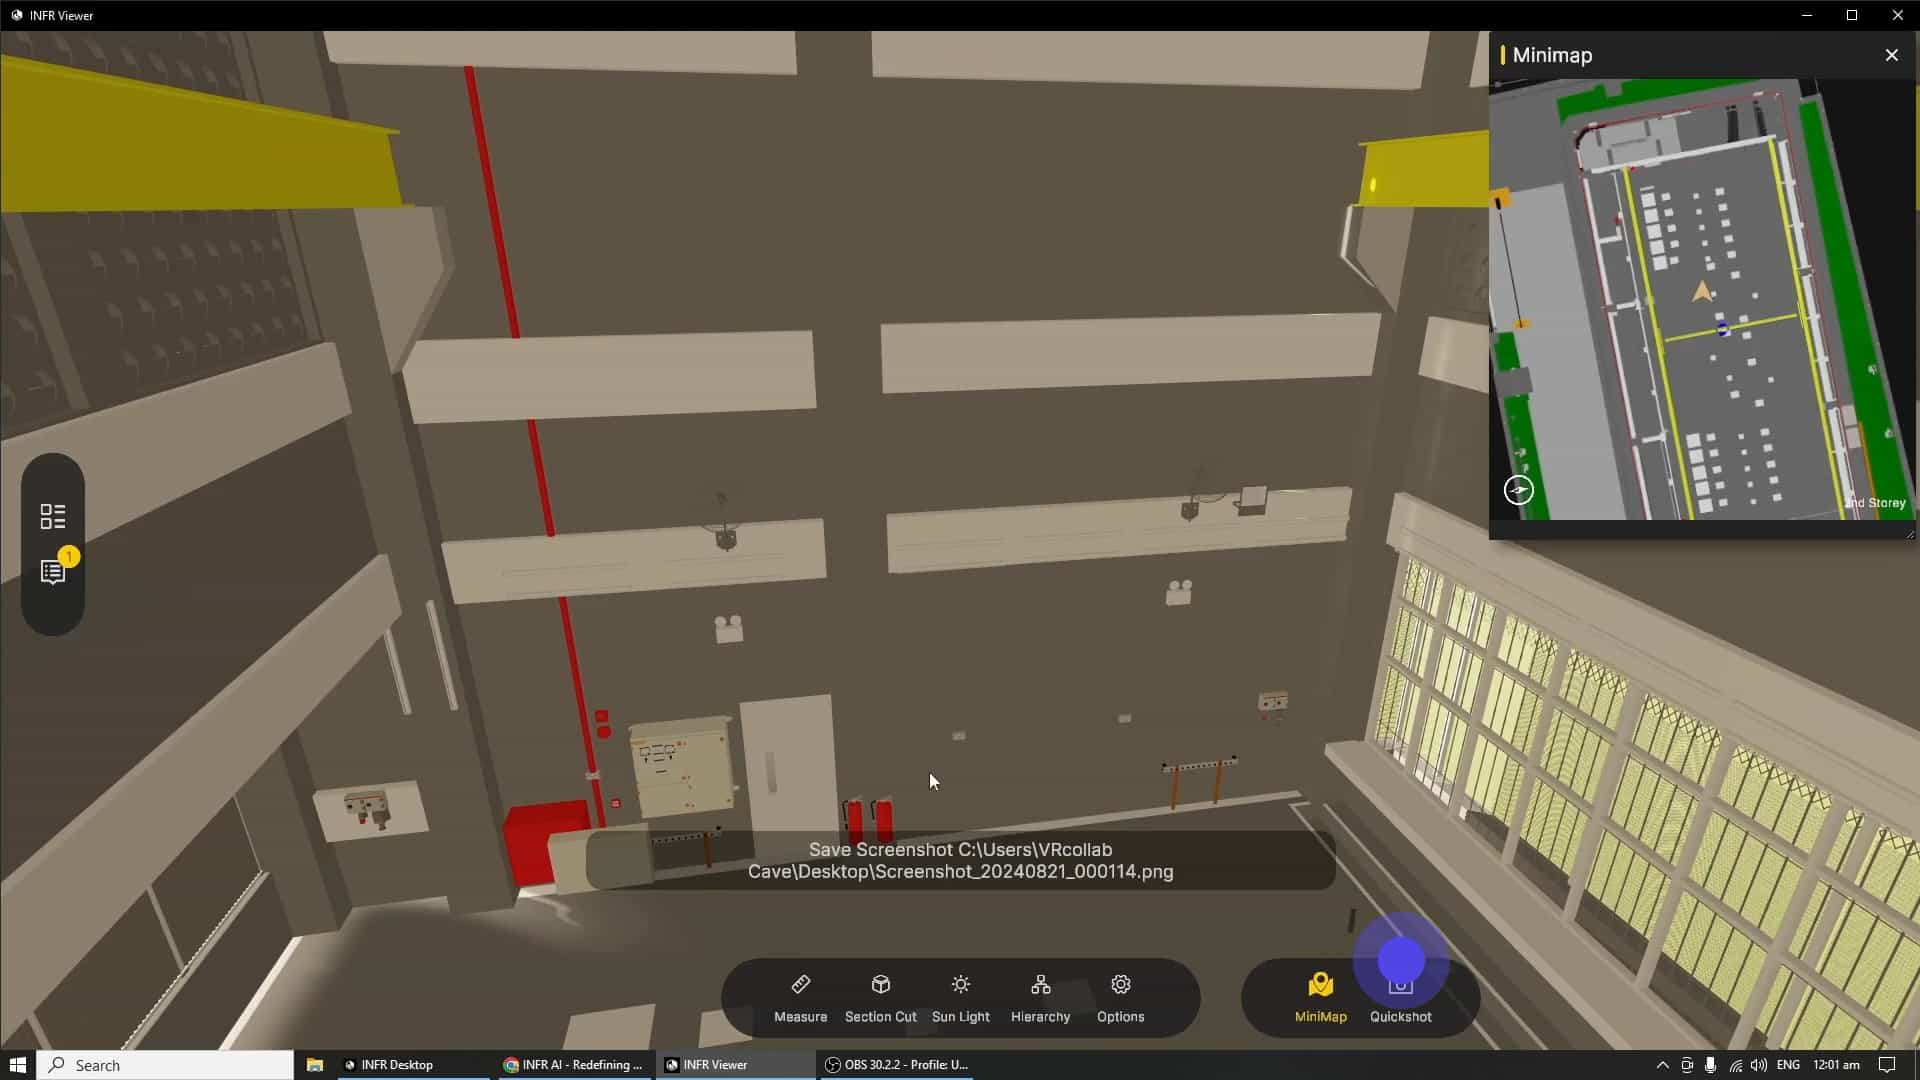
The "Quickshot" tool is basically a screen capture which saves a picture locally on the computer, note that this is not Issue Creation.
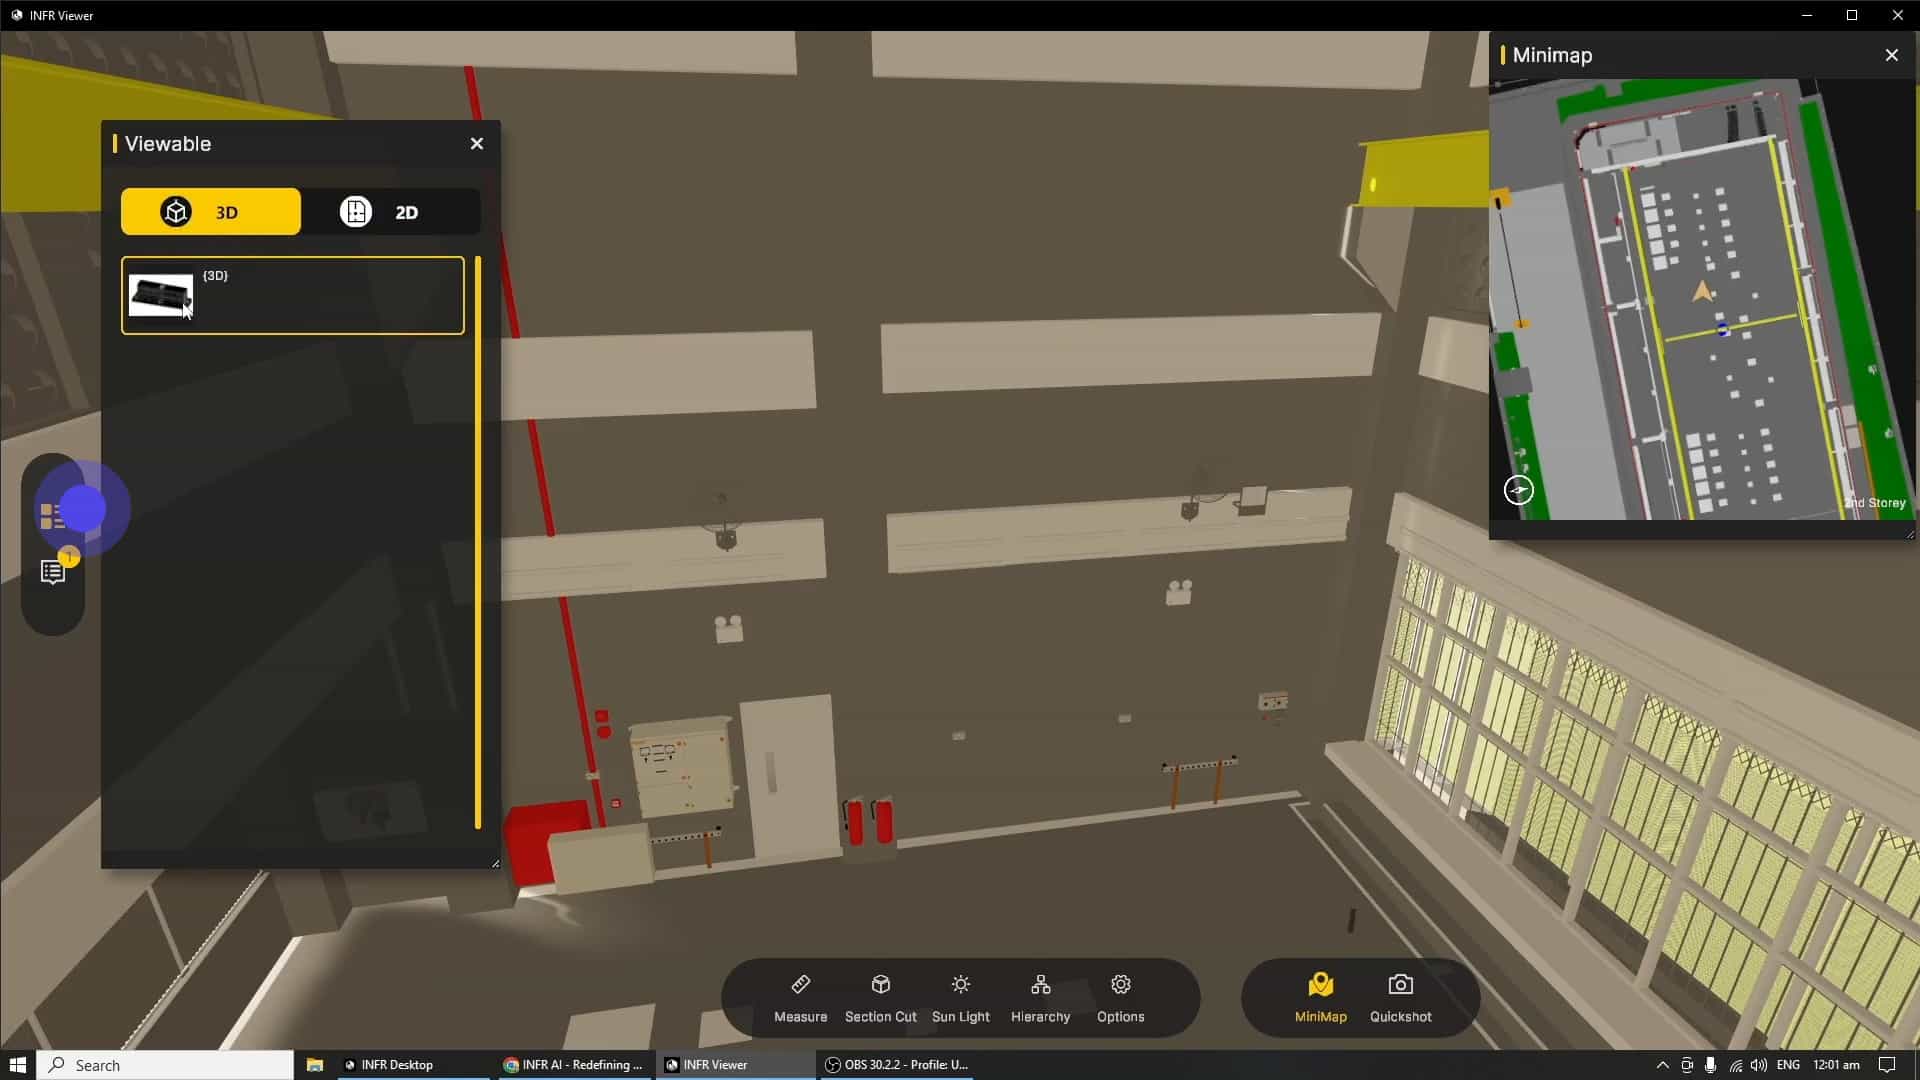
Similar to the Web platform, one can select from published views of the BIM.
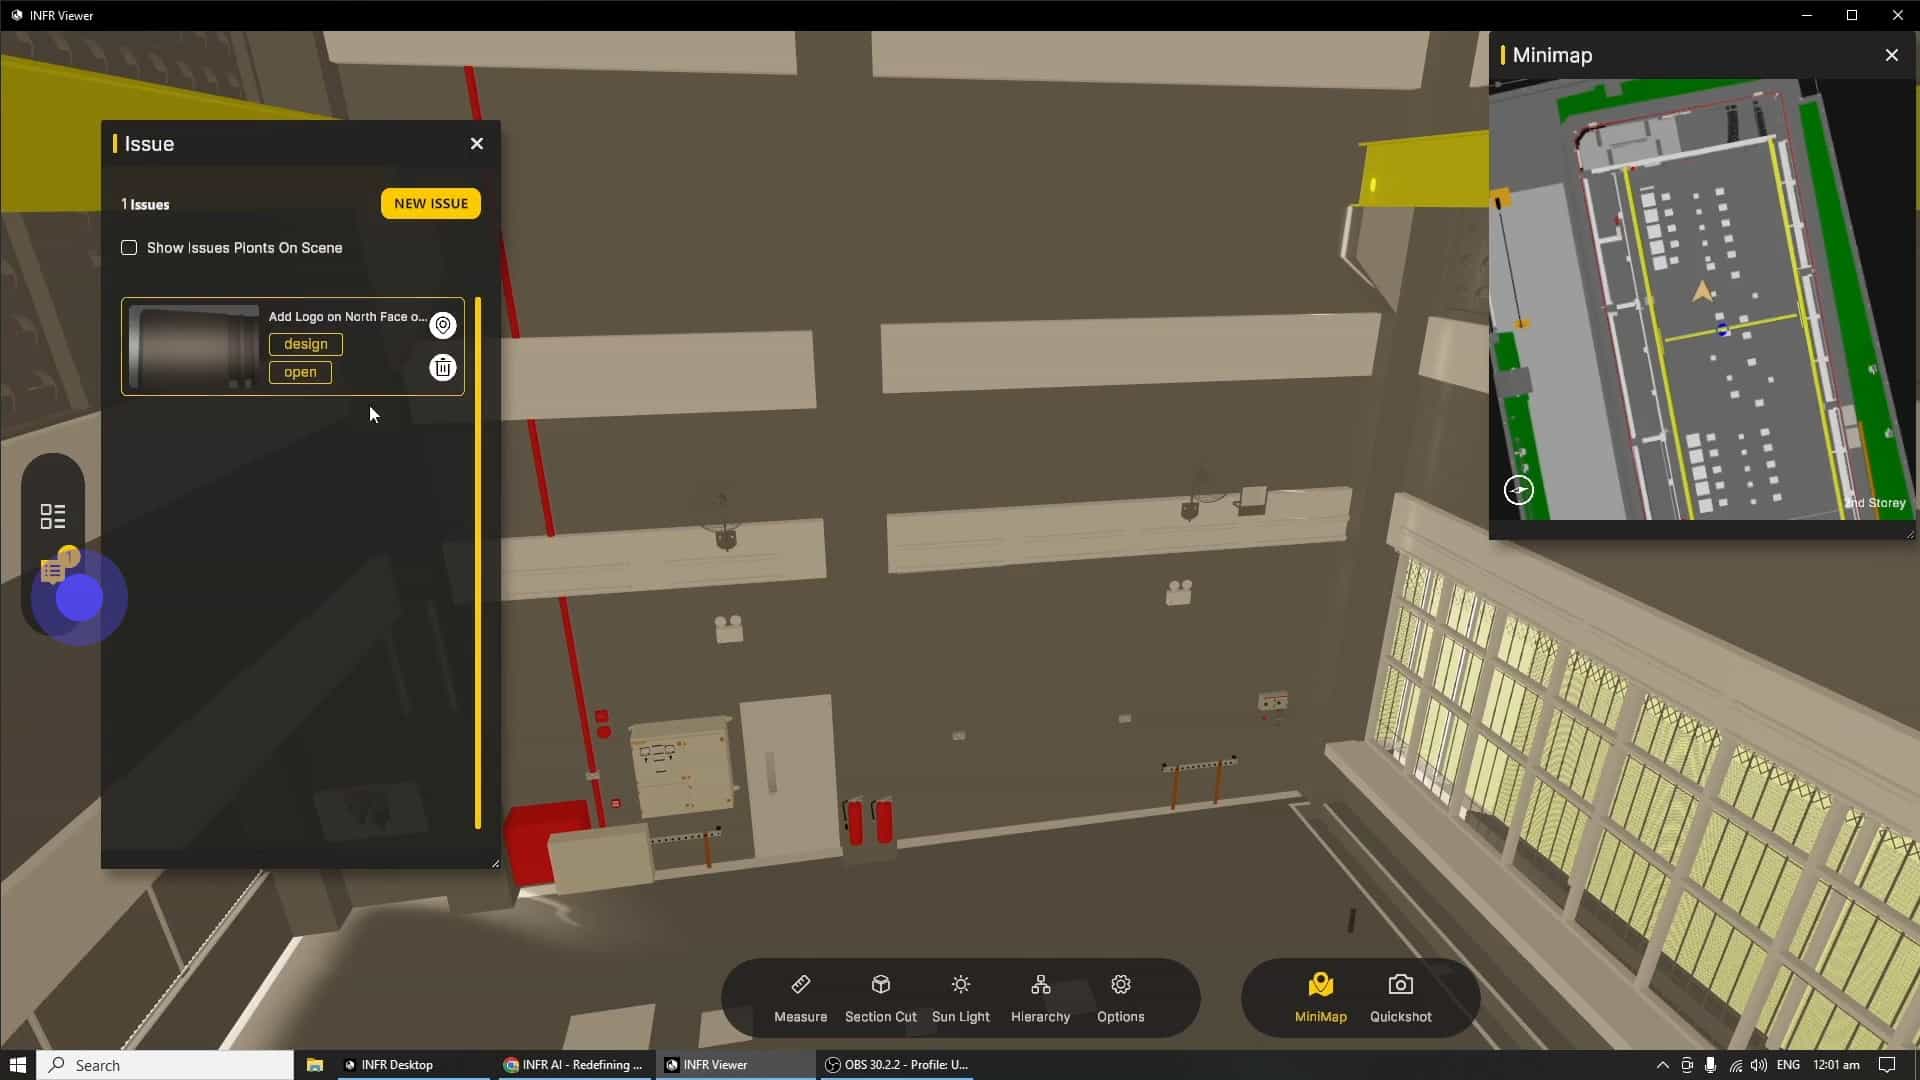
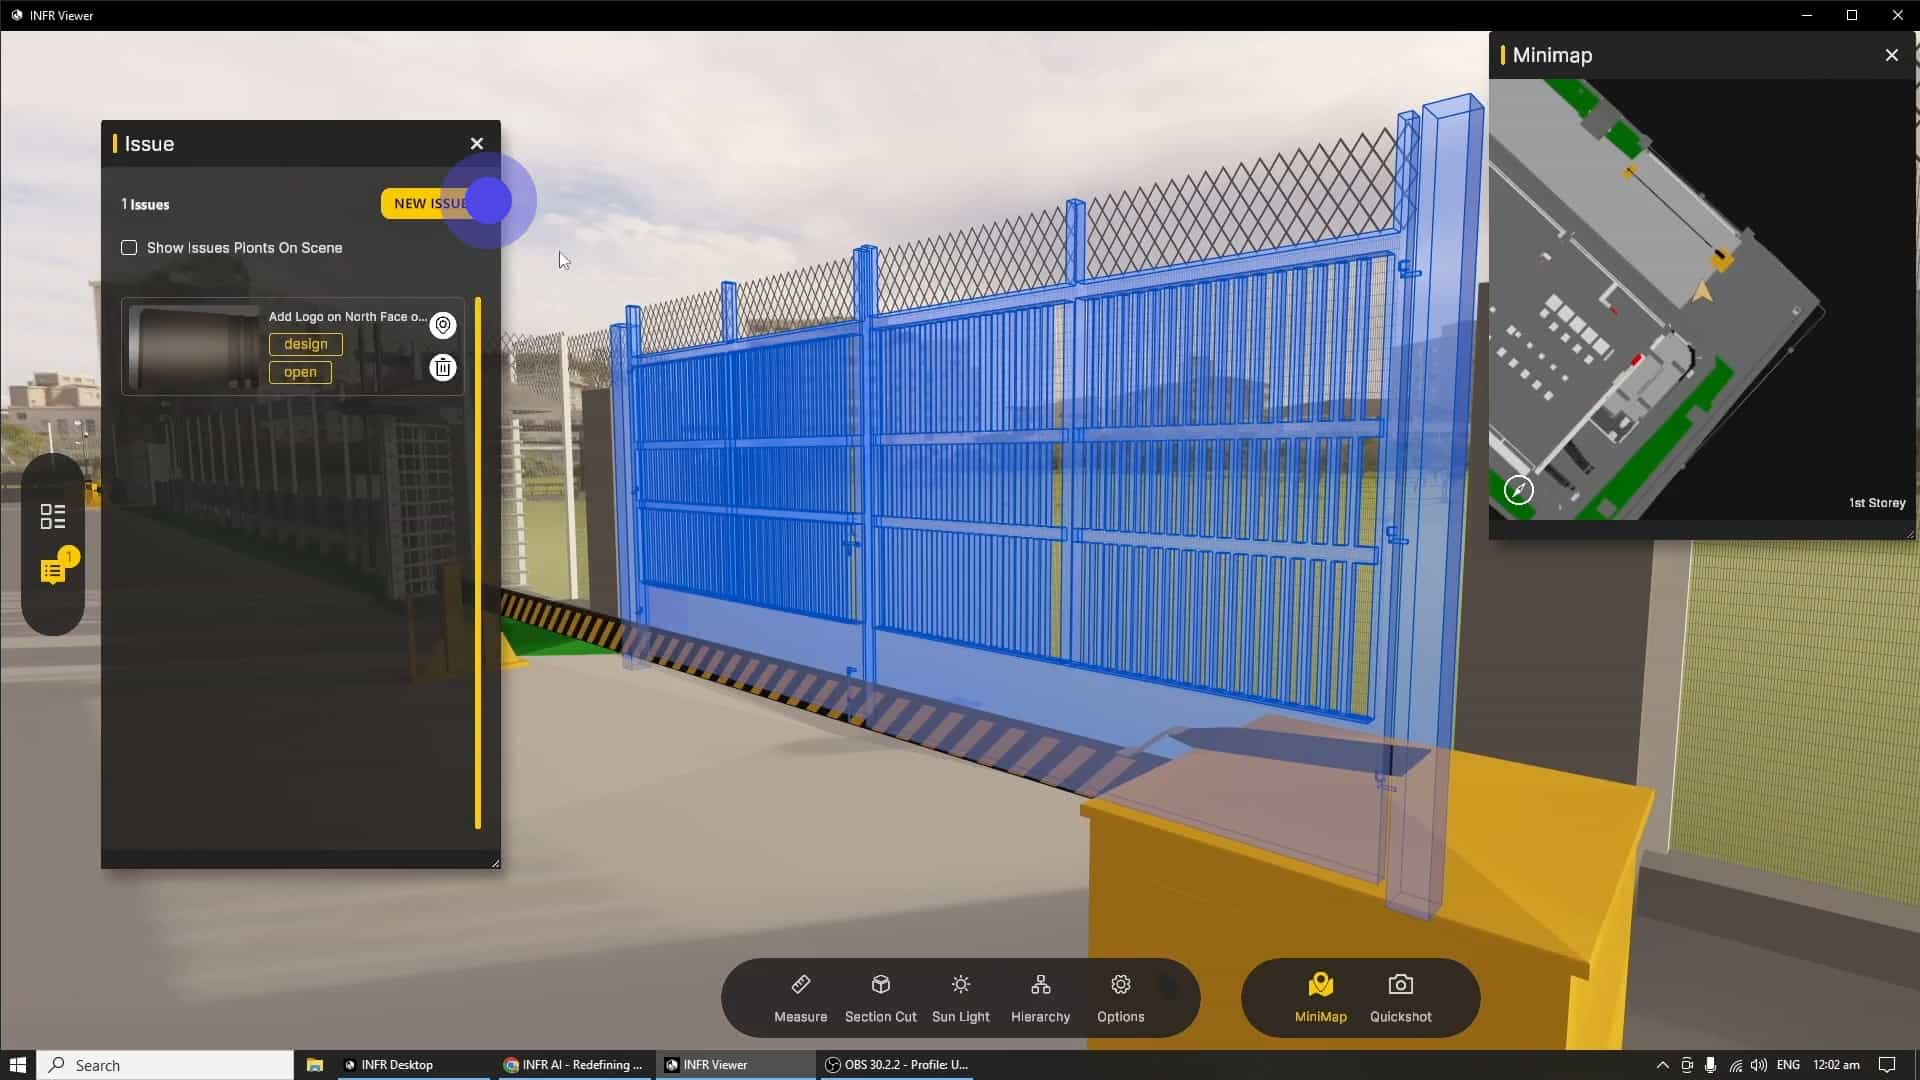
The "Issue" window allows for the viewing and modifying of existing issues, creation of new issues, and instantly teleporting to an existing issue in the 3D space.
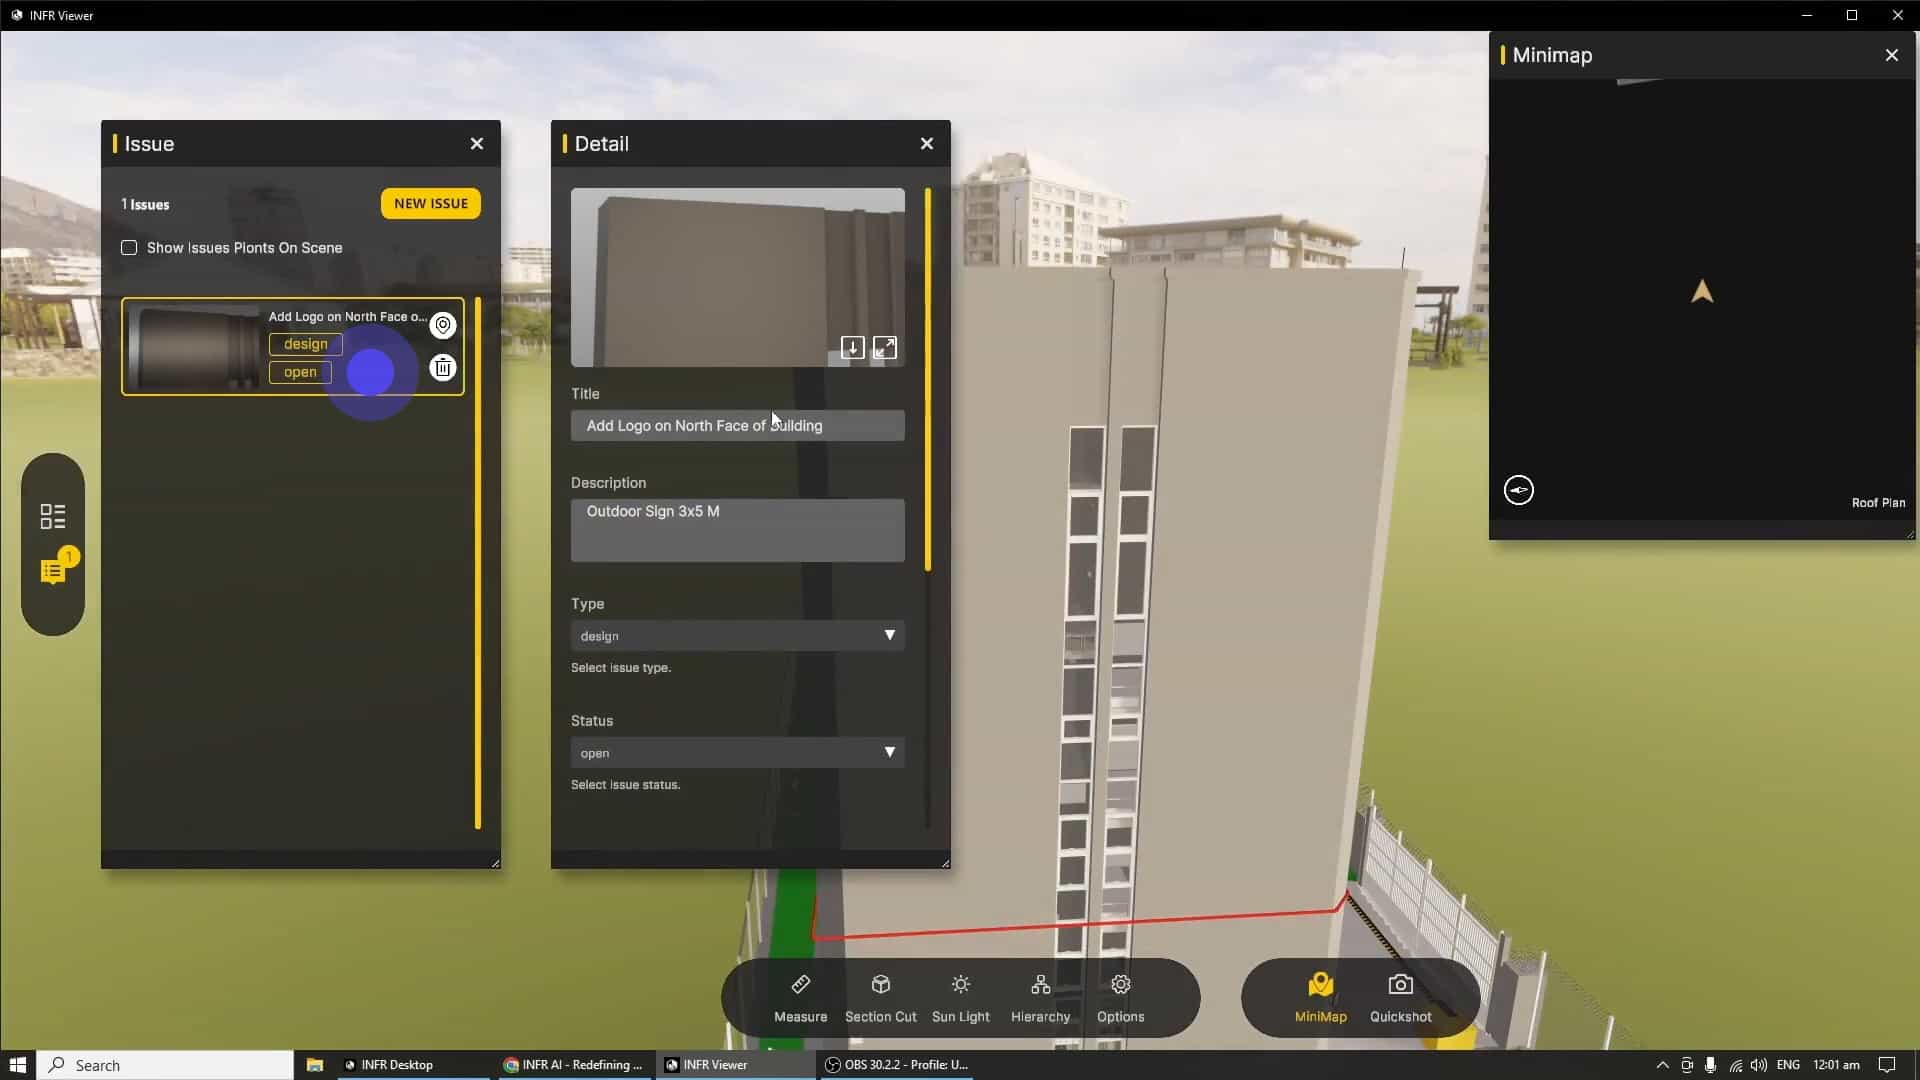
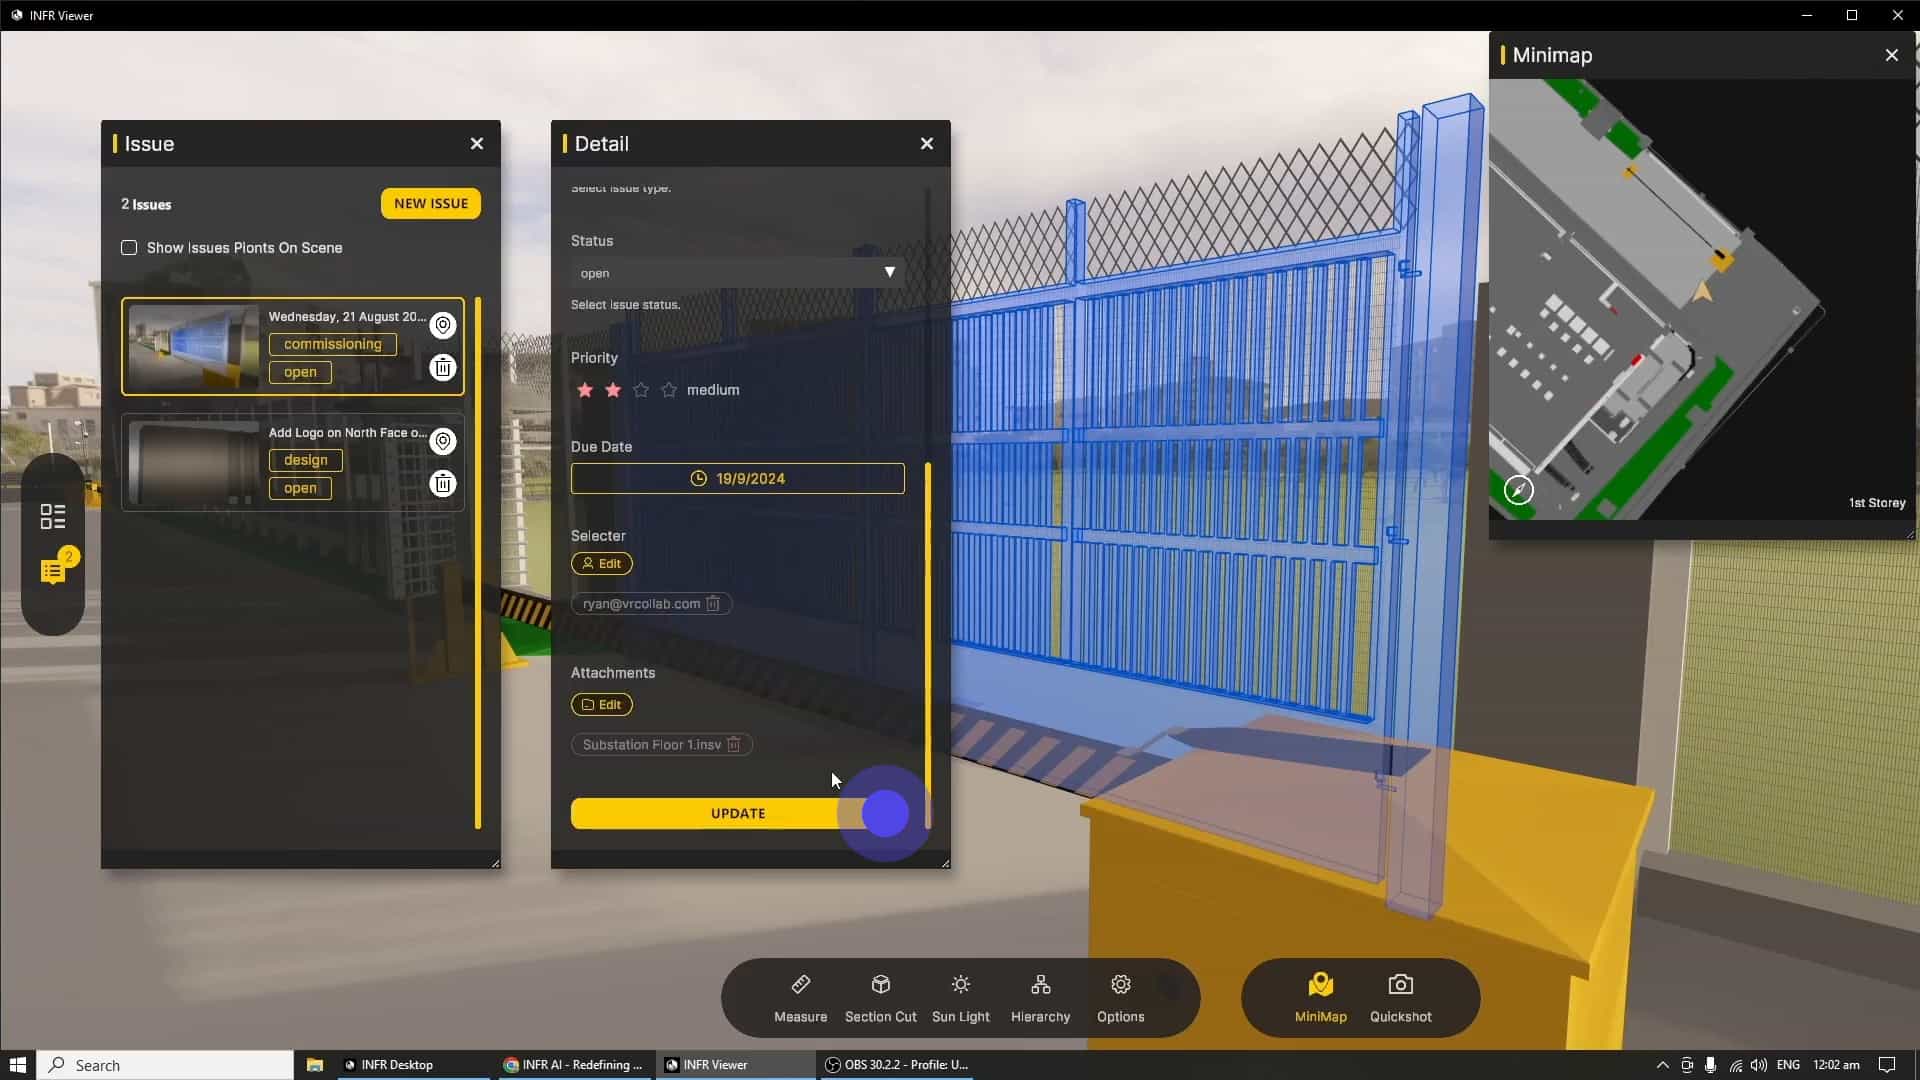
Double clicking on a selected issue, opens up the "Issue Detail" window, where the user can update the existing issue, this update will be reflected on all INFR platforms.
Before creating a new issue, ensure your view port frames the issue well, before clicking on the "New Issue" button.
After updating Issue Details, remember to click on the "Update" button to save and synchronise the new issue to all platforms.
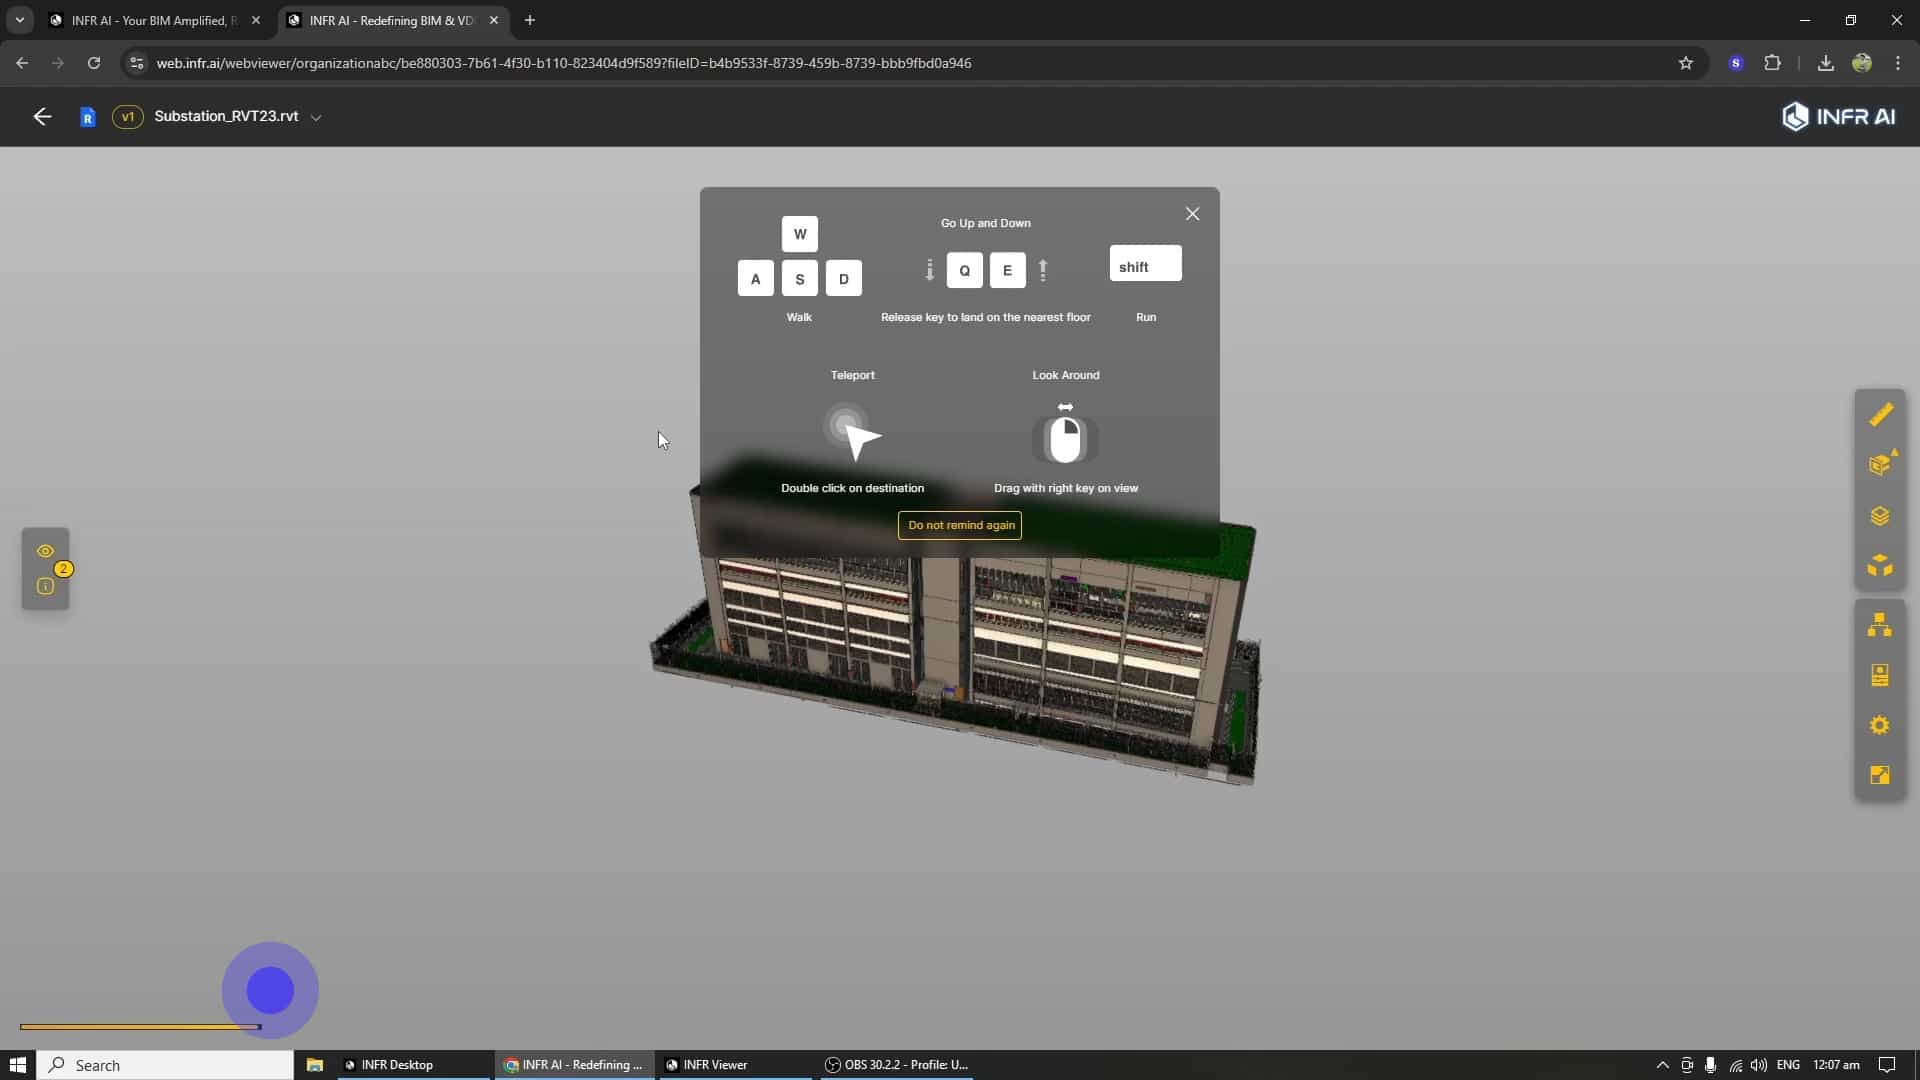
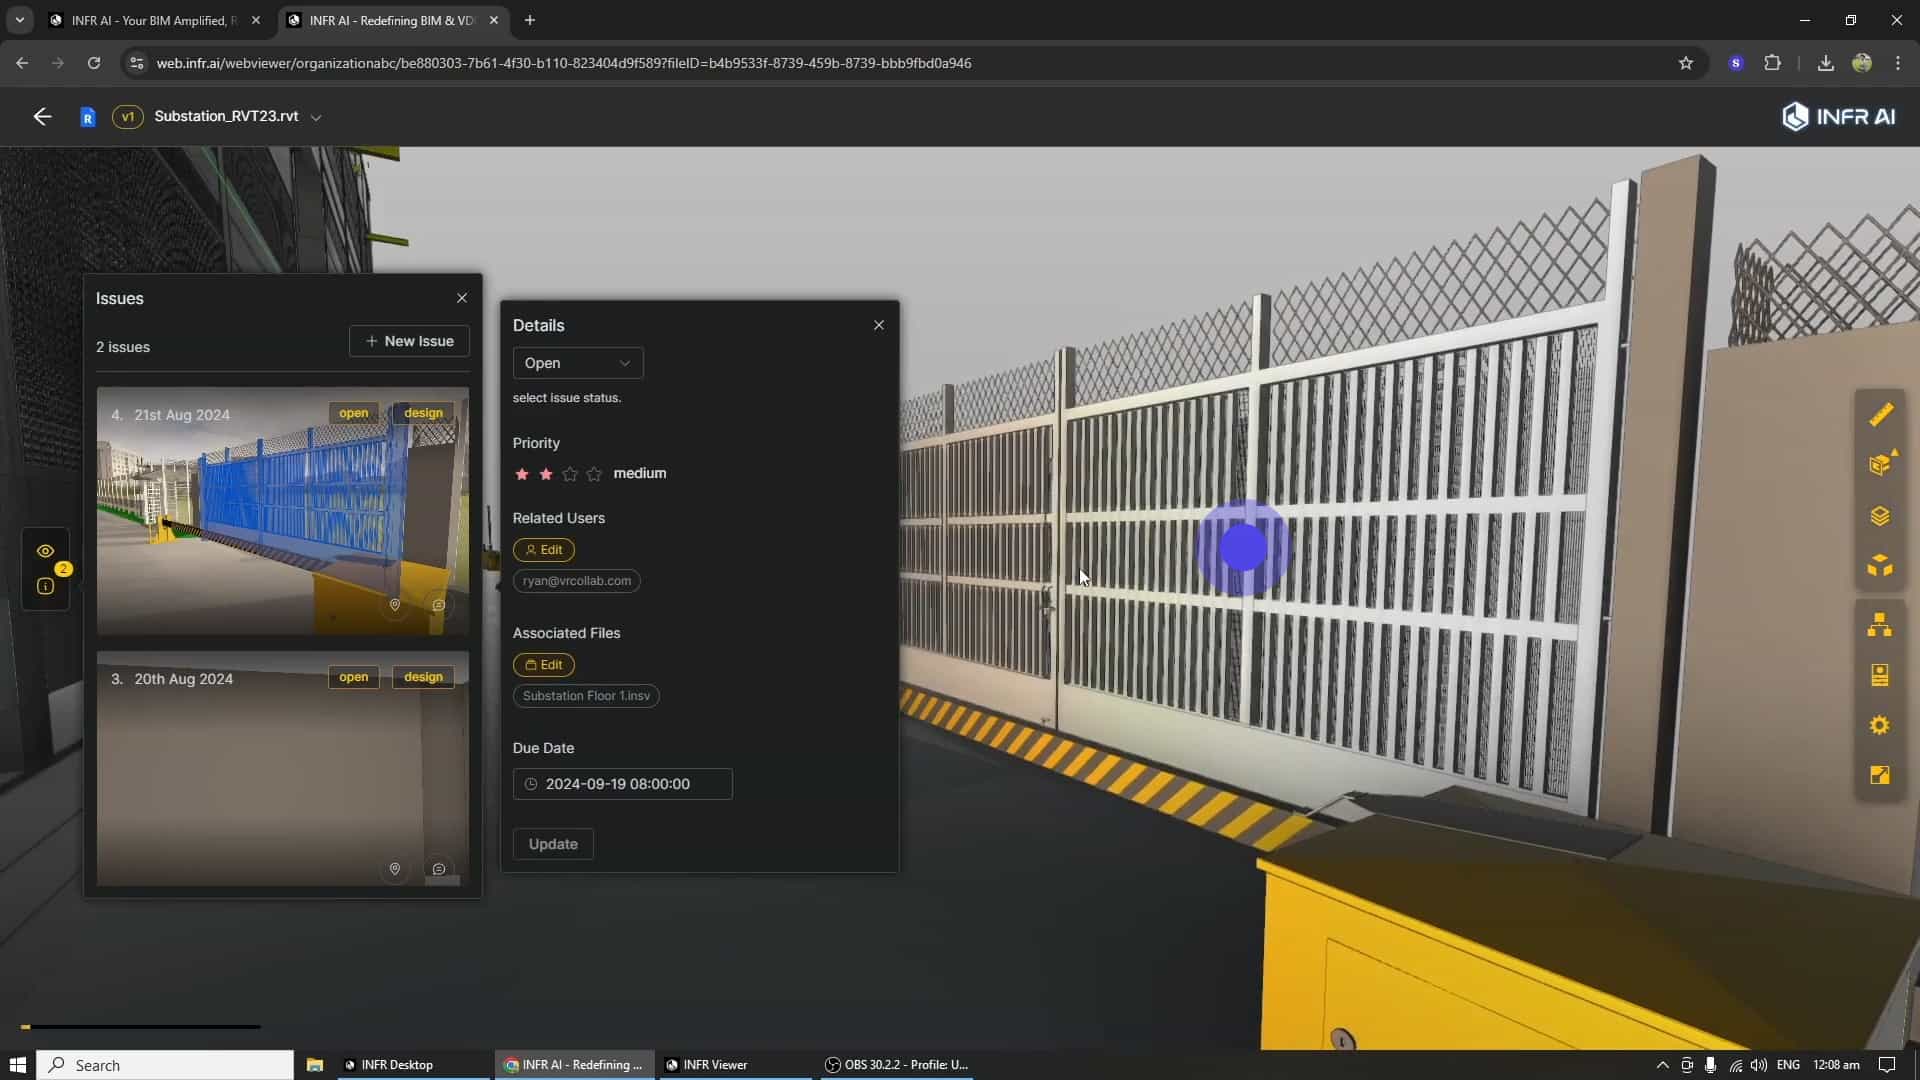
On INFR Web, after the model is loaded in the Web viewer, you will be able to teleport to the issue that was created on the desktop viewer.
That is all for the tutorial, thank you for taking the time to learn more about the INFR, we truly appreciate you!